Summer 2026, Ripe Now, Recipes Kaitlyn Brunner 6/1/26 Summer 2026, Ripe Now, Recipes Kaitlyn Brunner 6/1/26 Flavor Supreme Pluots Read More Spring 2026, Ripe Now, Recipes Kaitlyn Brunner 3/1/26 Spring 2026, Ripe Now, Recipes Kaitlyn Brunner 3/1/26 Starting Strong Read More Ripe Now, Winter 2025, Recipes Caroline Bratt 12/1/25 Ripe Now, Winter 2025, Recipes Caroline Bratt 12/1/25 Full of Beans Read More Fall 2025, Ripe Now Caroline Bratt 9/1/25 Fall 2025, Ripe Now Caroline Bratt 9/1/25 Get to the Root Read More Ripe Now, Summer 2025 Caroline Bratt 6/1/25 Ripe Now, Summer 2025 Caroline Bratt 6/1/25 Chipotles! Read More Ripe Now, Spring 2025 Caroline Bratt 3/1/25 Ripe Now, Spring 2025 Caroline Bratt 3/1/25 Brussels Sprouts Read More Winter 2024, Ripe Now, Recipes Caroline Bratt 12/1/24 Winter 2024, Ripe Now, Recipes Caroline Bratt 12/1/24 MendoGrass Read More Fall 2024, Ripe Now Caroline Bratt 9/1/24 Fall 2024, Ripe Now Caroline Bratt 9/1/24 Autumn in a Glass Read More Spring 2024, Ripe Now Caroline Bratt 3/1/24 Spring 2024, Ripe Now Caroline Bratt 3/1/24 Radishes Read More Winter 2023, Ripe Now Caroline Bratt 12/1/23 Winter 2023, Ripe Now Caroline Bratt 12/1/23 Caramelized Onion Jam Read More Fall 2023, Ripe Now Caroline Bratt 9/1/23 Fall 2023, Ripe Now Caroline Bratt 9/1/23 Zucchini Flour Read More Summer 2023, Ripe Now Caroline Bratt 6/1/23 Summer 2023, Ripe Now Caroline Bratt 6/1/23 Strawberries! Read More Spring 2023, Ripe Now Caroline Bratt 3/1/23 Spring 2023, Ripe Now Caroline Bratt 3/1/23 Garlic Scapes Read More Winter 2022, Ripe Now Caroline Bratt 12/1/22 Winter 2022, Ripe Now Caroline Bratt 12/1/22 Olive Oil Read More Fall 2022, Ripe Now Caroline Bratt 9/1/22 Fall 2022, Ripe Now Caroline Bratt 9/1/22 Fall’s Fabulous Figs! Read More Summer 2022, Ripe Now Caroline Bratt 6/1/22 Summer 2022, Ripe Now Caroline Bratt 6/1/22 The Scent of Summer Read More Spring 2022, Ripe Now Caroline Bratt 3/1/22 Spring 2022, Ripe Now Caroline Bratt 3/1/22 Leeks! Read More Winter 2021, Ripe Now Caroline Bratt 12/1/21 Winter 2021, Ripe Now Caroline Bratt 12/1/21 The Magic of Preserved Lemons Read More Fall 2021, Ripe Now, Recipes Caroline Bratt 9/1/21 Fall 2021, Ripe Now, Recipes Caroline Bratt 9/1/21 Fall’s Gems Read More Summer 2021, Ripe Now, Recipes Caroline Bratt 6/1/21 Summer 2021, Ripe Now, Recipes Caroline Bratt 6/1/21 Gratitude for Summer’s Abundance of Basil Read More Spring 2021, Ripe Now, Recipes Caroline Bratt 3/1/21 Spring 2021, Ripe Now, Recipes Caroline Bratt 3/1/21 Pennyroyal’s Laychee Read More Winter 2020, Ripe Now, Recipes Caroline Bratt 12/1/20 Winter 2020, Ripe Now, Recipes Caroline Bratt 12/1/20 McFadden Garlic Read More Fall 2020, Ripe Now Caroline Bratt 9/1/20 Fall 2020, Ripe Now Caroline Bratt 9/1/20 A Decade of Patience Read More Summer 2020, Ripe Now Caroline Bratt 6/1/20 Summer 2020, Ripe Now Caroline Bratt 6/1/20 Keep Health Blooming Read More Older Posts
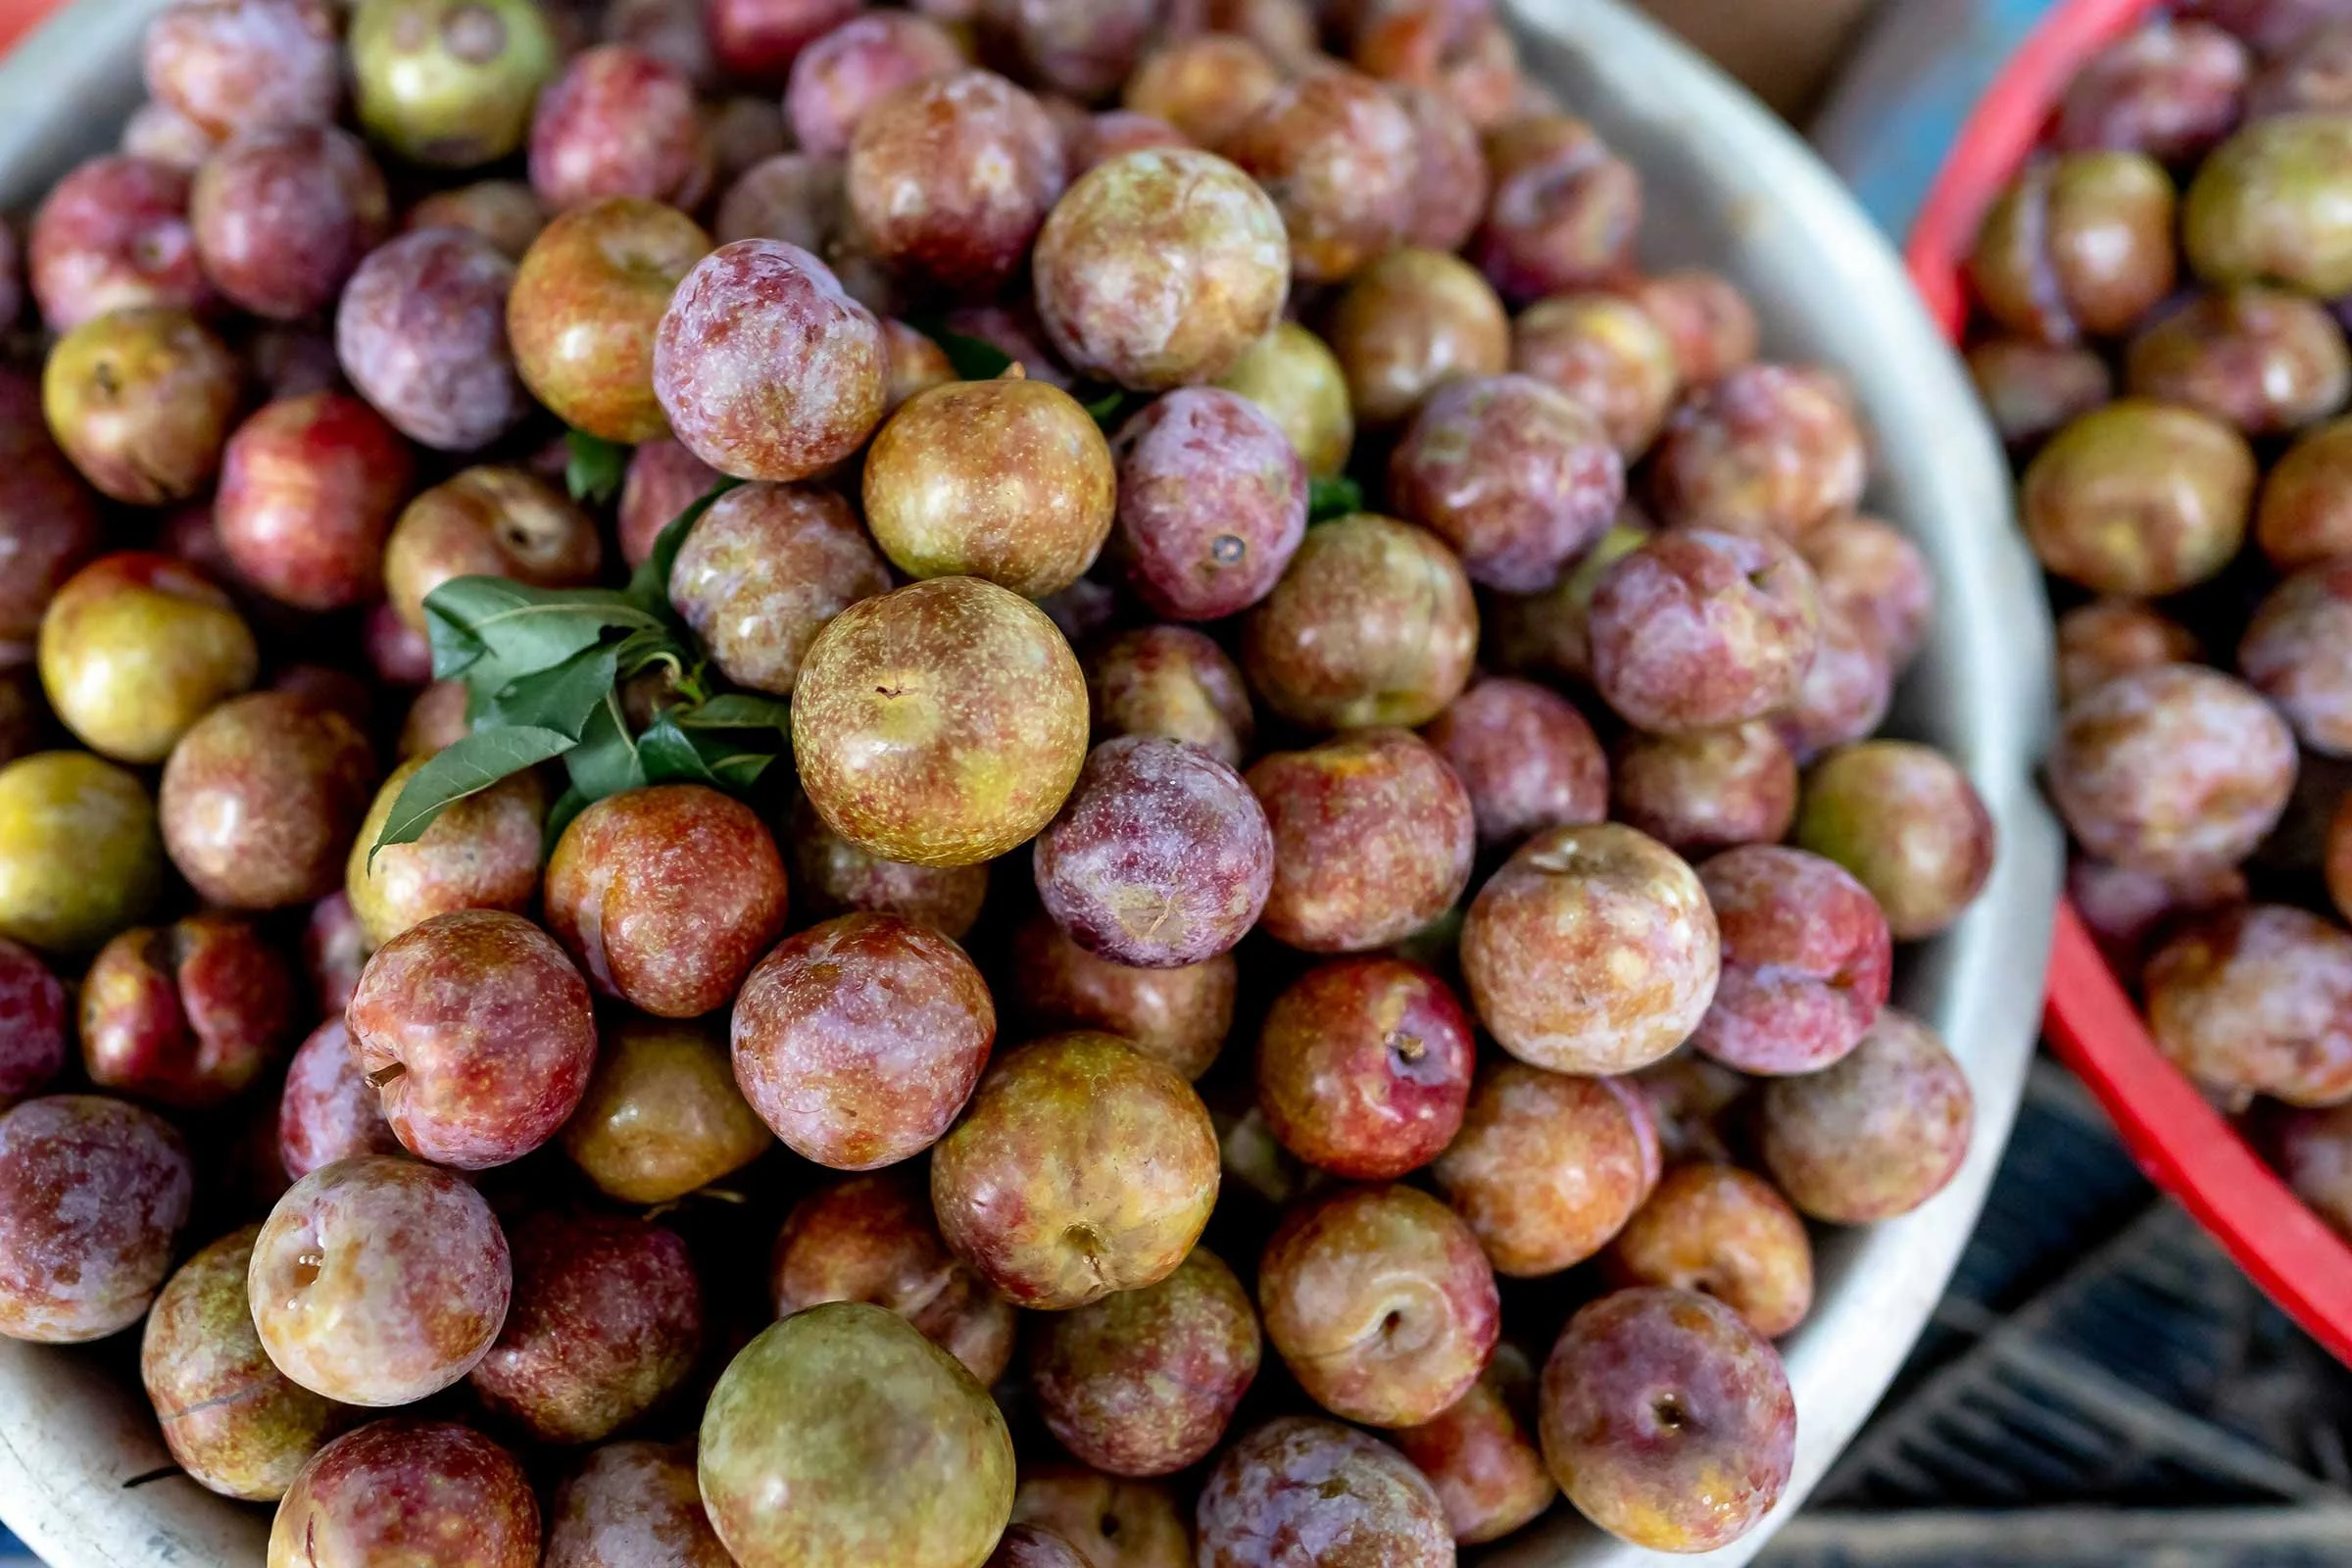
Summer 2026, Ripe Now, Recipes Kaitlyn Brunner 6/1/26 Summer 2026, Ripe Now, Recipes Kaitlyn Brunner 6/1/26 Flavor Supreme Pluots Read More
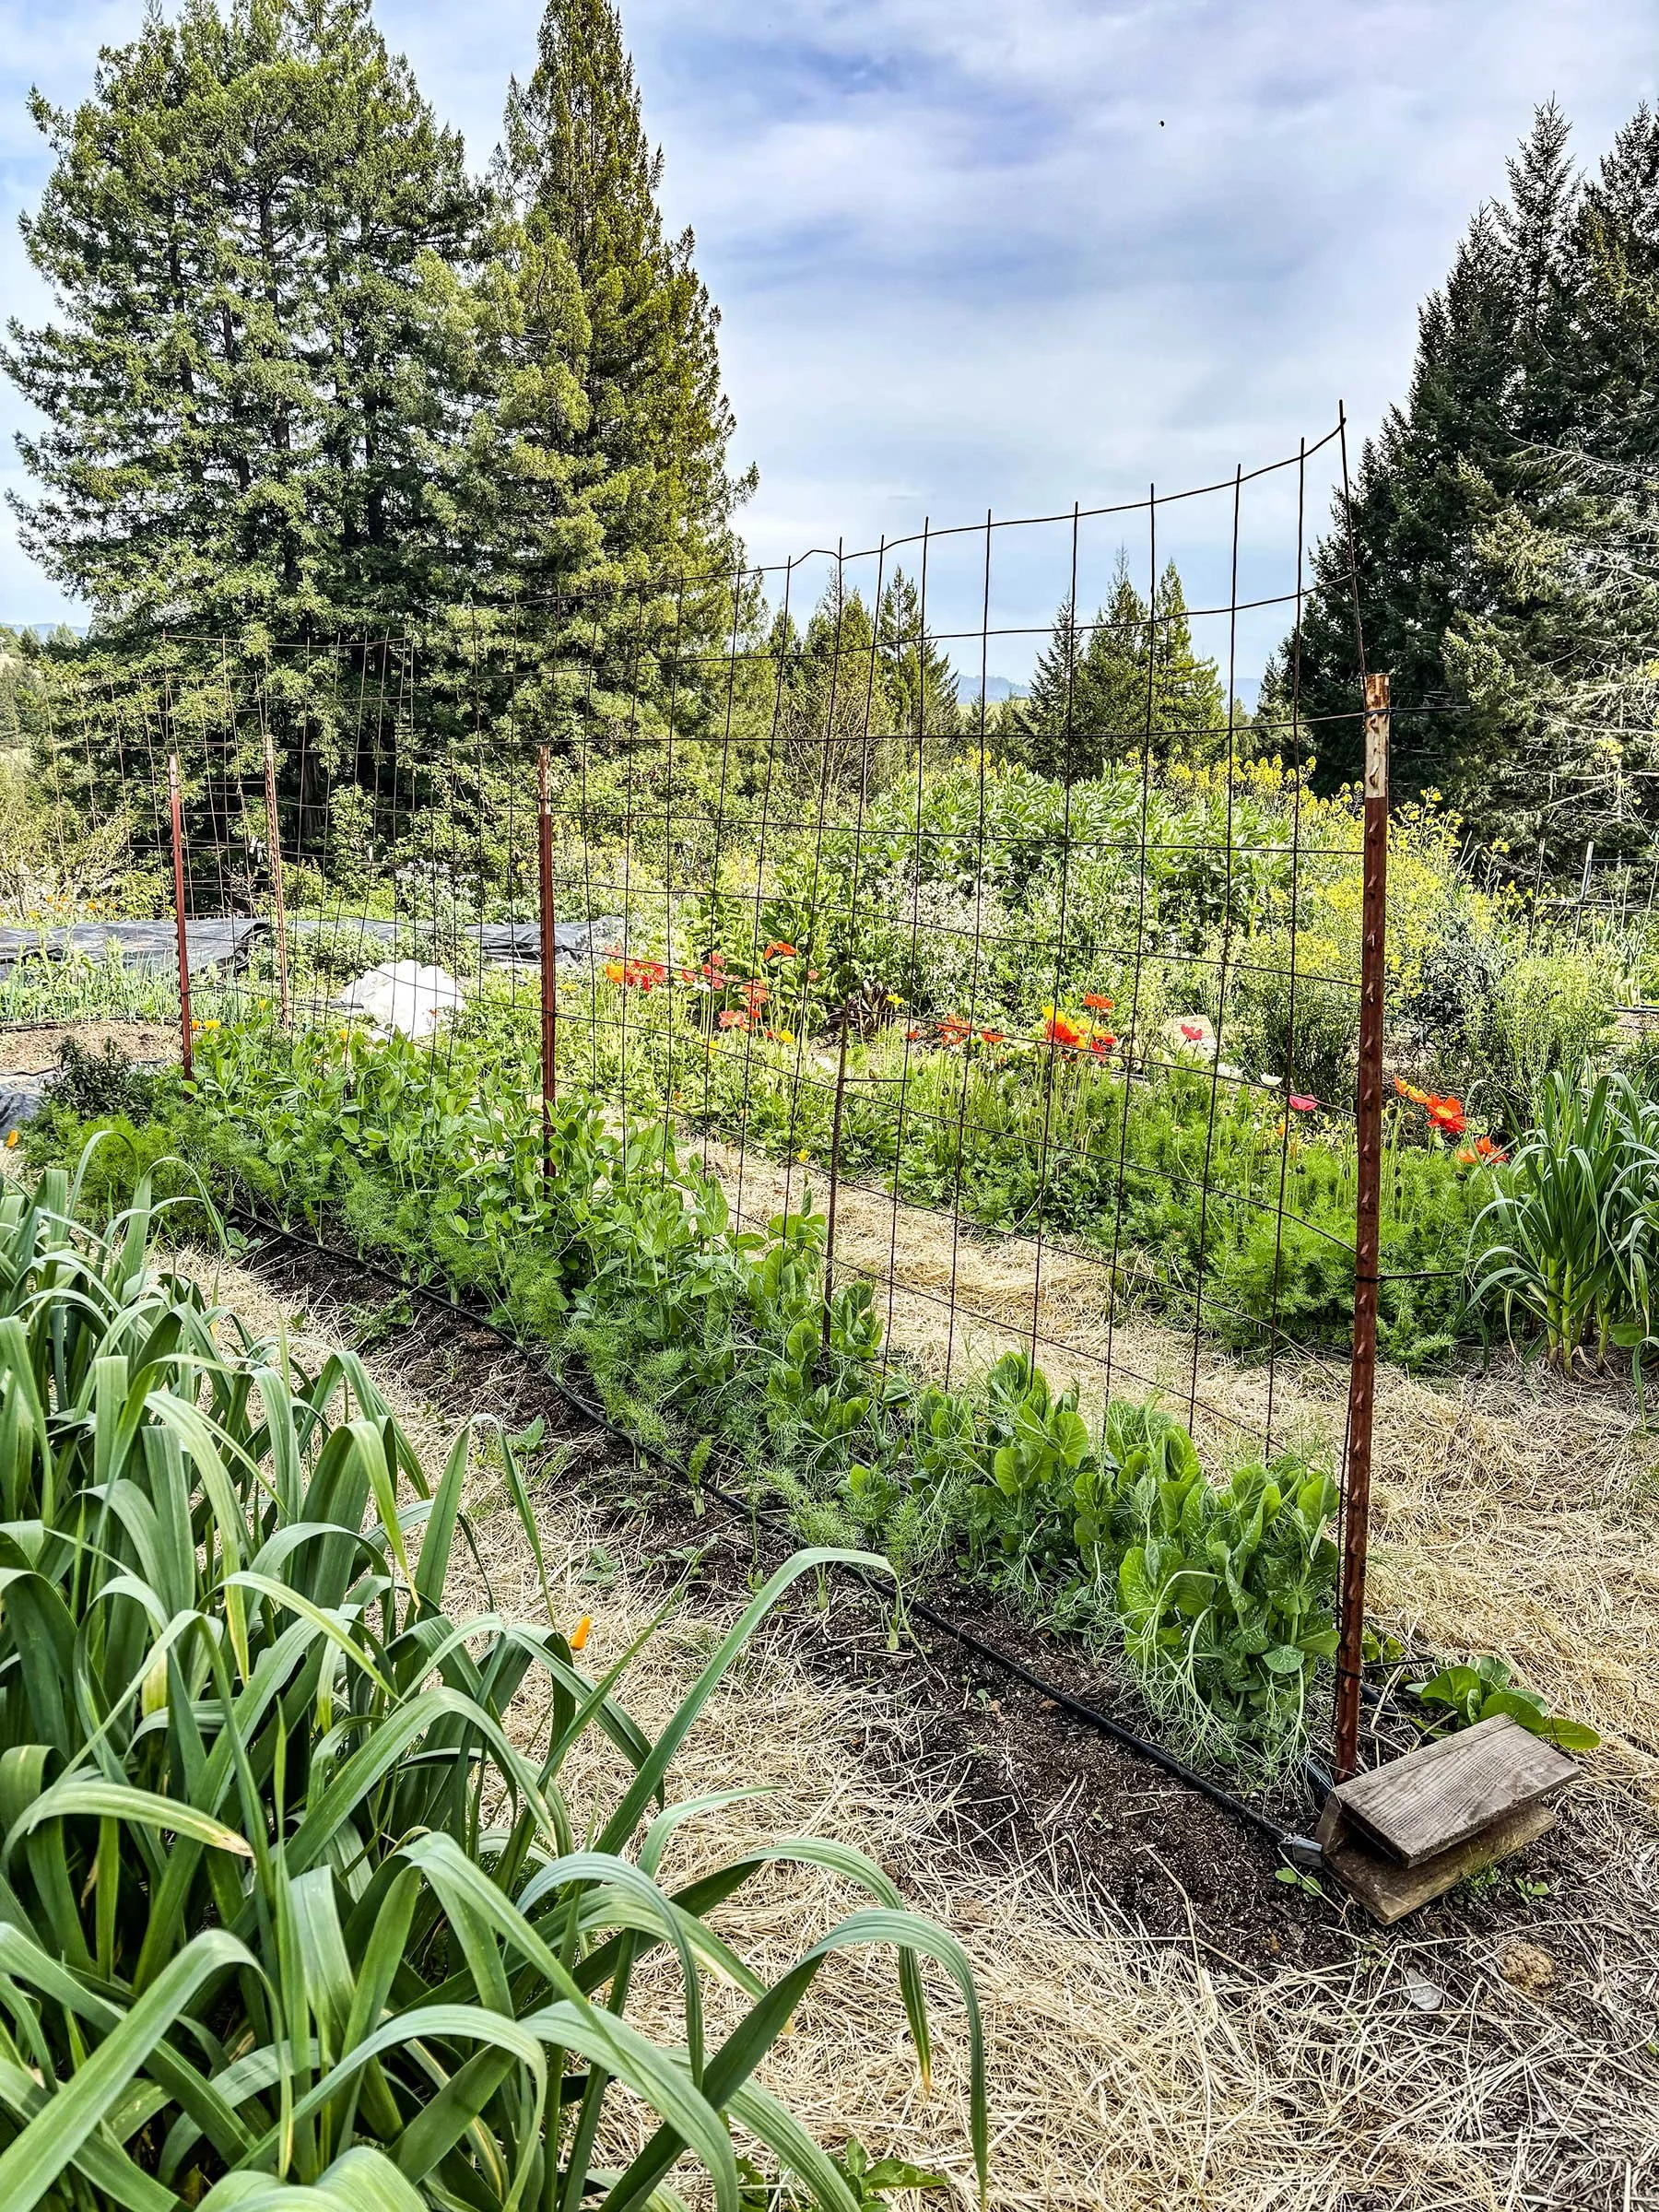
Spring 2026, Ripe Now, Recipes Kaitlyn Brunner 3/1/26 Spring 2026, Ripe Now, Recipes Kaitlyn Brunner 3/1/26 Starting Strong Read More
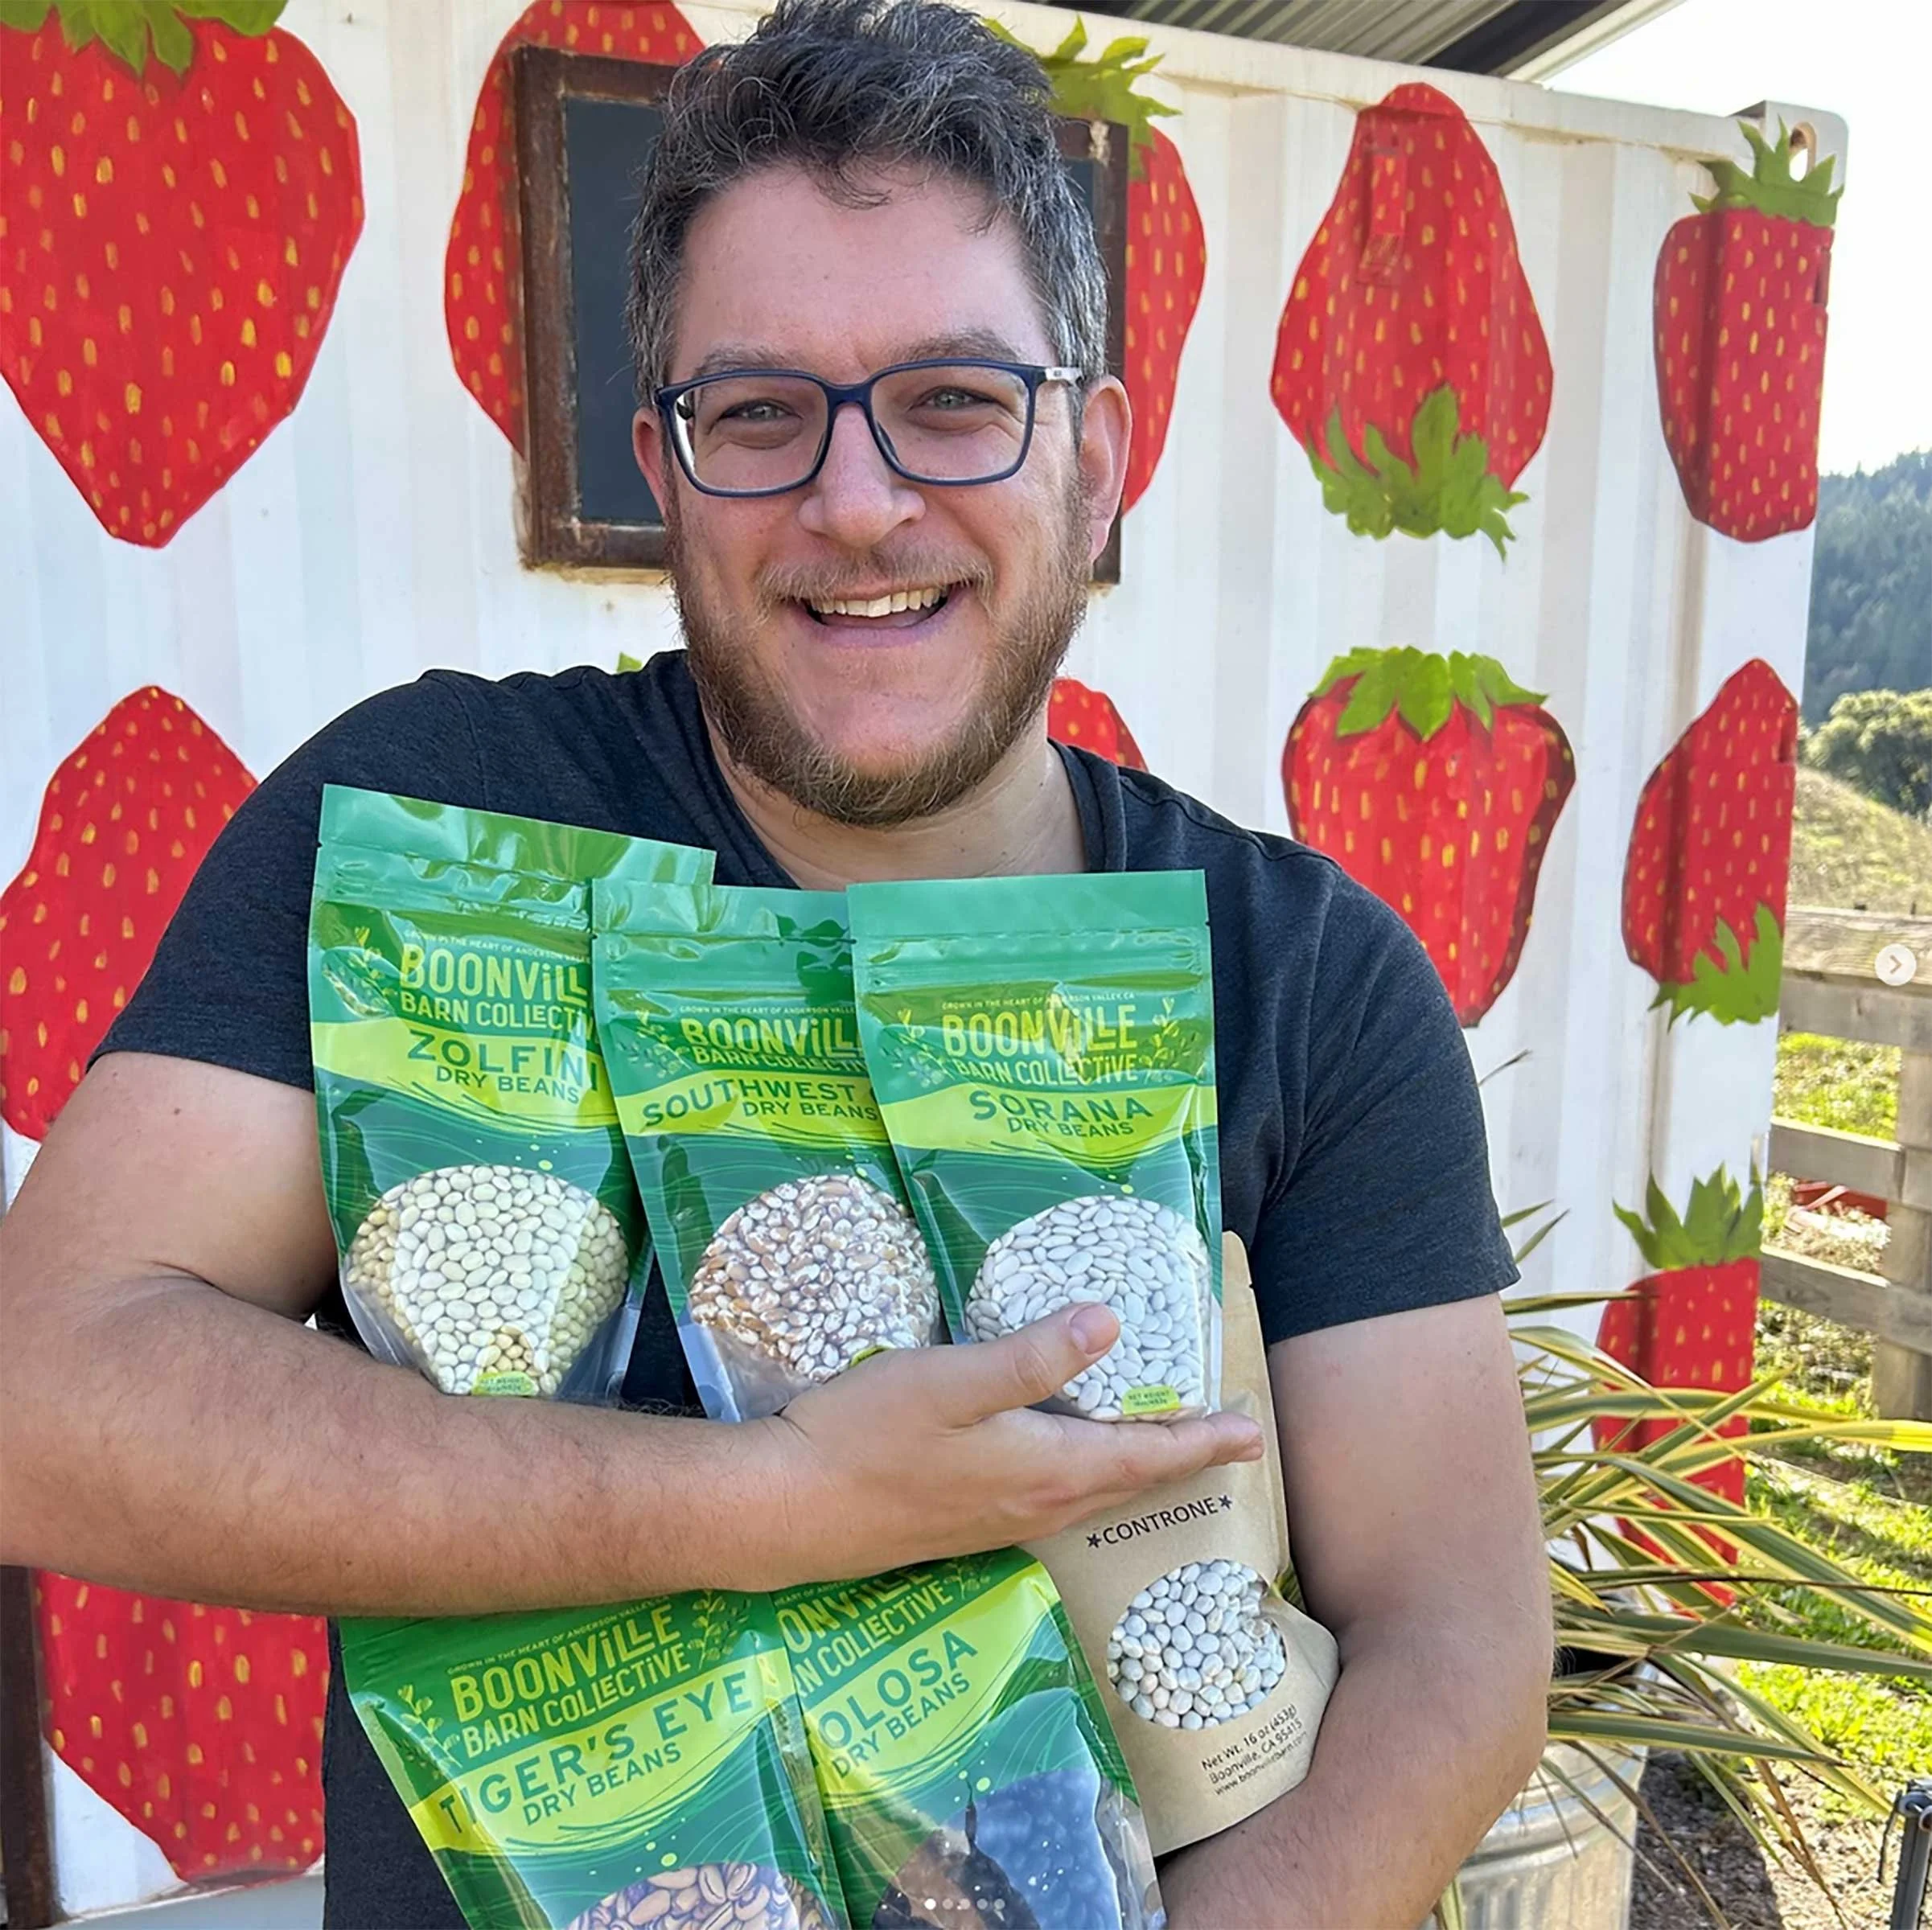
Ripe Now, Winter 2025, Recipes Caroline Bratt 12/1/25 Ripe Now, Winter 2025, Recipes Caroline Bratt 12/1/25 Full of Beans Read More
Fall 2025, Ripe Now Caroline Bratt 9/1/25 Fall 2025, Ripe Now Caroline Bratt 9/1/25 Get to the Root Read More
Ripe Now, Summer 2025 Caroline Bratt 6/1/25 Ripe Now, Summer 2025 Caroline Bratt 6/1/25 Chipotles! Read More
Ripe Now, Spring 2025 Caroline Bratt 3/1/25 Ripe Now, Spring 2025 Caroline Bratt 3/1/25 Brussels Sprouts Read More
Winter 2024, Ripe Now, Recipes Caroline Bratt 12/1/24 Winter 2024, Ripe Now, Recipes Caroline Bratt 12/1/24 MendoGrass Read More
Fall 2024, Ripe Now Caroline Bratt 9/1/24 Fall 2024, Ripe Now Caroline Bratt 9/1/24 Autumn in a Glass Read More
Spring 2024, Ripe Now Caroline Bratt 3/1/24 Spring 2024, Ripe Now Caroline Bratt 3/1/24 Radishes Read More
Winter 2023, Ripe Now Caroline Bratt 12/1/23 Winter 2023, Ripe Now Caroline Bratt 12/1/23 Caramelized Onion Jam Read More
Fall 2023, Ripe Now Caroline Bratt 9/1/23 Fall 2023, Ripe Now Caroline Bratt 9/1/23 Zucchini Flour Read More
Summer 2023, Ripe Now Caroline Bratt 6/1/23 Summer 2023, Ripe Now Caroline Bratt 6/1/23 Strawberries! Read More
Spring 2023, Ripe Now Caroline Bratt 3/1/23 Spring 2023, Ripe Now Caroline Bratt 3/1/23 Garlic Scapes Read More
Winter 2022, Ripe Now Caroline Bratt 12/1/22 Winter 2022, Ripe Now Caroline Bratt 12/1/22 Olive Oil Read More
Fall 2022, Ripe Now Caroline Bratt 9/1/22 Fall 2022, Ripe Now Caroline Bratt 9/1/22 Fall’s Fabulous Figs! Read More
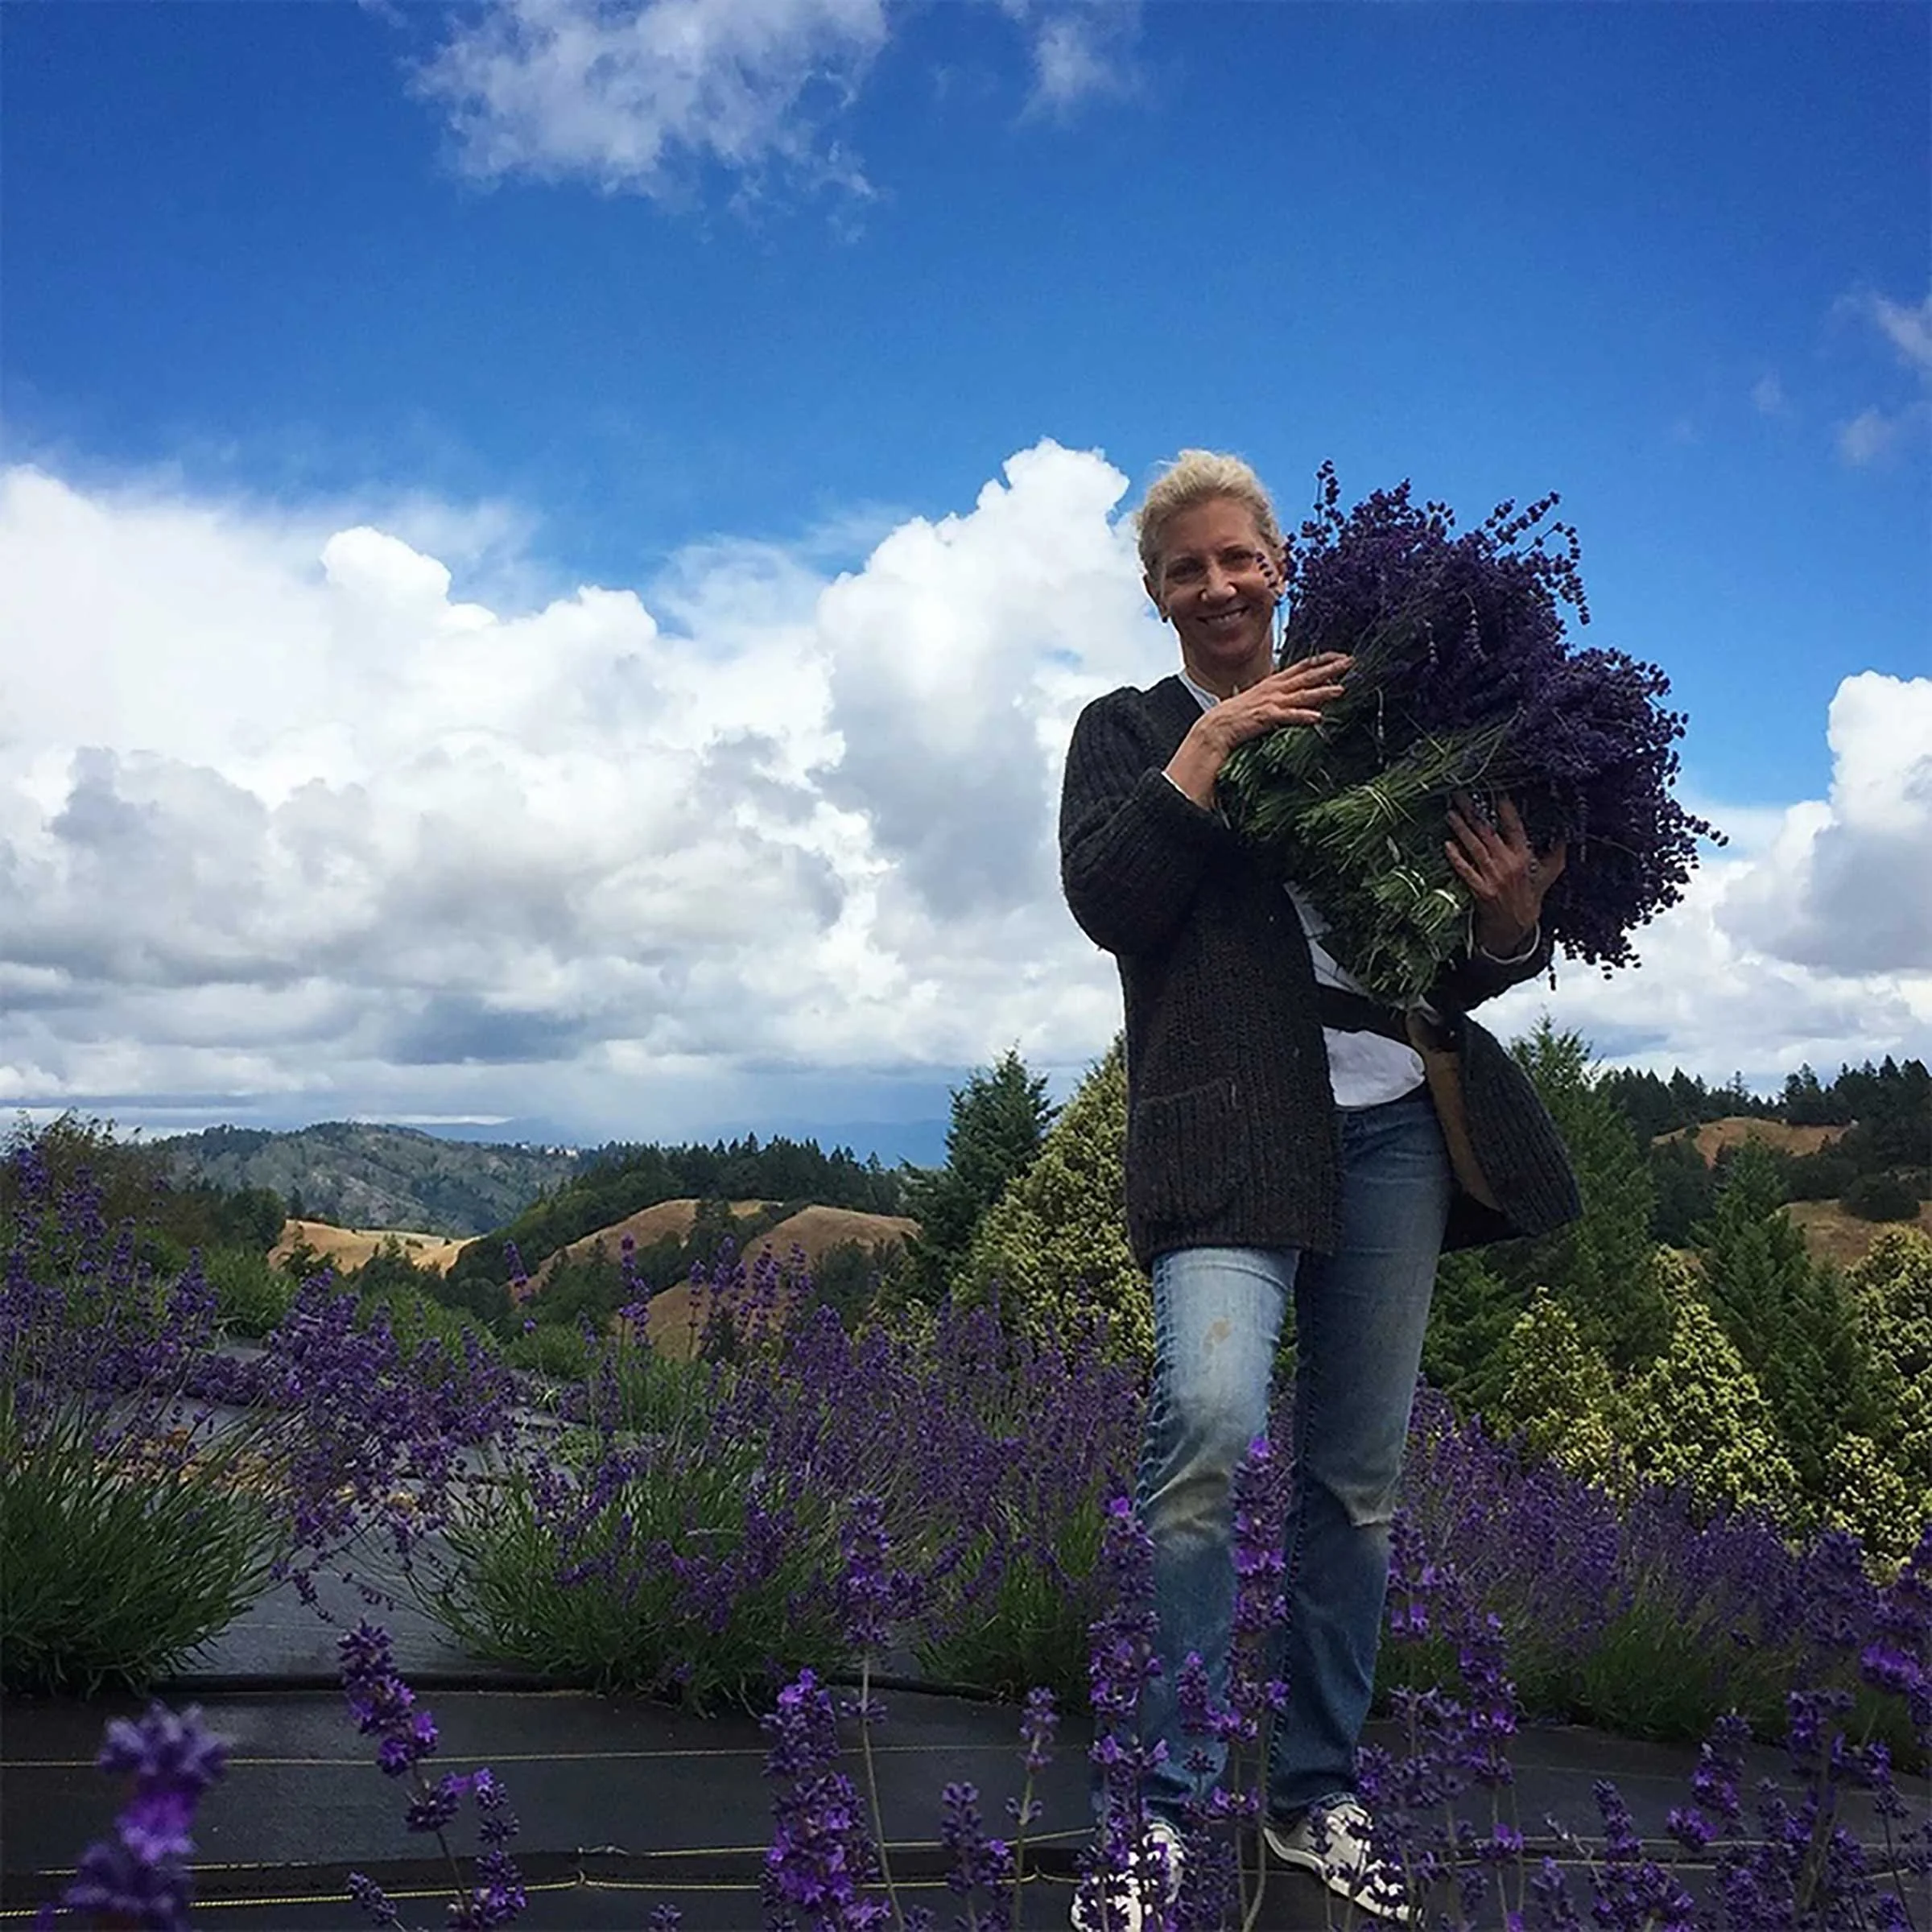
Summer 2022, Ripe Now Caroline Bratt 6/1/22 Summer 2022, Ripe Now Caroline Bratt 6/1/22 The Scent of Summer Read More
Spring 2022, Ripe Now Caroline Bratt 3/1/22 Spring 2022, Ripe Now Caroline Bratt 3/1/22 Leeks! Read More
Winter 2021, Ripe Now Caroline Bratt 12/1/21 Winter 2021, Ripe Now Caroline Bratt 12/1/21 The Magic of Preserved Lemons Read More
Fall 2021, Ripe Now, Recipes Caroline Bratt 9/1/21 Fall 2021, Ripe Now, Recipes Caroline Bratt 9/1/21 Fall’s Gems Read More
Summer 2021, Ripe Now, Recipes Caroline Bratt 6/1/21 Summer 2021, Ripe Now, Recipes Caroline Bratt 6/1/21 Gratitude for Summer’s Abundance of Basil Read More
Spring 2021, Ripe Now, Recipes Caroline Bratt 3/1/21 Spring 2021, Ripe Now, Recipes Caroline Bratt 3/1/21 Pennyroyal’s Laychee Read More
Winter 2020, Ripe Now, Recipes Caroline Bratt 12/1/20 Winter 2020, Ripe Now, Recipes Caroline Bratt 12/1/20 McFadden Garlic Read More
Fall 2020, Ripe Now Caroline Bratt 9/1/20 Fall 2020, Ripe Now Caroline Bratt 9/1/20 A Decade of Patience Read More
Summer 2020, Ripe Now Caroline Bratt 6/1/20 Summer 2020, Ripe Now Caroline Bratt 6/1/20 Keep Health Blooming Read More