Summer 2026, Ripe Now, Recipes Kaitlyn Brunner 6/1/26 Summer 2026, Ripe Now, Recipes Kaitlyn Brunner 6/1/26 Flavor Supreme Pluots Read More Summer 2026, Wild Things, Recipes Kaitlyn Brunner 6/1/26 Summer 2026, Wild Things, Recipes Kaitlyn Brunner 6/1/26 Yucca Blossoms Read More Spring 2026, Ripe Now, Recipes Kaitlyn Brunner 3/1/26 Spring 2026, Ripe Now, Recipes Kaitlyn Brunner 3/1/26 Starting Strong Read More Spring 2026, Feature, Recipes Kaitlyn Brunner 3/1/26 Spring 2026, Feature, Recipes Kaitlyn Brunner 3/1/26 Two Cooks, One Restaurant Read More Spring 2026, Wild Things, Recipes Kaitlyn Brunner 3/1/26 Spring 2026, Wild Things, Recipes Kaitlyn Brunner 3/1/26 Elderflower Read More Ripe Now, Winter 2025, Recipes Caroline Bratt 12/1/25 Ripe Now, Winter 2025, Recipes Caroline Bratt 12/1/25 Full of Beans Read More Winter 2025, Wild Things, Recipes Torrey Douglass 12/1/25 Winter 2025, Wild Things, Recipes Torrey Douglass 12/1/25 California Bay Laurel Read More Winter 2024, Ripe Now, Recipes Caroline Bratt 12/1/24 Winter 2024, Ripe Now, Recipes Caroline Bratt 12/1/24 MendoGrass Read More Winter 2024, Recipes, Sweet Bites Caroline Bratt 12/1/24 Winter 2024, Recipes, Sweet Bites Caroline Bratt 12/1/24 Delicious Little Coconut Read More Winter 2024, Wild Things, Recipes Caroline Bratt 12/1/24 Winter 2024, Wild Things, Recipes Caroline Bratt 12/1/24 Pretty & Plentiful Read More Winter 2024, Recipes Caroline Bratt 12/1/24 Winter 2024, Recipes Caroline Bratt 12/1/24 Say Labneh! Read More Spring 2023, Wild Things, Recipes Caroline Bratt 3/1/23 Spring 2023, Wild Things, Recipes Caroline Bratt 3/1/23 Miner’s Lettuce Read More Spring 2023, Small World, Recipes Caroline Bratt 3/1/23 Spring 2023, Small World, Recipes Caroline Bratt 3/1/23 Spontaneous Wanderlust Read More Winter 2022, Wild Things, Recipes Caroline Bratt 12/1/22 Winter 2022, Wild Things, Recipes Caroline Bratt 12/1/22 Flex those Mussels Read More Spring 2022, Recipes, Wild Things Caroline Bratt 3/1/22 Spring 2022, Recipes, Wild Things Caroline Bratt 3/1/22 Springbank Clover Read More Winter 2021, Wild Things, Recipes Caroline Bratt 12/1/21 Winter 2021, Wild Things, Recipes Caroline Bratt 12/1/21 Sourberry Read More Winter 2021, Bebemos!, Recipes Caroline Bratt 12/1/21 Winter 2021, Bebemos!, Recipes Caroline Bratt 12/1/21 Boozy Hot Chocolate Read More Fall 2021, Ripe Now, Recipes Caroline Bratt 9/1/21 Fall 2021, Ripe Now, Recipes Caroline Bratt 9/1/21 Fall’s Gems Read More Fall 2021, Wild Things, Recipes Caroline Bratt 9/1/21 Fall 2021, Wild Things, Recipes Caroline Bratt 9/1/21 Venison Jerky Read More Fall 2021, Bebemos!, Recipes Caroline Bratt 9/1/21 Fall 2021, Bebemos!, Recipes Caroline Bratt 9/1/21 Roses, Orange, and Spice Read More Summer 2021, Ripe Now, Recipes Caroline Bratt 6/1/21 Summer 2021, Ripe Now, Recipes Caroline Bratt 6/1/21 Gratitude for Summer’s Abundance of Basil Read More Summer 2021, Wild Things, Recipes Caroline Bratt 6/1/21 Summer 2021, Wild Things, Recipes Caroline Bratt 6/1/21 Fresh-Caught Rockfish Read More Summer 2021, Bebemos!, Recipes Caroline Bratt 6/1/21 Summer 2021, Bebemos!, Recipes Caroline Bratt 6/1/21 Bubbles & Citrus for the Best Summer Sipping Read More Spring 2021, Ripe Now, Recipes Caroline Bratt 3/1/21 Spring 2021, Ripe Now, Recipes Caroline Bratt 3/1/21 Pennyroyal’s Laychee Read More Older Posts
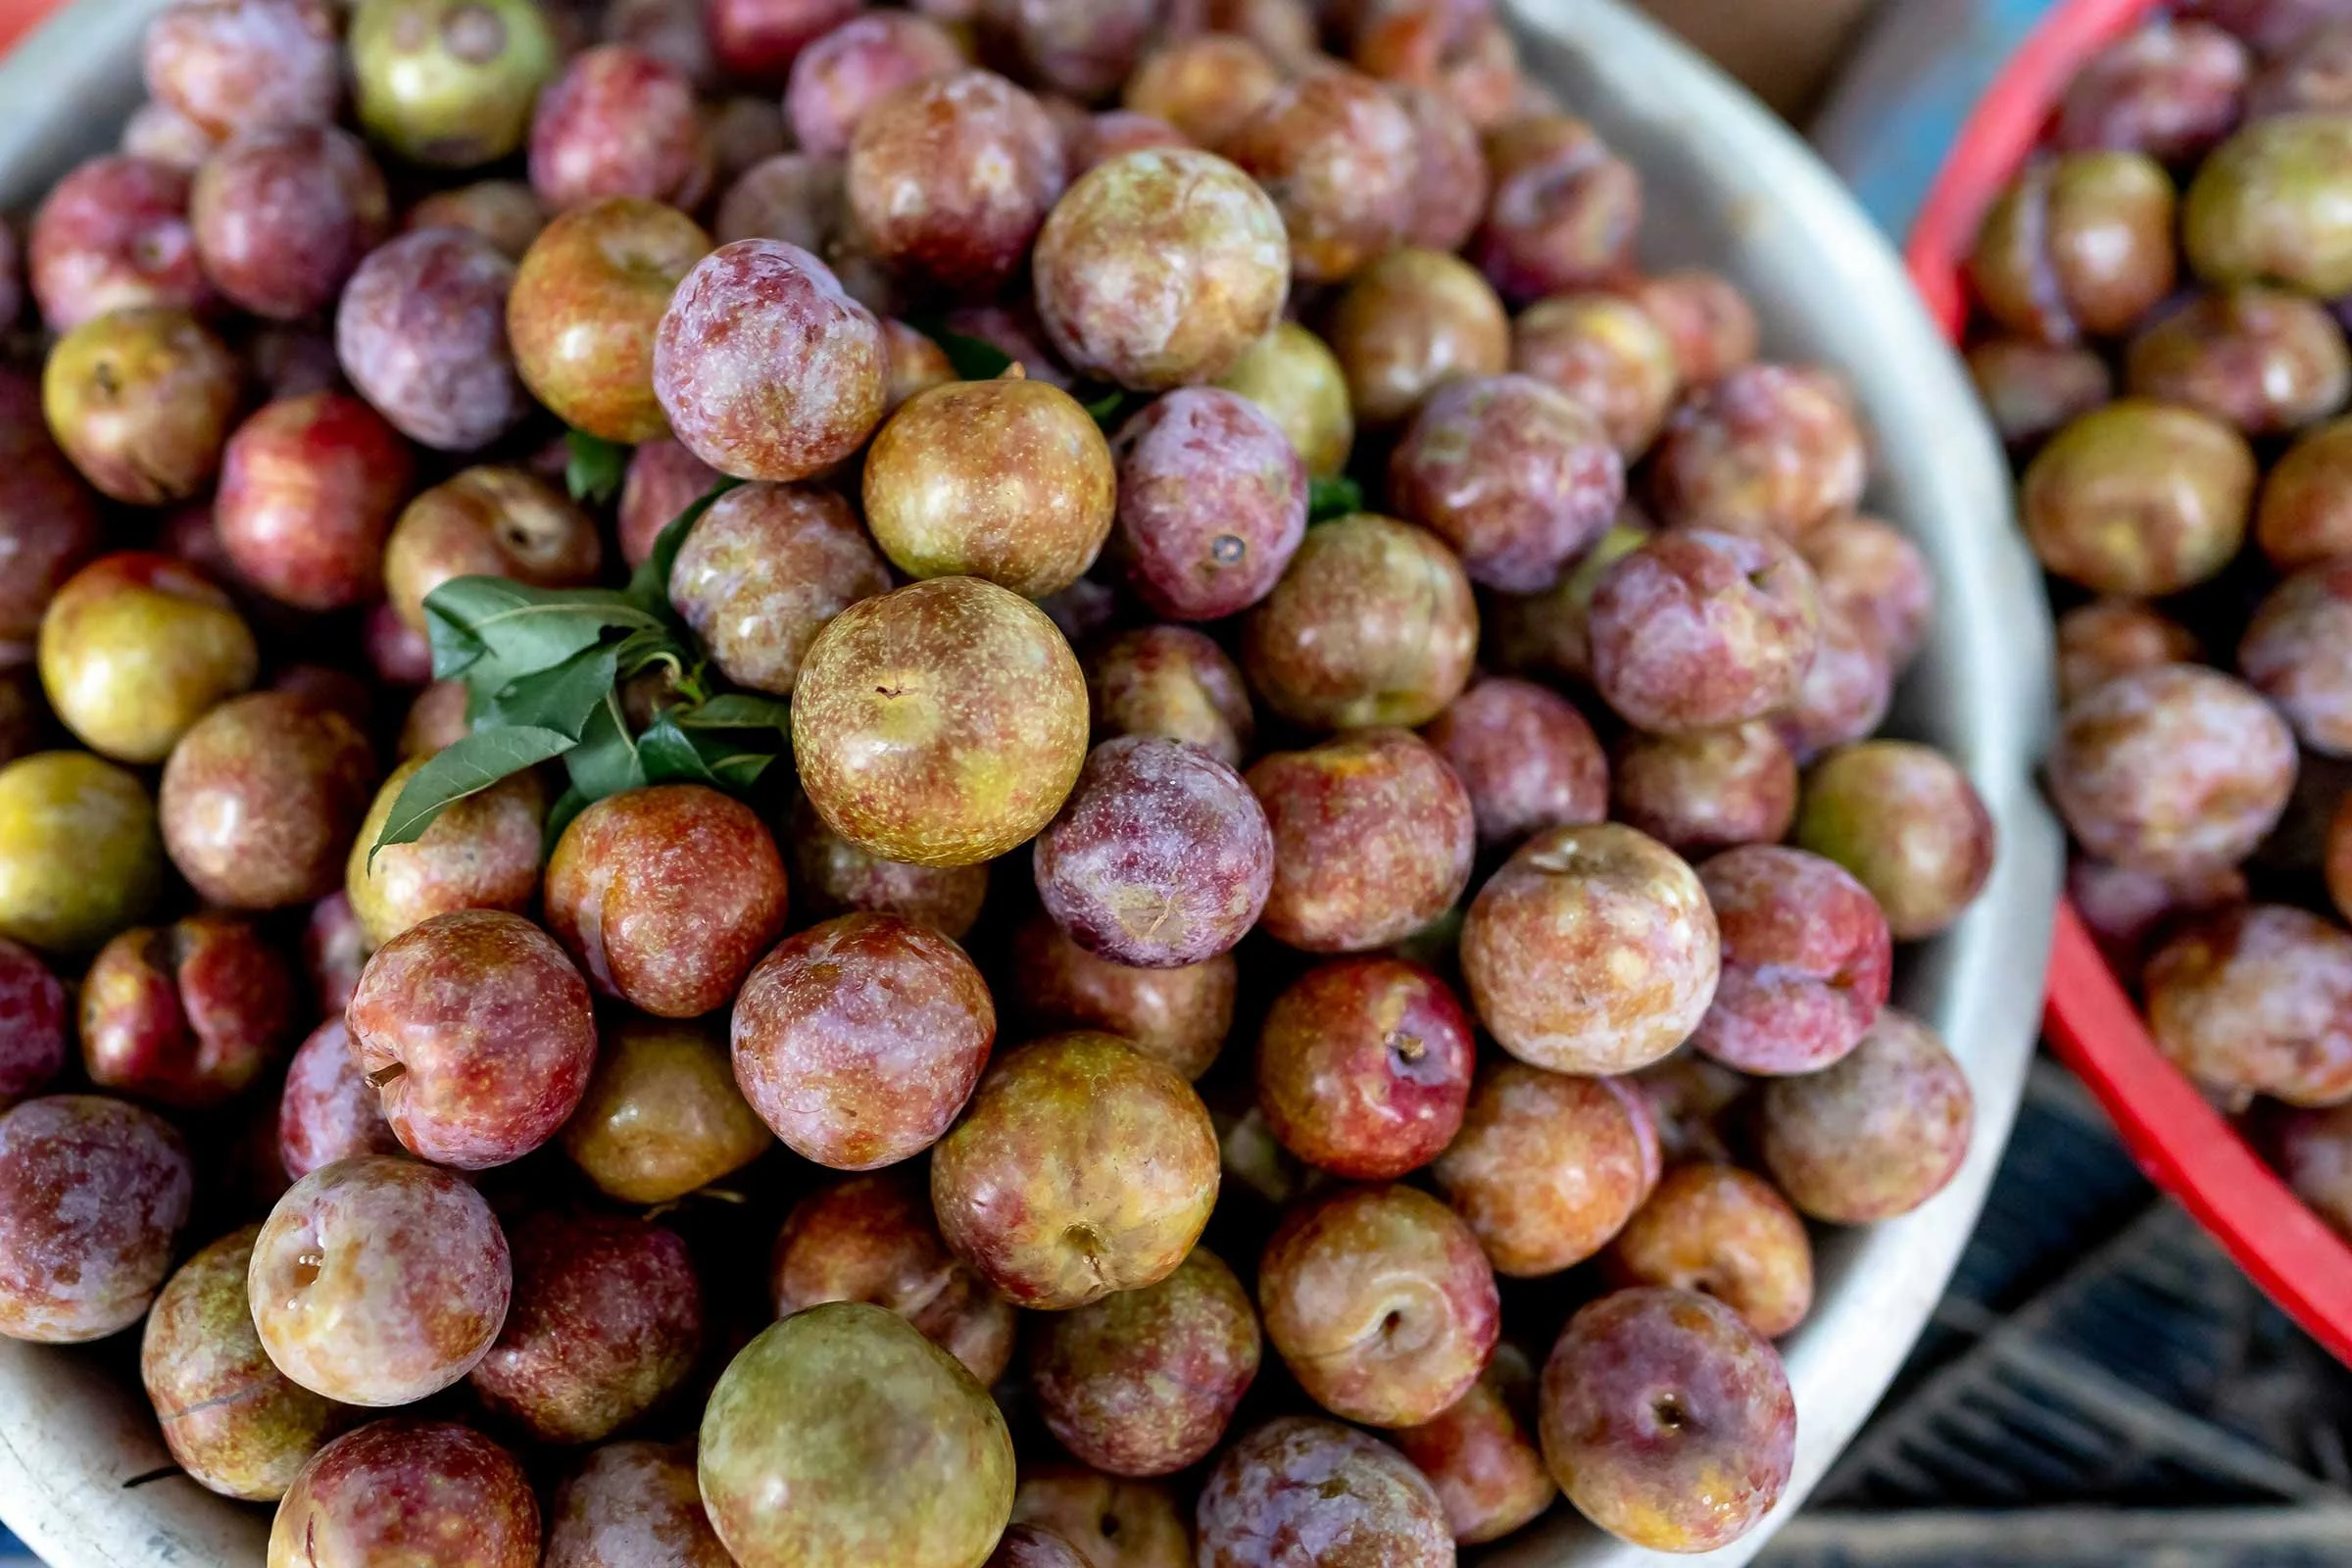
Summer 2026, Ripe Now, Recipes Kaitlyn Brunner 6/1/26 Summer 2026, Ripe Now, Recipes Kaitlyn Brunner 6/1/26 Flavor Supreme Pluots Read More
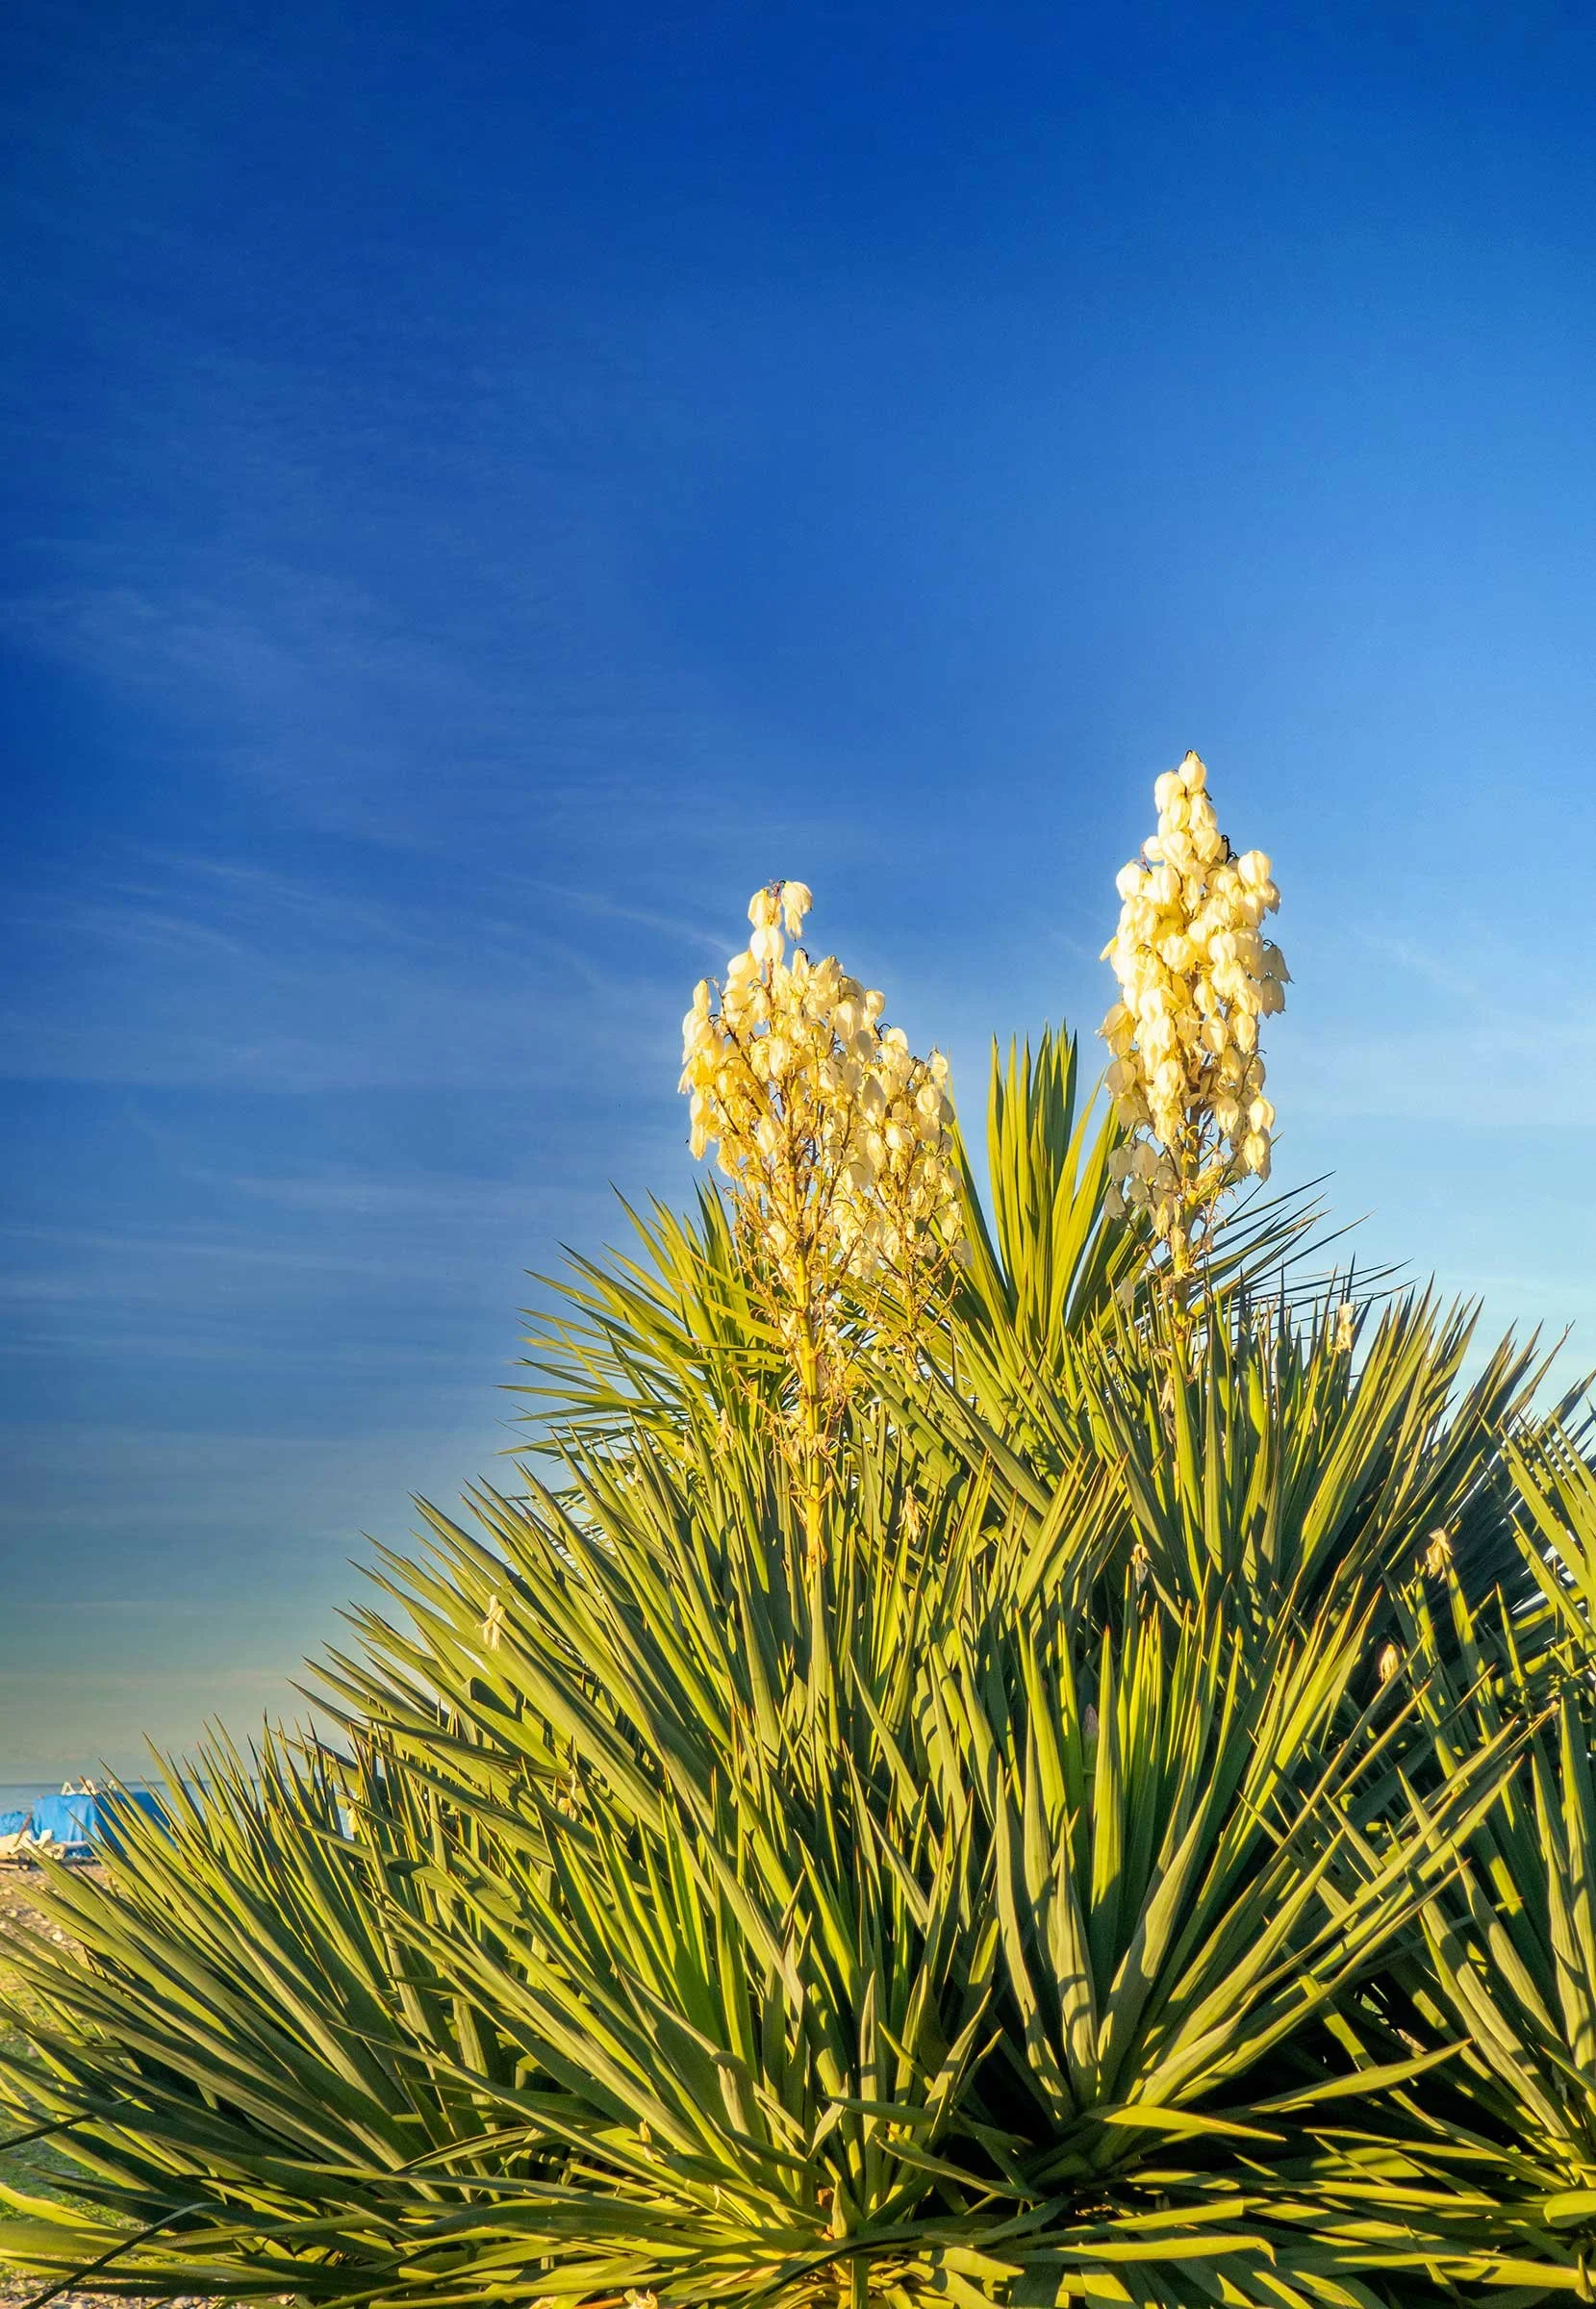
Summer 2026, Wild Things, Recipes Kaitlyn Brunner 6/1/26 Summer 2026, Wild Things, Recipes Kaitlyn Brunner 6/1/26 Yucca Blossoms Read More
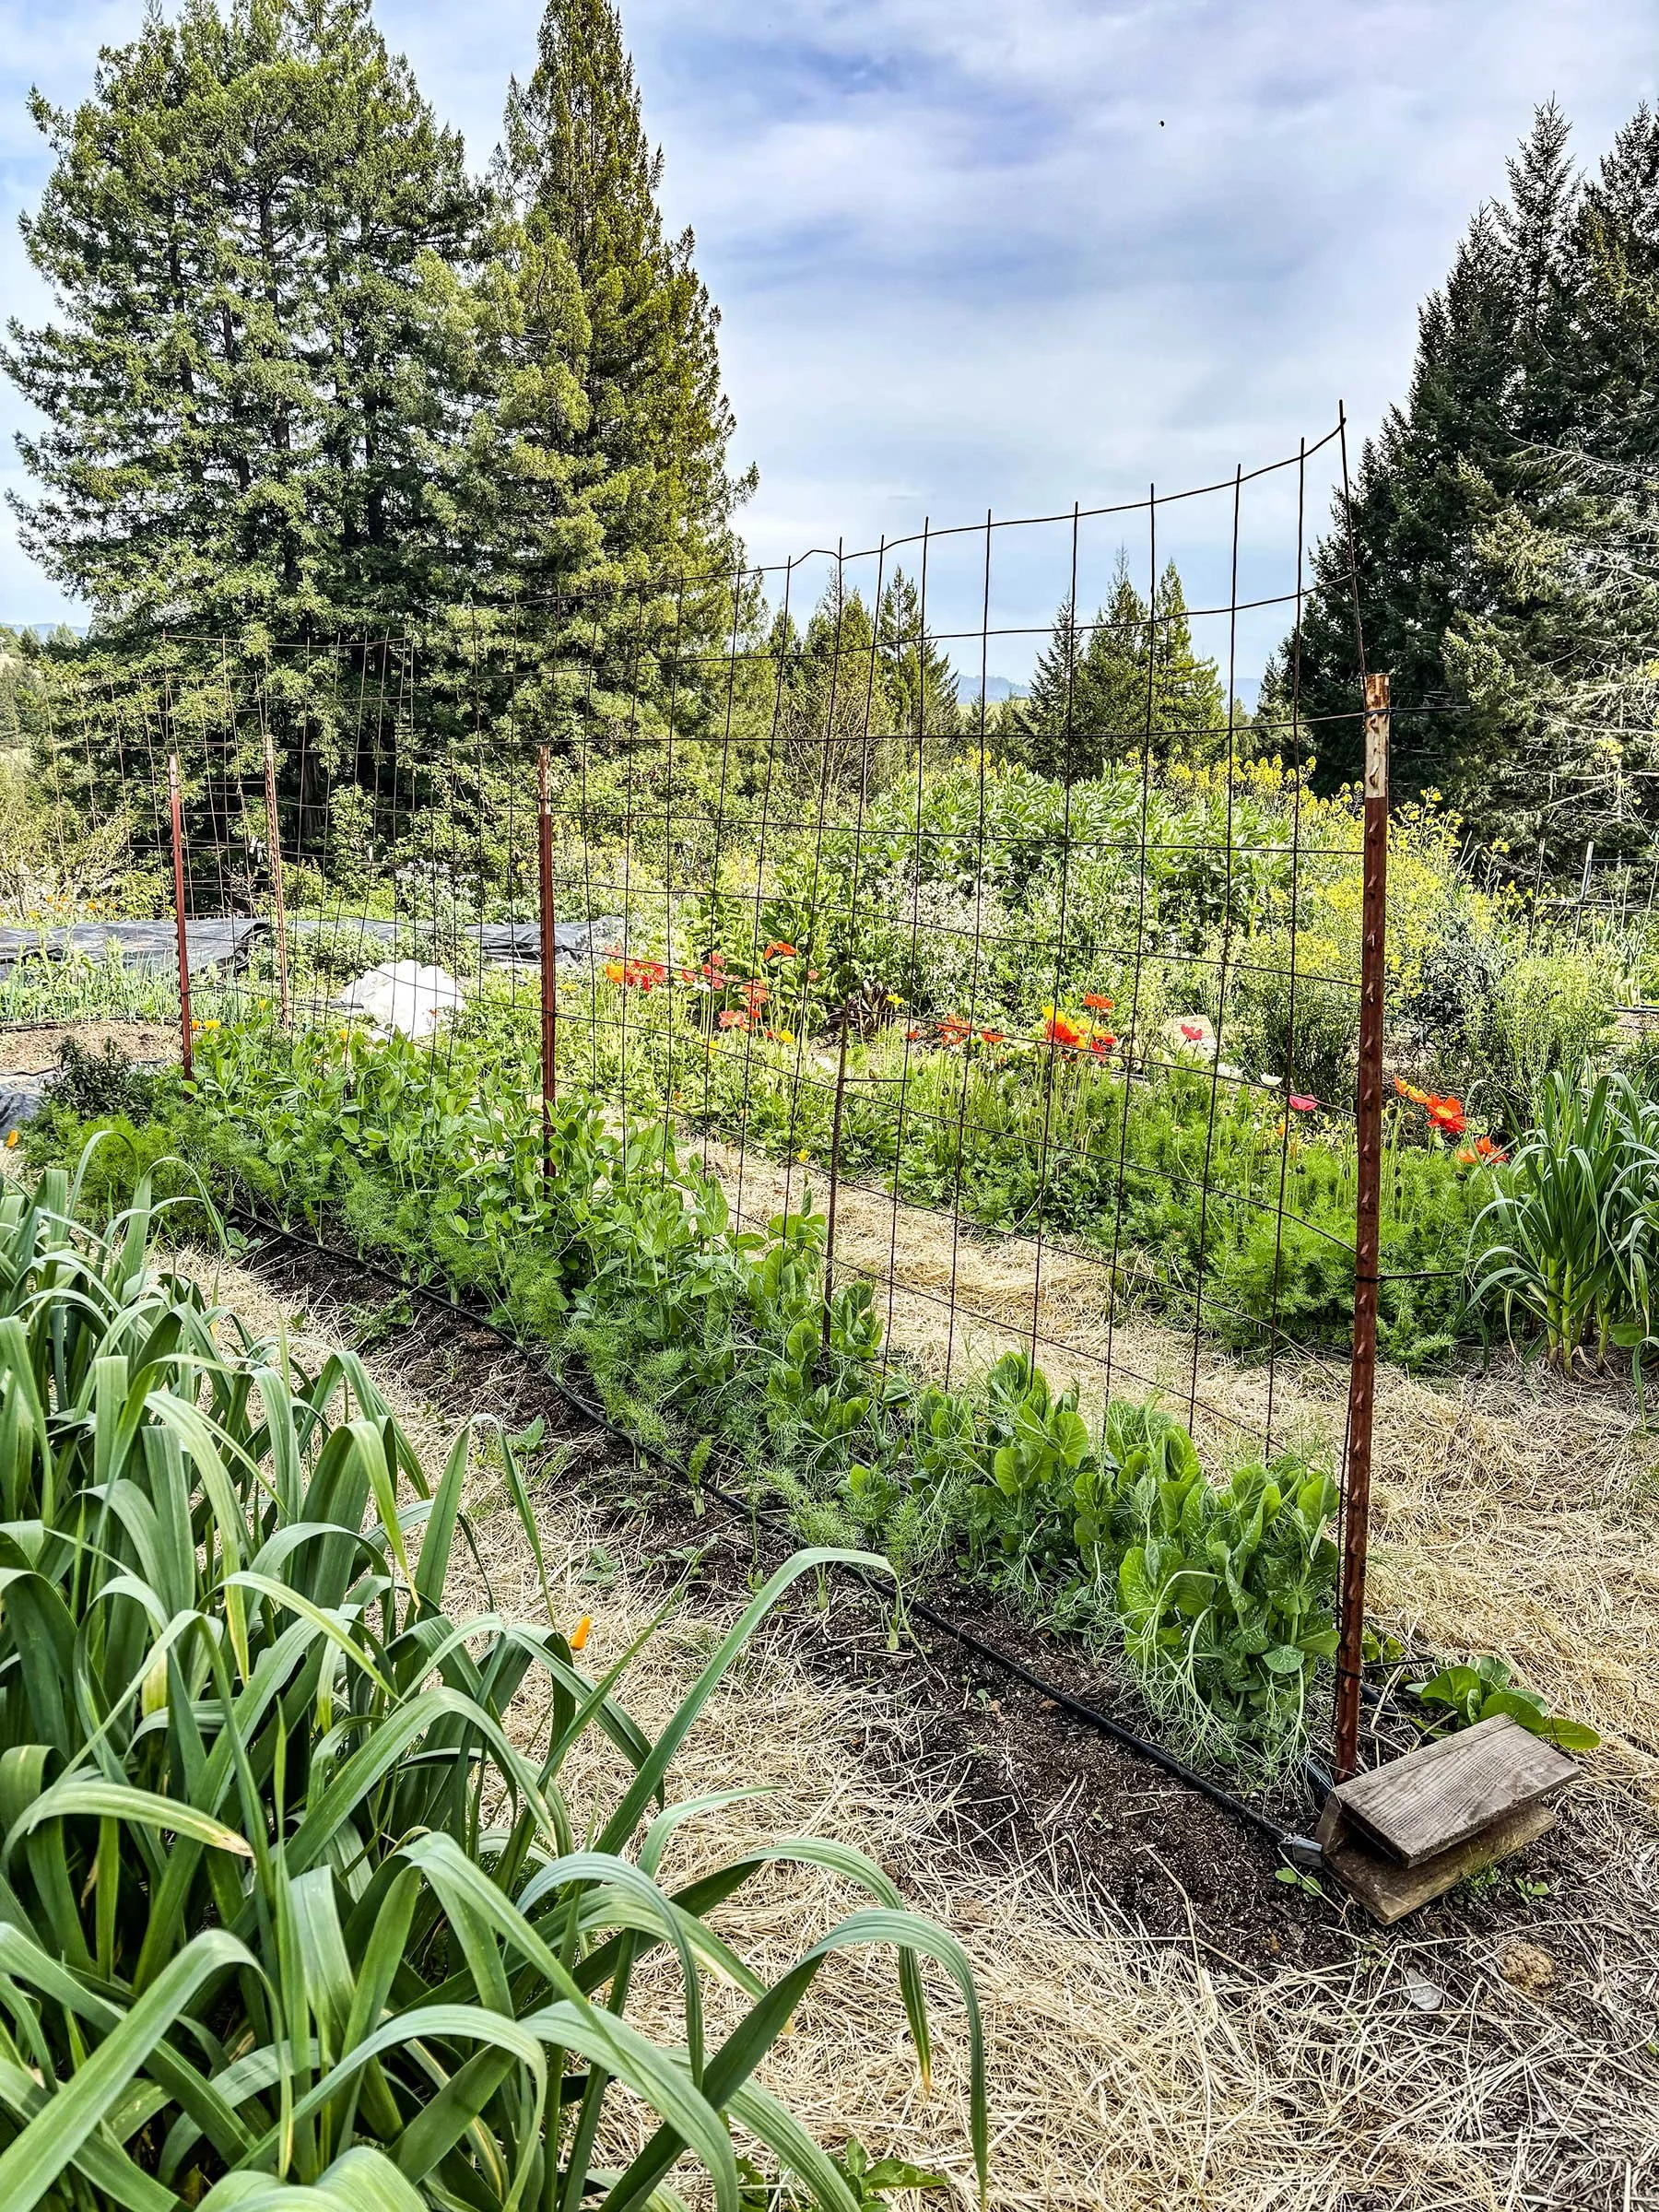
Spring 2026, Ripe Now, Recipes Kaitlyn Brunner 3/1/26 Spring 2026, Ripe Now, Recipes Kaitlyn Brunner 3/1/26 Starting Strong Read More
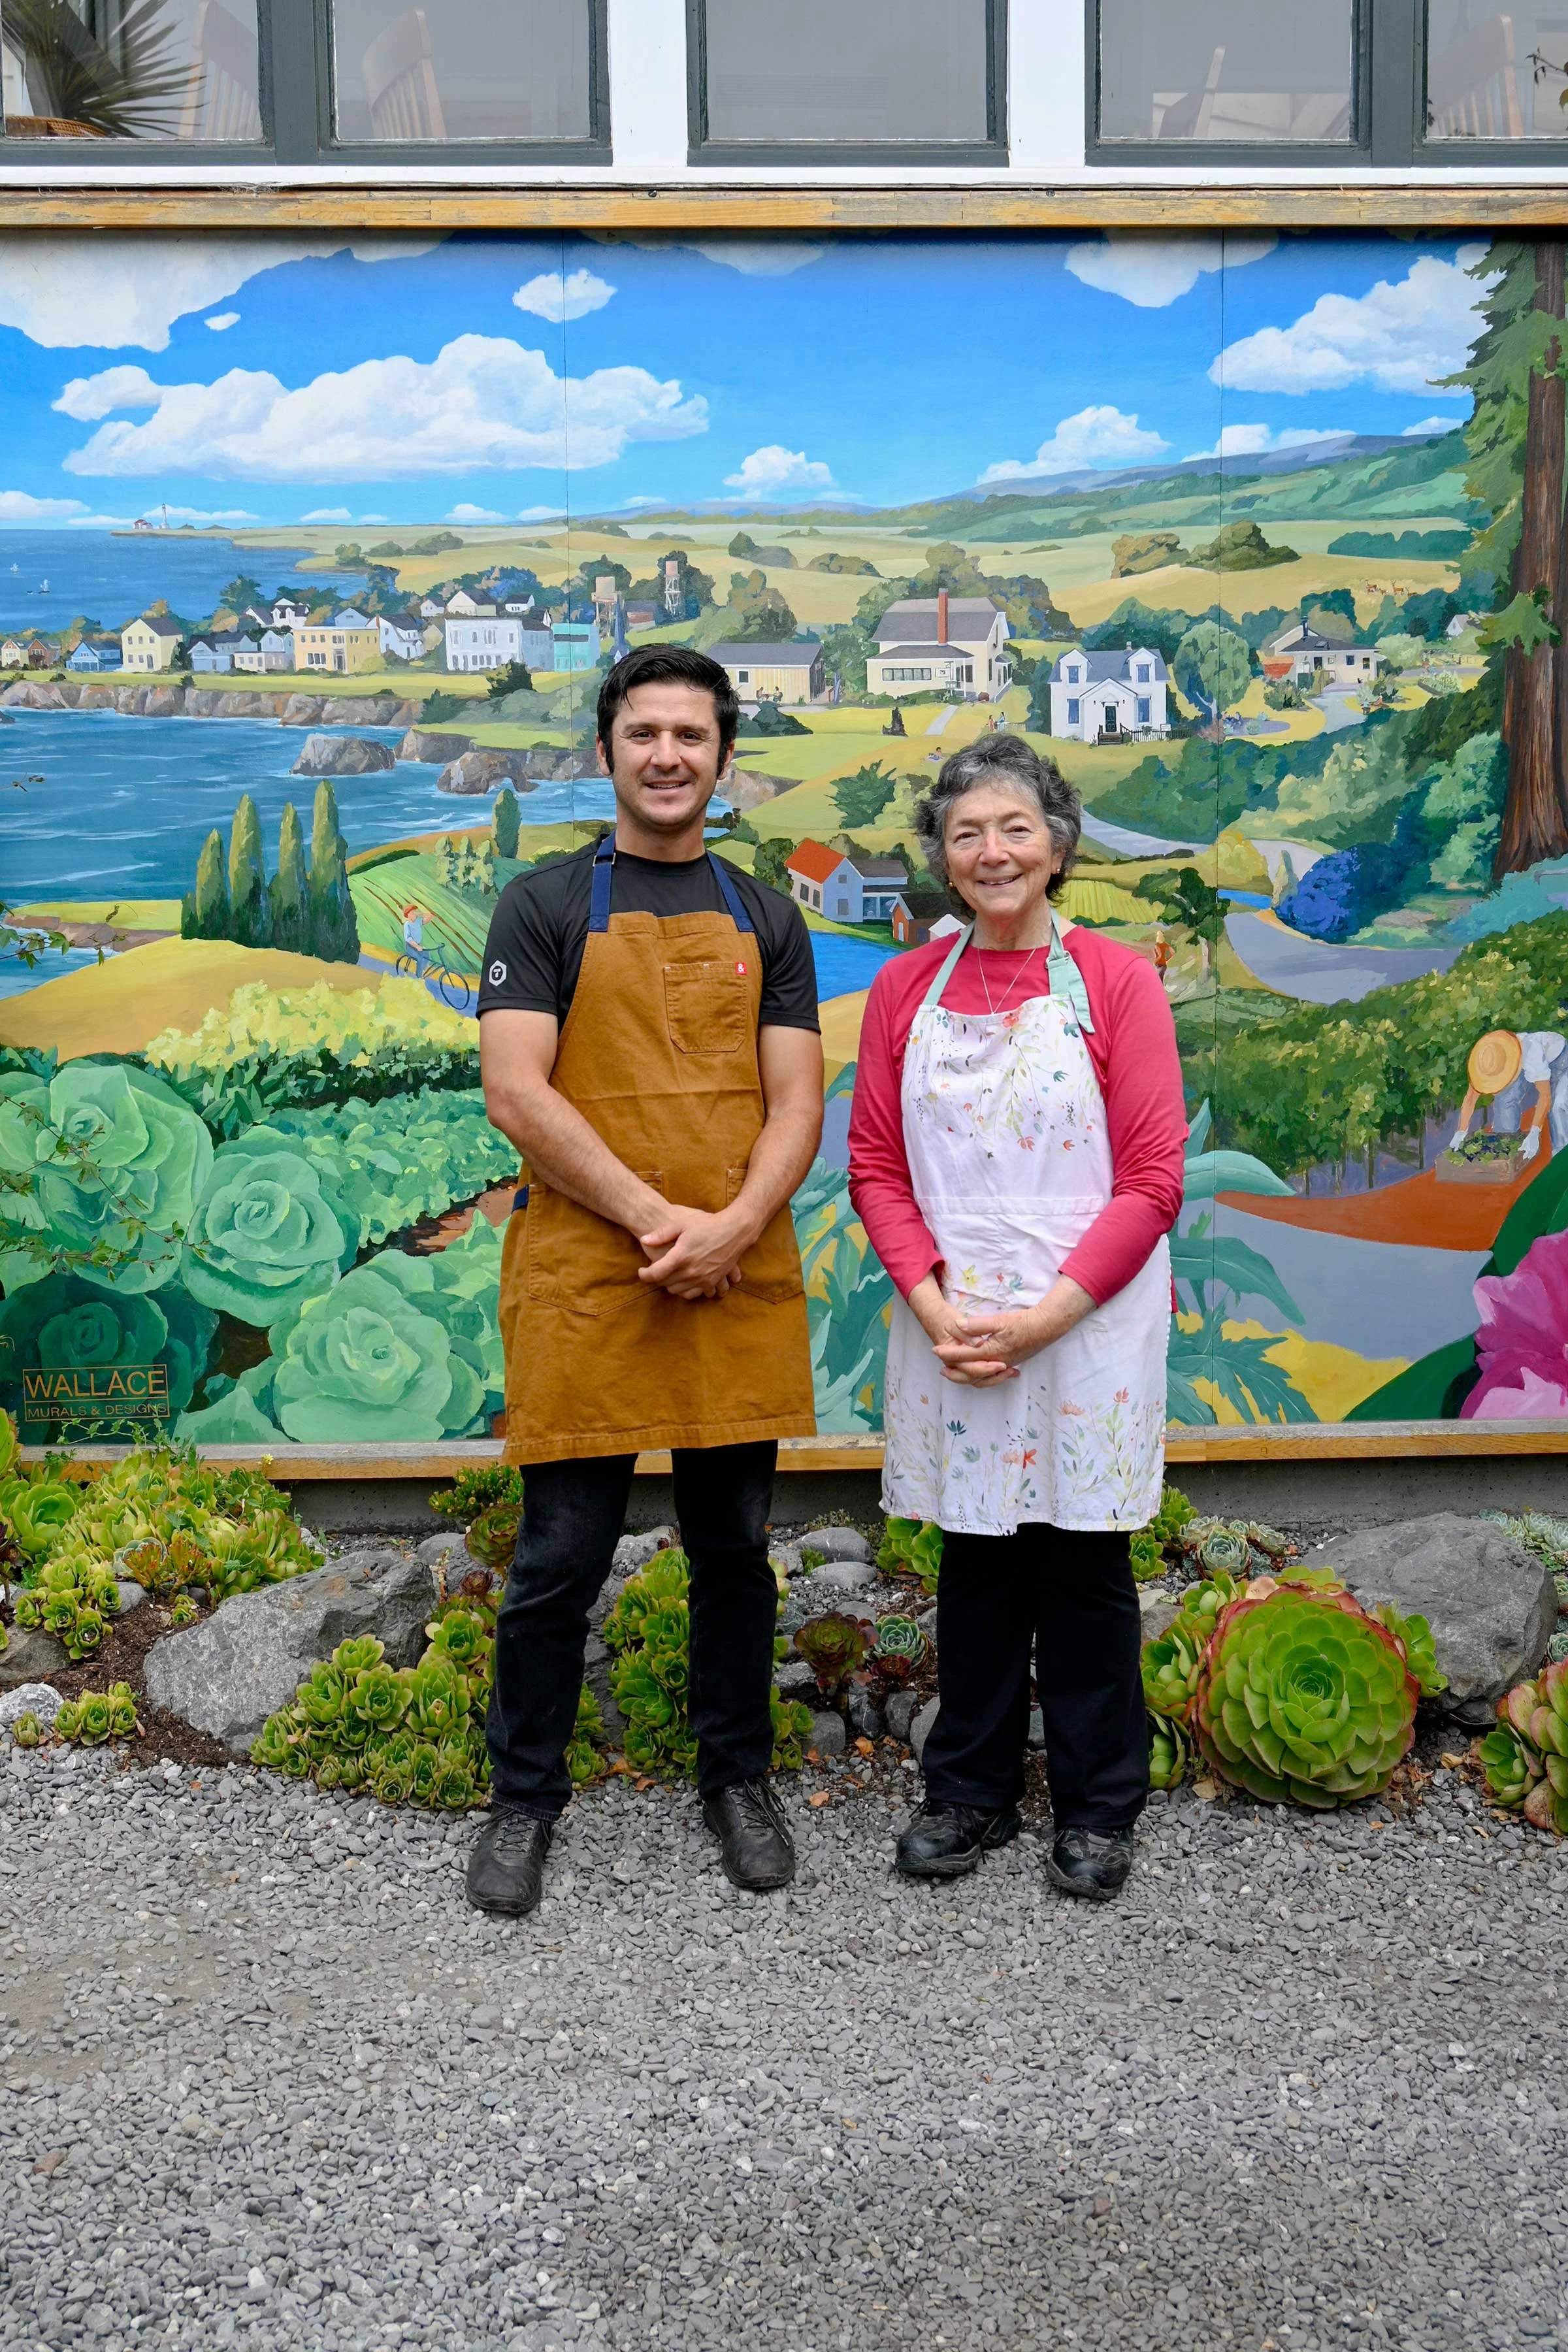
Spring 2026, Feature, Recipes Kaitlyn Brunner 3/1/26 Spring 2026, Feature, Recipes Kaitlyn Brunner 3/1/26 Two Cooks, One Restaurant Read More
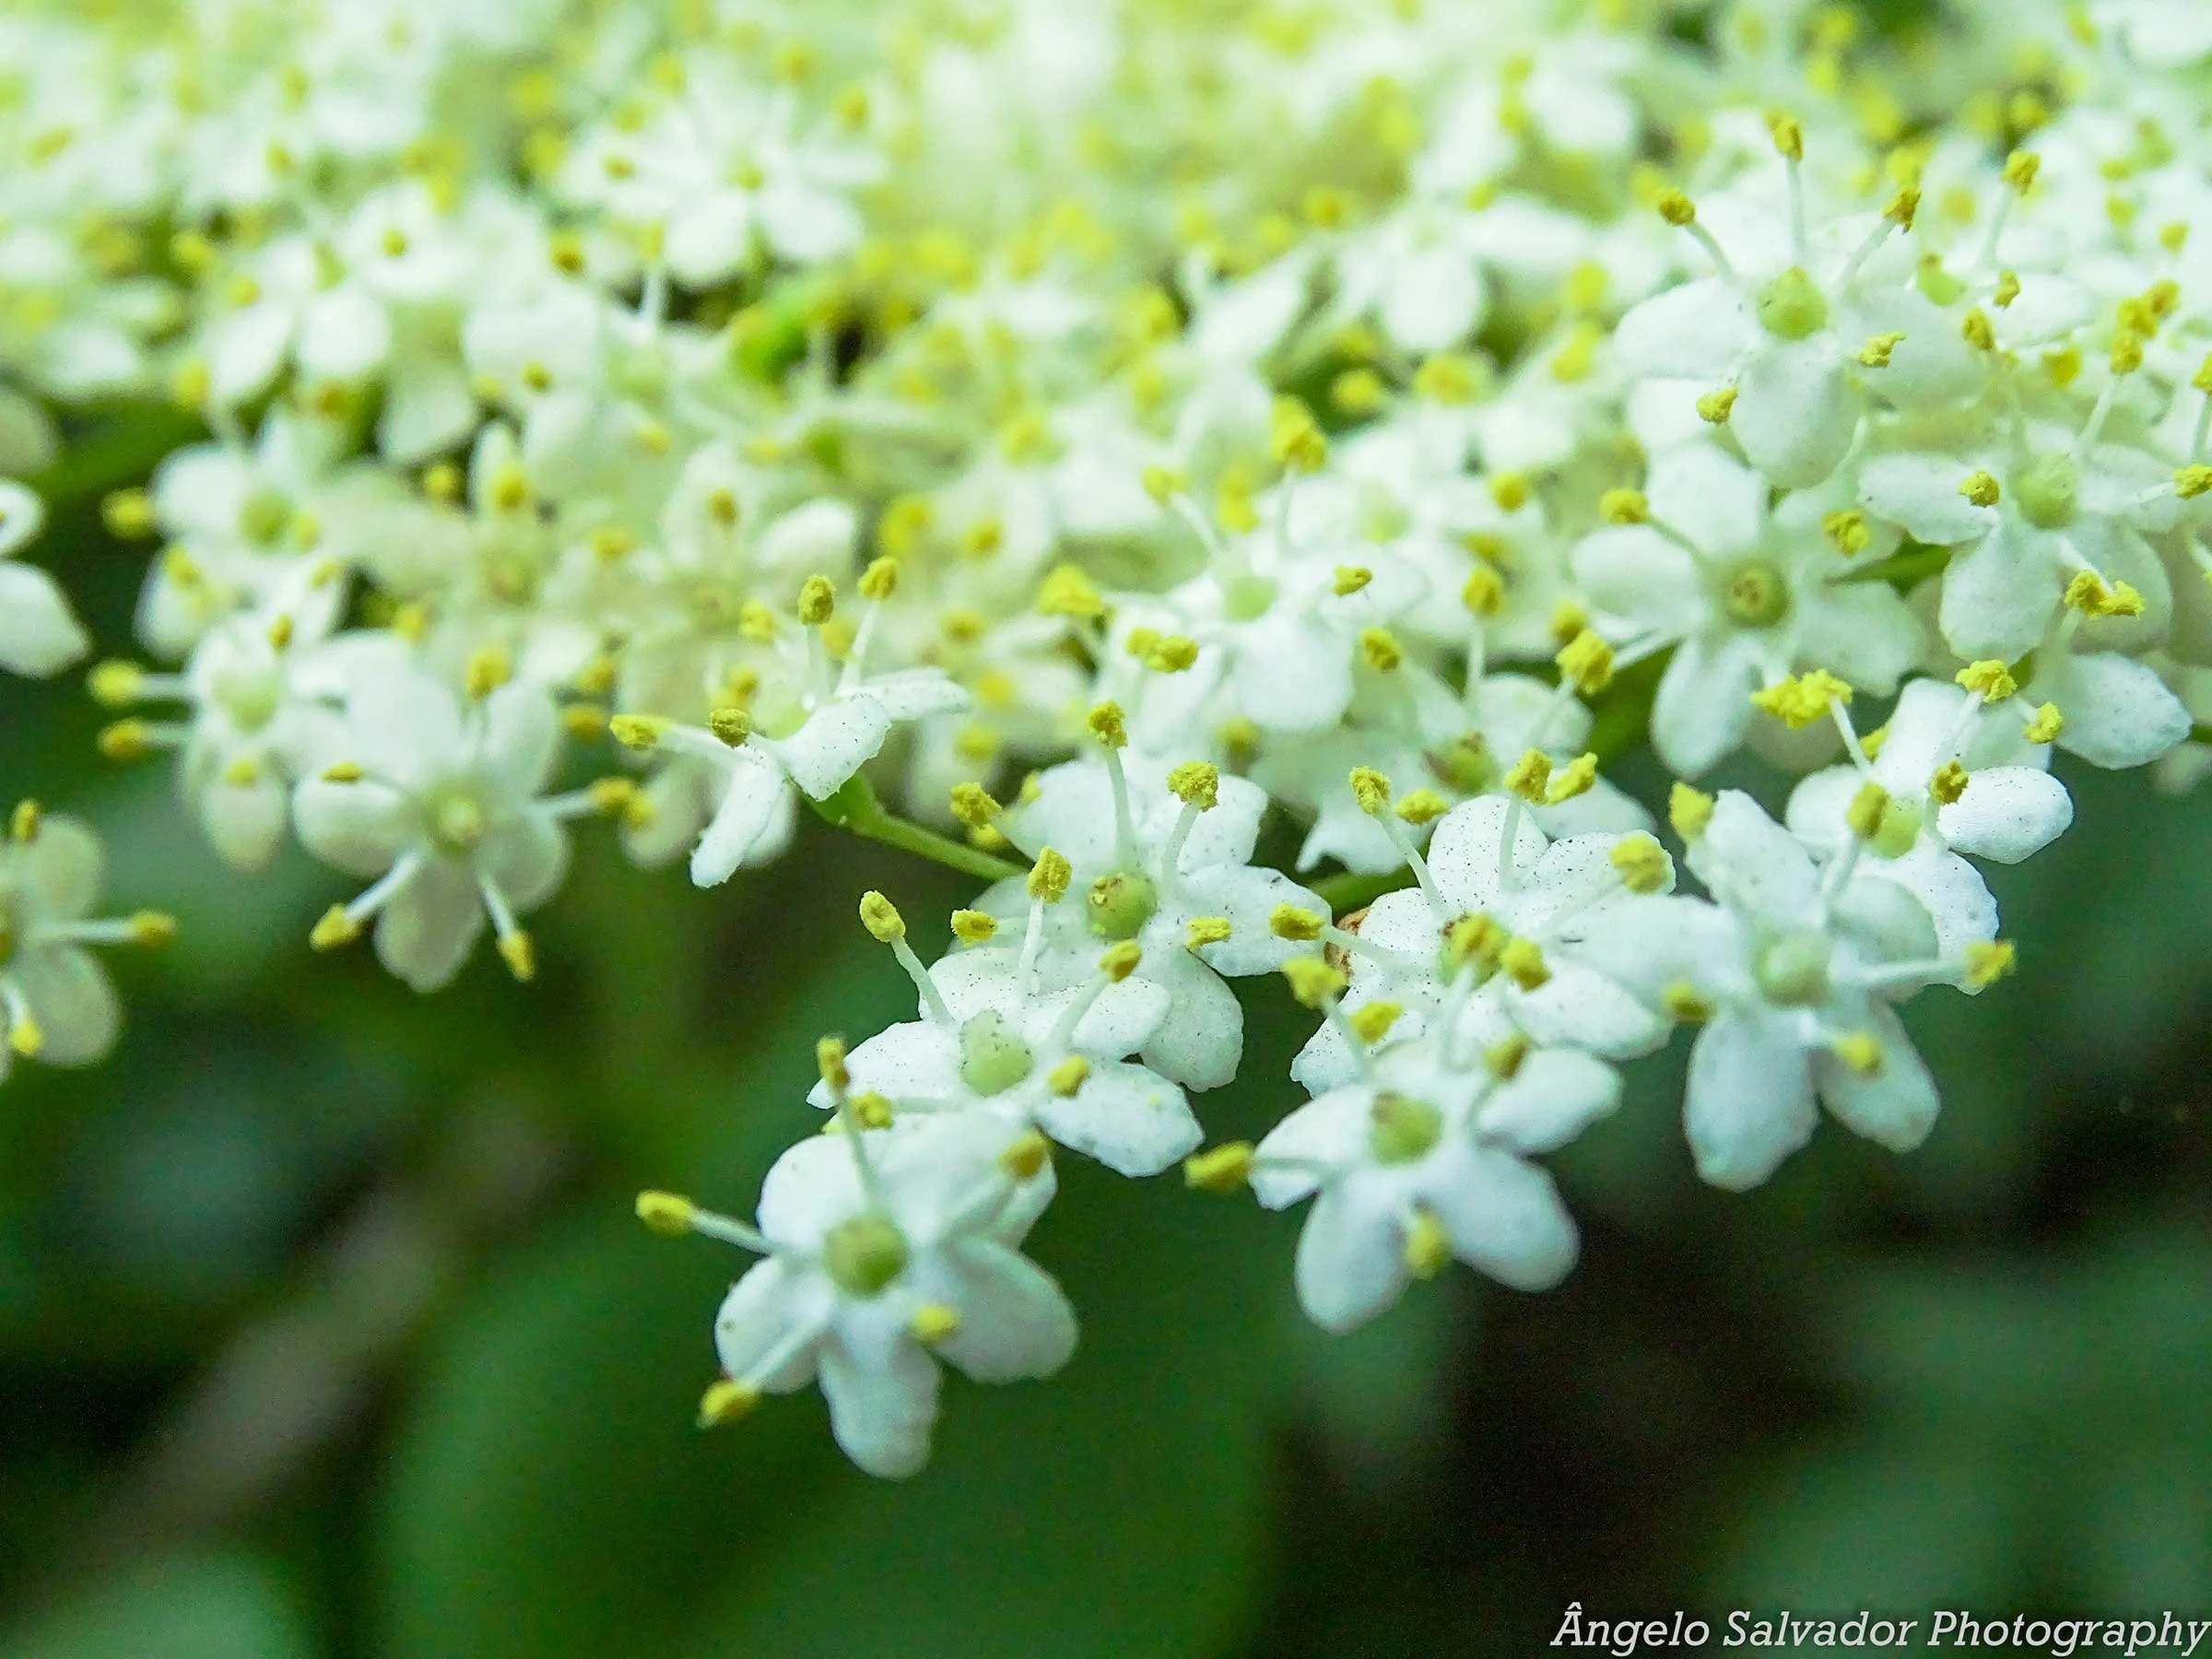
Spring 2026, Wild Things, Recipes Kaitlyn Brunner 3/1/26 Spring 2026, Wild Things, Recipes Kaitlyn Brunner 3/1/26 Elderflower Read More
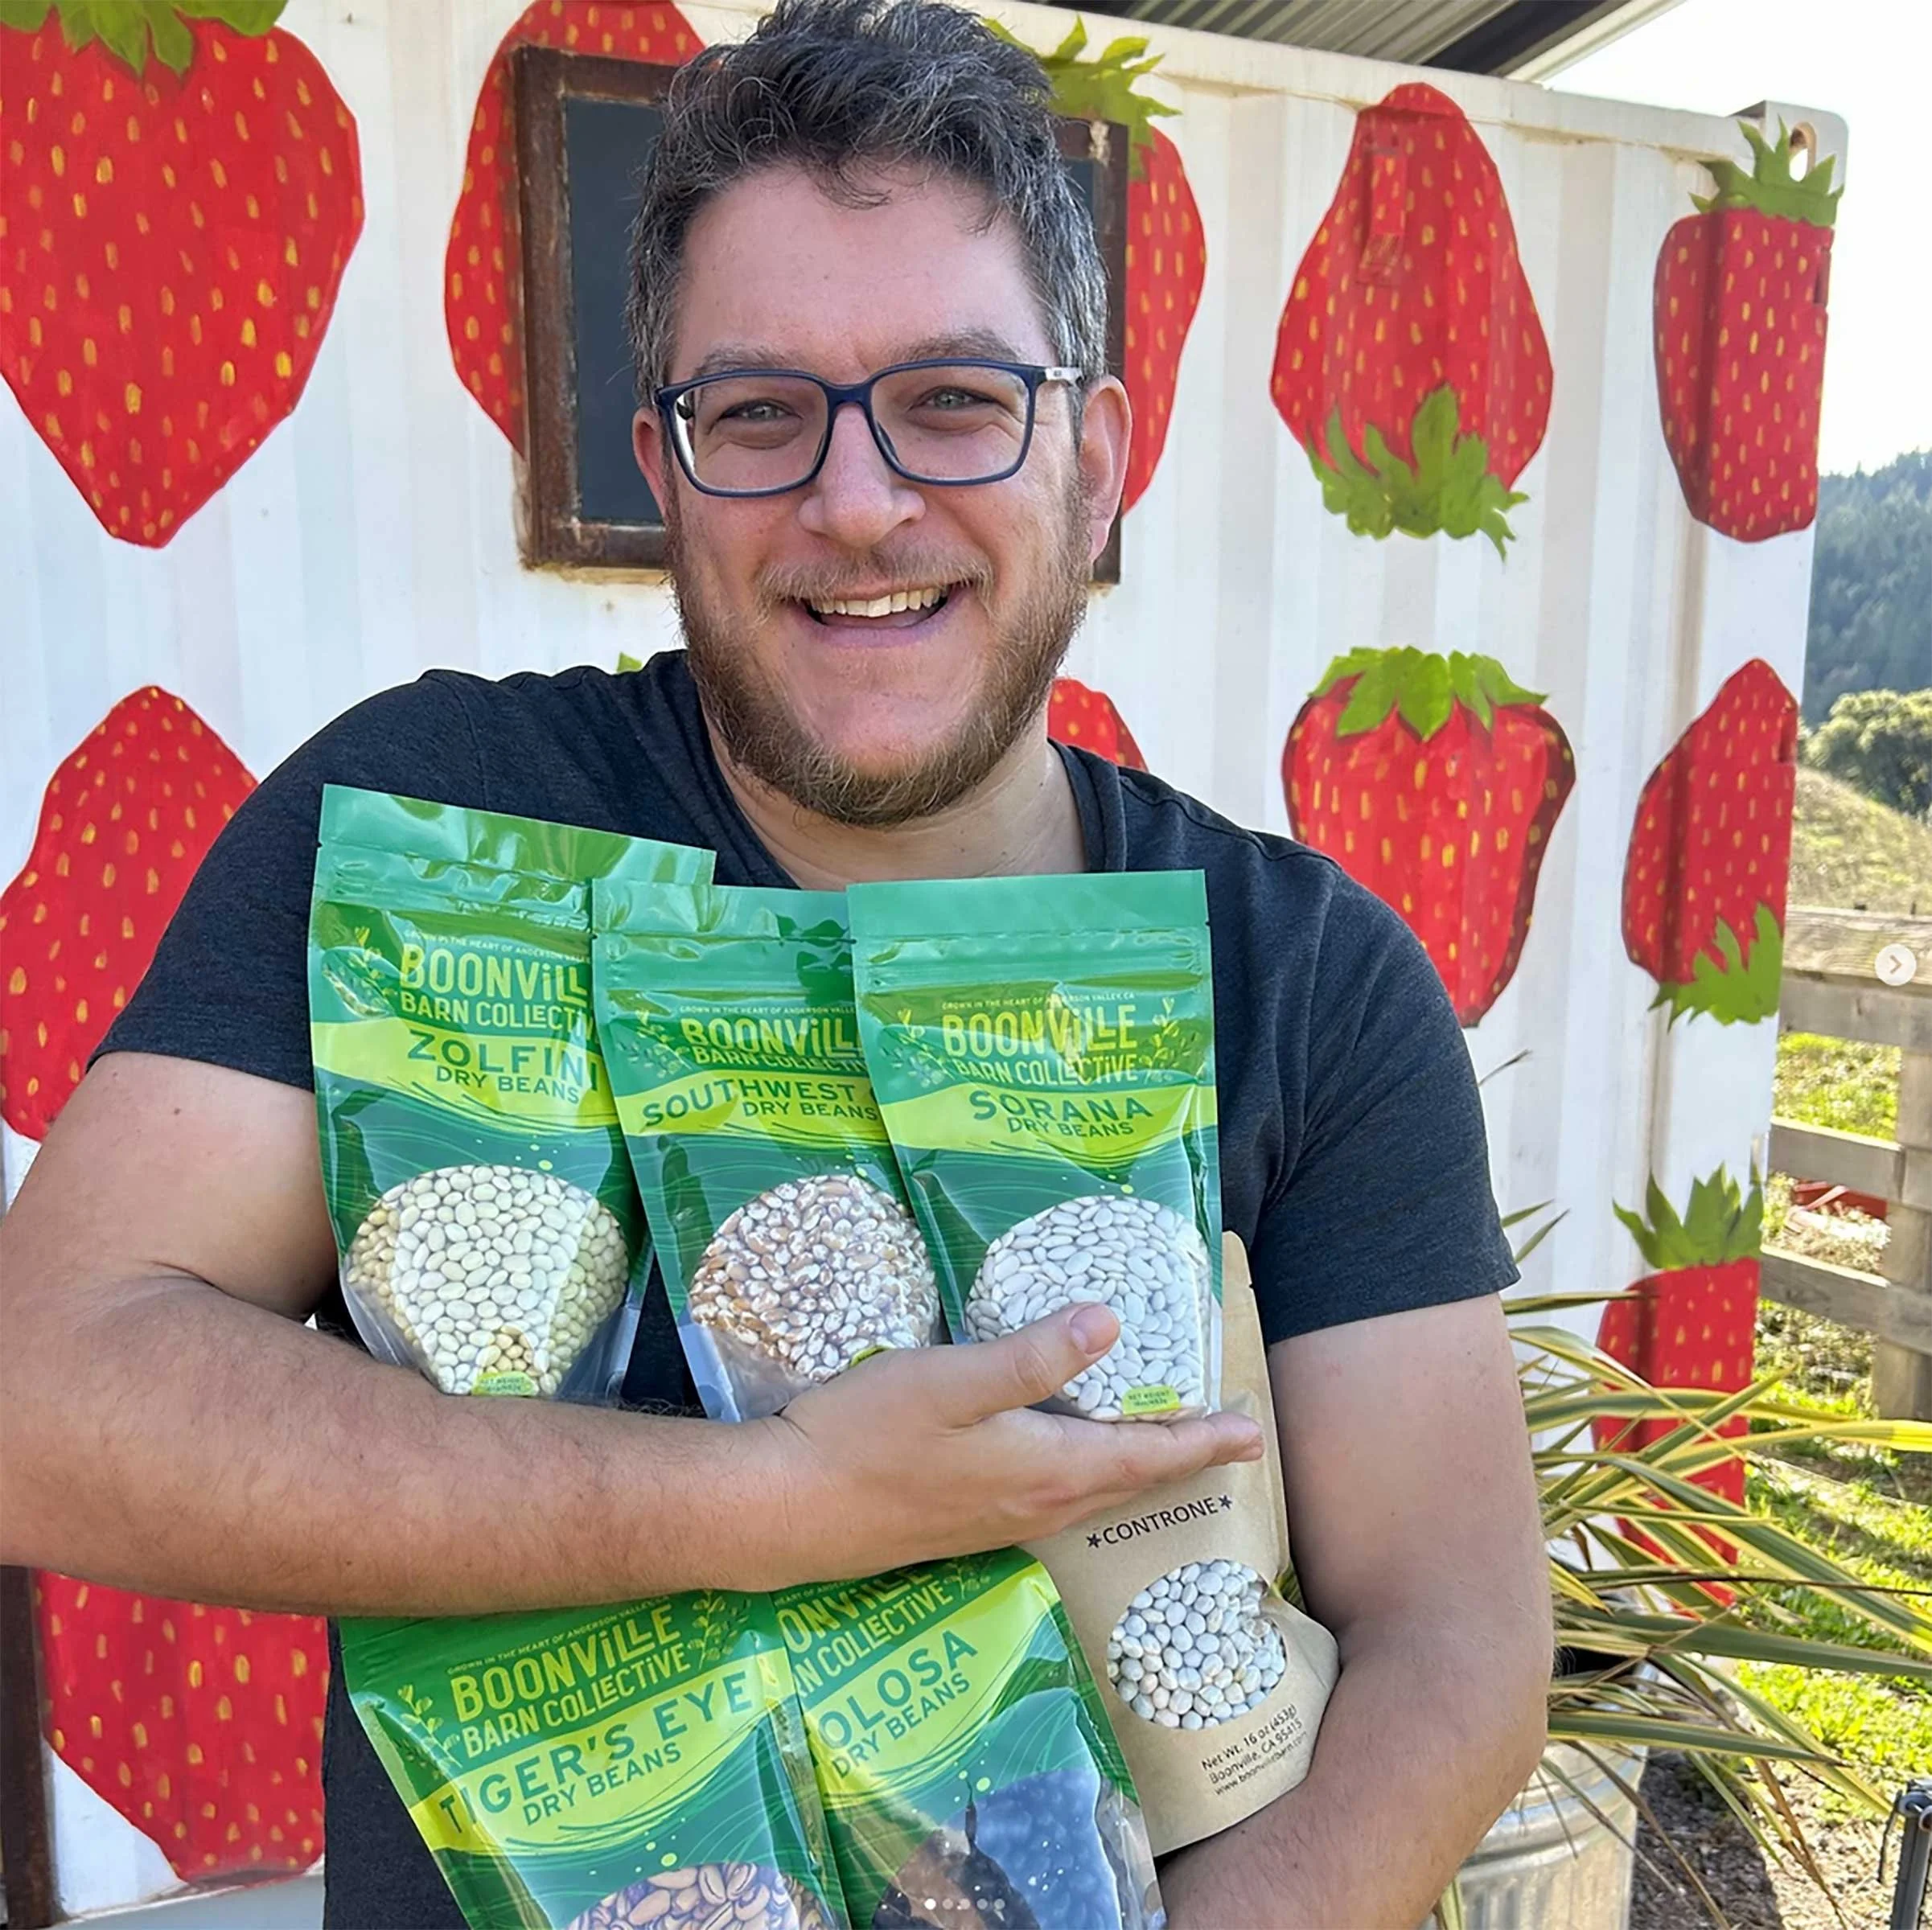
Ripe Now, Winter 2025, Recipes Caroline Bratt 12/1/25 Ripe Now, Winter 2025, Recipes Caroline Bratt 12/1/25 Full of Beans Read More
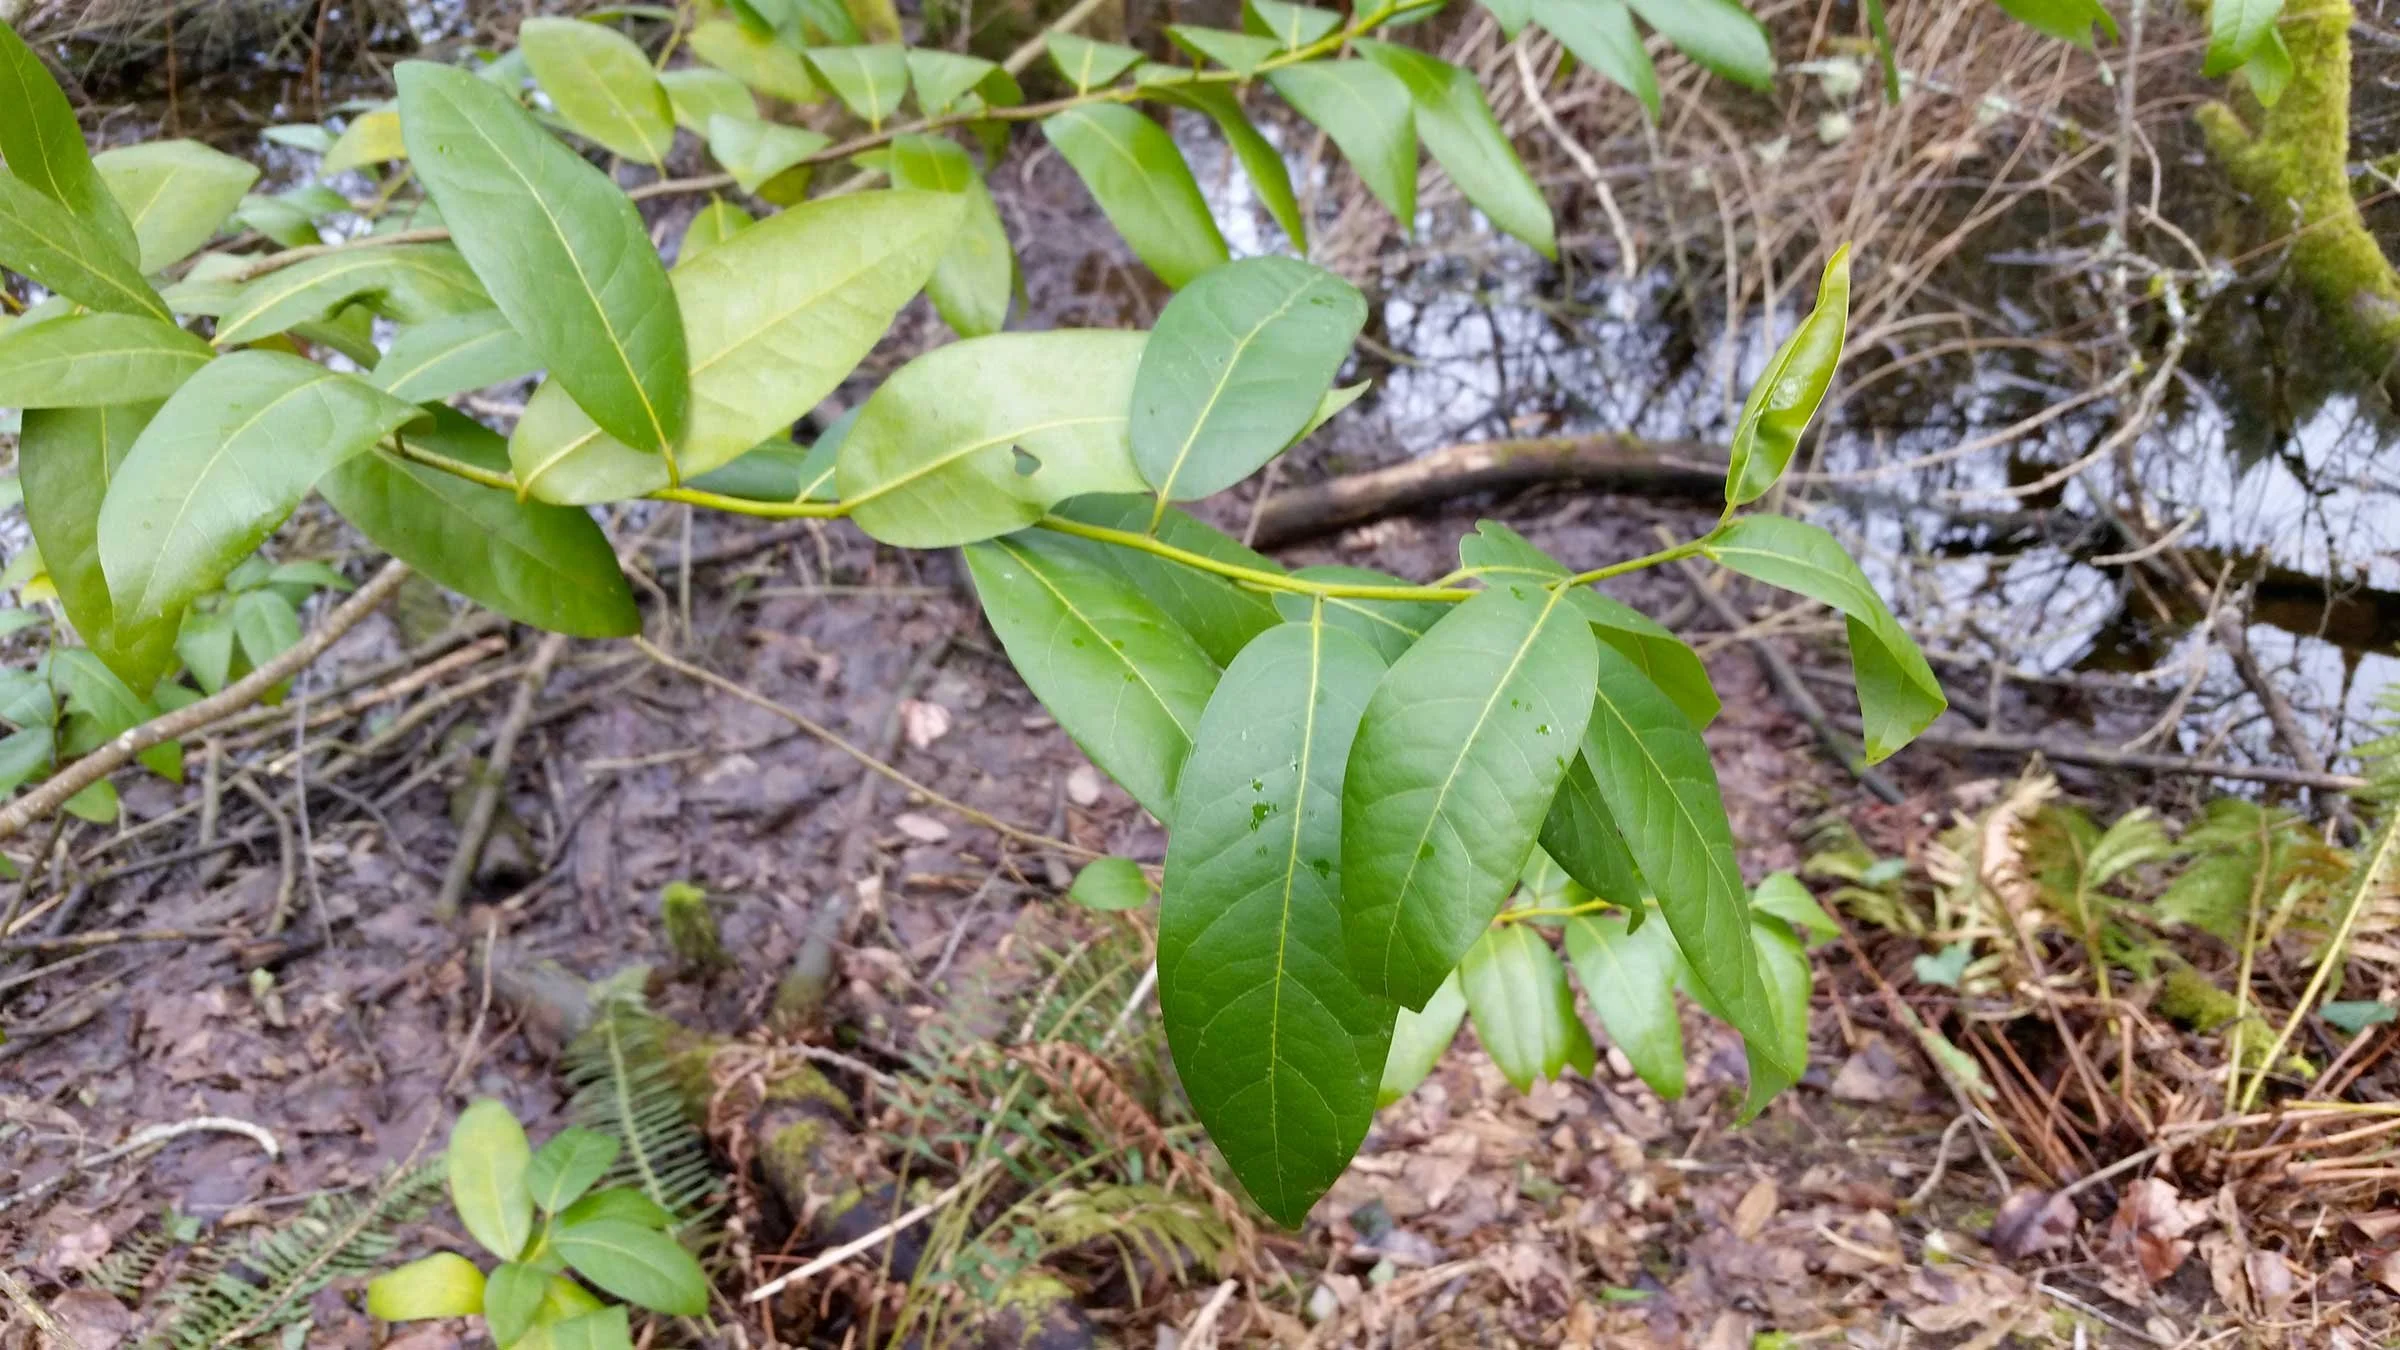
Winter 2025, Wild Things, Recipes Torrey Douglass 12/1/25 Winter 2025, Wild Things, Recipes Torrey Douglass 12/1/25 California Bay Laurel Read More
Winter 2024, Ripe Now, Recipes Caroline Bratt 12/1/24 Winter 2024, Ripe Now, Recipes Caroline Bratt 12/1/24 MendoGrass Read More
Winter 2024, Recipes, Sweet Bites Caroline Bratt 12/1/24 Winter 2024, Recipes, Sweet Bites Caroline Bratt 12/1/24 Delicious Little Coconut Read More
Winter 2024, Wild Things, Recipes Caroline Bratt 12/1/24 Winter 2024, Wild Things, Recipes Caroline Bratt 12/1/24 Pretty & Plentiful Read More
Winter 2024, Recipes Caroline Bratt 12/1/24 Winter 2024, Recipes Caroline Bratt 12/1/24 Say Labneh! Read More
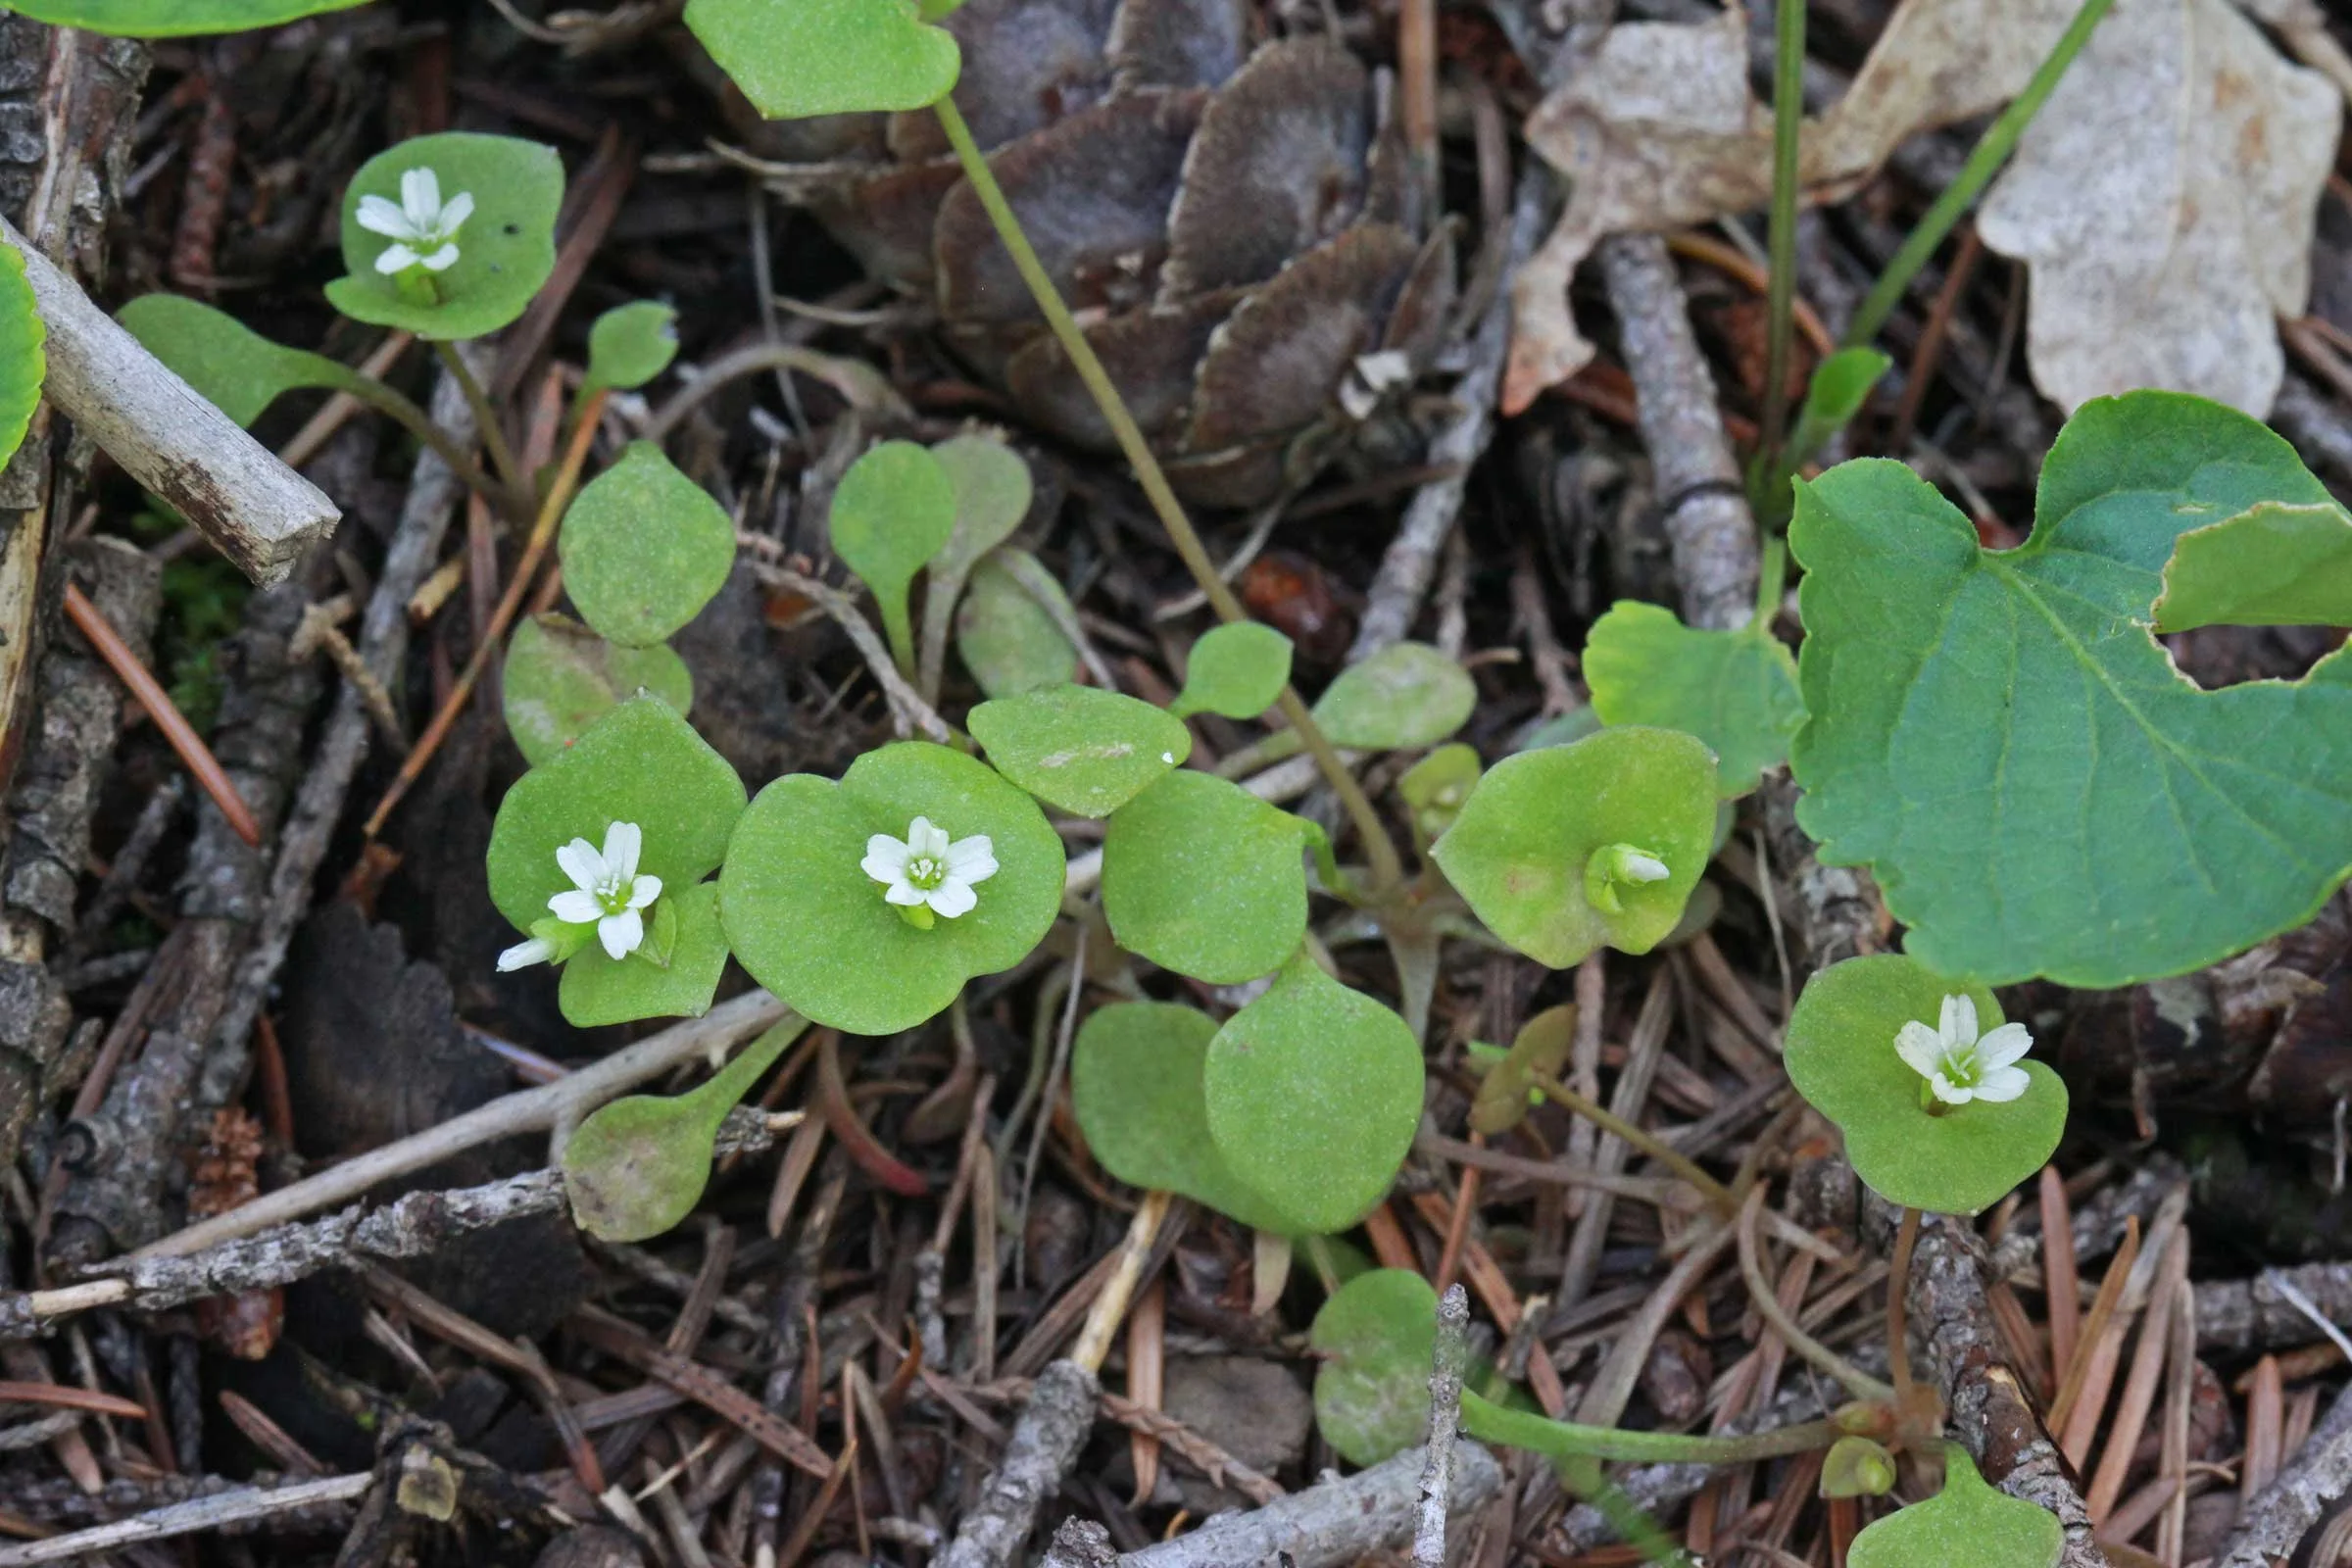
Spring 2023, Wild Things, Recipes Caroline Bratt 3/1/23 Spring 2023, Wild Things, Recipes Caroline Bratt 3/1/23 Miner’s Lettuce Read More
Spring 2023, Small World, Recipes Caroline Bratt 3/1/23 Spring 2023, Small World, Recipes Caroline Bratt 3/1/23 Spontaneous Wanderlust Read More
Winter 2022, Wild Things, Recipes Caroline Bratt 12/1/22 Winter 2022, Wild Things, Recipes Caroline Bratt 12/1/22 Flex those Mussels Read More
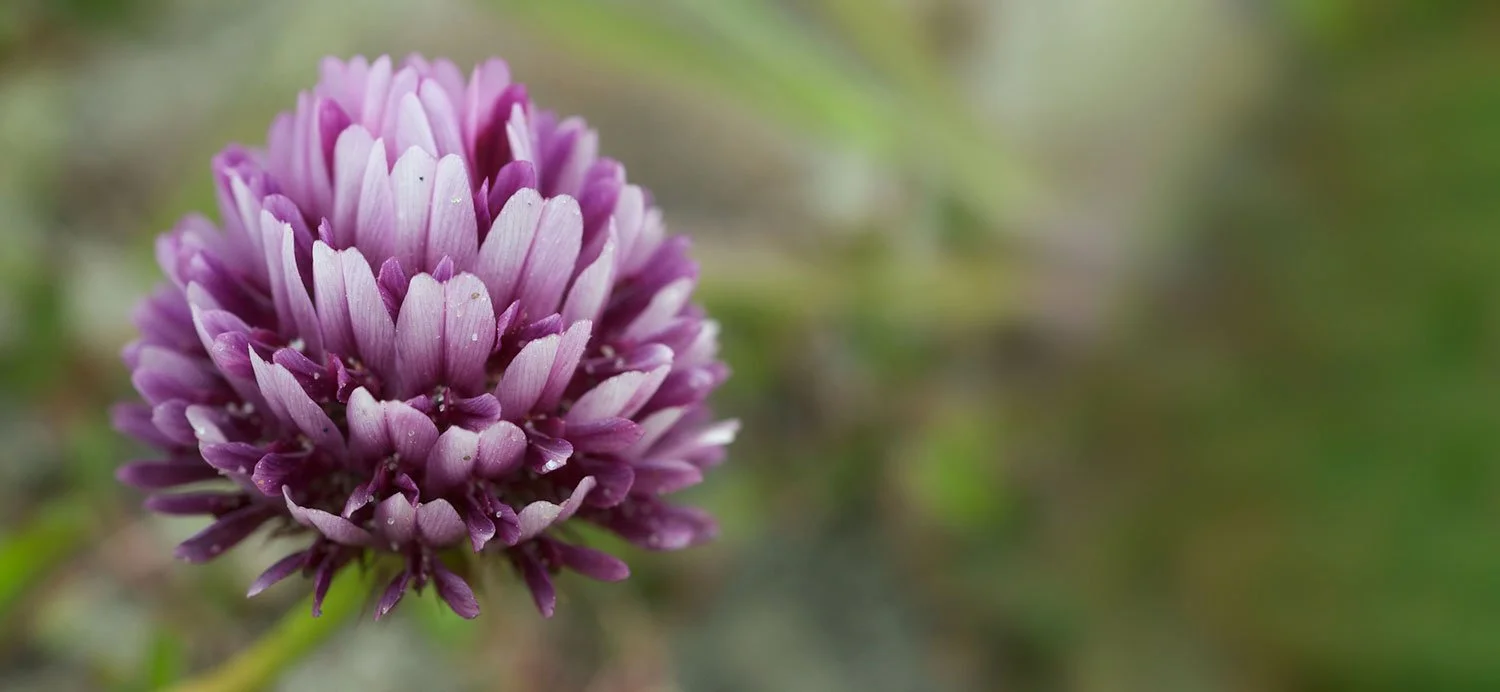
Spring 2022, Recipes, Wild Things Caroline Bratt 3/1/22 Spring 2022, Recipes, Wild Things Caroline Bratt 3/1/22 Springbank Clover Read More
Winter 2021, Wild Things, Recipes Caroline Bratt 12/1/21 Winter 2021, Wild Things, Recipes Caroline Bratt 12/1/21 Sourberry Read More
Winter 2021, Bebemos!, Recipes Caroline Bratt 12/1/21 Winter 2021, Bebemos!, Recipes Caroline Bratt 12/1/21 Boozy Hot Chocolate Read More
Fall 2021, Ripe Now, Recipes Caroline Bratt 9/1/21 Fall 2021, Ripe Now, Recipes Caroline Bratt 9/1/21 Fall’s Gems Read More
Fall 2021, Wild Things, Recipes Caroline Bratt 9/1/21 Fall 2021, Wild Things, Recipes Caroline Bratt 9/1/21 Venison Jerky Read More
Fall 2021, Bebemos!, Recipes Caroline Bratt 9/1/21 Fall 2021, Bebemos!, Recipes Caroline Bratt 9/1/21 Roses, Orange, and Spice Read More
Summer 2021, Ripe Now, Recipes Caroline Bratt 6/1/21 Summer 2021, Ripe Now, Recipes Caroline Bratt 6/1/21 Gratitude for Summer’s Abundance of Basil Read More
Summer 2021, Wild Things, Recipes Caroline Bratt 6/1/21 Summer 2021, Wild Things, Recipes Caroline Bratt 6/1/21 Fresh-Caught Rockfish Read More
Summer 2021, Bebemos!, Recipes Caroline Bratt 6/1/21 Summer 2021, Bebemos!, Recipes Caroline Bratt 6/1/21 Bubbles & Citrus for the Best Summer Sipping Read More
Spring 2021, Ripe Now, Recipes Caroline Bratt 3/1/21 Spring 2021, Ripe Now, Recipes Caroline Bratt 3/1/21 Pennyroyal’s Laychee Read More