Summer 2026, Wild Things, Recipes Kaitlyn Brunner 6/1/26 Summer 2026, Wild Things, Recipes Kaitlyn Brunner 6/1/26 Yucca Blossoms Read More Spring 2026, Wild Things, Recipes Kaitlyn Brunner 3/1/26 Spring 2026, Wild Things, Recipes Kaitlyn Brunner 3/1/26 Elderflower Read More Winter 2025, Wild Things, Recipes Torrey Douglass 12/1/25 Winter 2025, Wild Things, Recipes Torrey Douglass 12/1/25 California Bay Laurel Read More Fall 2025, Wild Things Caroline Bratt 9/1/25 Fall 2025, Wild Things Caroline Bratt 9/1/25 Roots Herbal Apothecary Read More Summer 2025, Wild Things Caroline Bratt 6/1/25 Summer 2025, Wild Things Caroline Bratt 6/1/25 Fish, Forage, & Feast Read More Spring 2025, Wild Things Caroline Bratt 3/1/25 Spring 2025, Wild Things Caroline Bratt 3/1/25 The Flavor of the Forest Read More Winter 2024, Wild Things, Recipes Caroline Bratt 12/1/24 Winter 2024, Wild Things, Recipes Caroline Bratt 12/1/24 Pretty & Plentiful Read More Fall 2024, Wild Things Caroline Bratt 9/1/24 Fall 2024, Wild Things Caroline Bratt 9/1/24 The Black Forager Read More Summer 2024, Wild Things Caroline Bratt 6/1/24 Summer 2024, Wild Things Caroline Bratt 6/1/24 Bright & Zesty Read More Spring 2024, Wild Things Caroline Bratt 3/1/24 Spring 2024, Wild Things Caroline Bratt 3/1/24 Urchin Ranching in Noyo Harbor Read More Winter 2023, Wild Things Caroline Bratt 12/1/23 Winter 2023, Wild Things Caroline Bratt 12/1/23 Seasonal & Sweet Read More Fall 2023, Wild Things Caroline Bratt 9/1/23 Fall 2023, Wild Things Caroline Bratt 9/1/23 Madrone Bark Tea Read More Summer 2023, Wild Things Caroline Bratt 6/1/23 Summer 2023, Wild Things Caroline Bratt 6/1/23 Black Walnut Bitters Read More Spring 2023, Wild Things, Recipes Caroline Bratt 3/1/23 Spring 2023, Wild Things, Recipes Caroline Bratt 3/1/23 Miner’s Lettuce Read More Winter 2022, Wild Things, Recipes Caroline Bratt 12/1/22 Winter 2022, Wild Things, Recipes Caroline Bratt 12/1/22 Flex those Mussels Read More Summer 2022, Wild Things Caroline Bratt 6/1/22 Summer 2022, Wild Things Caroline Bratt 6/1/22 Soothing the Divine Itch Read More Spring 2022, Recipes, Wild Things Caroline Bratt 3/1/22 Spring 2022, Recipes, Wild Things Caroline Bratt 3/1/22 Springbank Clover Read More Spring 2022, Wild Things Caroline Bratt 3/1/22 Spring 2022, Wild Things Caroline Bratt 3/1/22 Lazy Spring Drives Read More Winter 2021, Wild Things, Recipes Caroline Bratt 12/1/21 Winter 2021, Wild Things, Recipes Caroline Bratt 12/1/21 Sourberry Read More Fall 2021, Wild Things, Recipes Caroline Bratt 9/1/21 Fall 2021, Wild Things, Recipes Caroline Bratt 9/1/21 Venison Jerky Read More Summer 2021, Wild Things, Recipes Caroline Bratt 6/1/21 Summer 2021, Wild Things, Recipes Caroline Bratt 6/1/21 Fresh-Caught Rockfish Read More Spring 2021, Wild Things, Recipes Caroline Bratt 3/1/21 Spring 2021, Wild Things, Recipes Caroline Bratt 3/1/21 Cattail Pollen Read More Winter 2020, Wild Things, Recipes Caroline Bratt 12/1/20 Winter 2020, Wild Things, Recipes Caroline Bratt 12/1/20 Toyon Read More Fall 2020, Wild Things Caroline Bratt 9/1/20 Fall 2020, Wild Things Caroline Bratt 9/1/20 Wild Turkeys Read More Older Posts
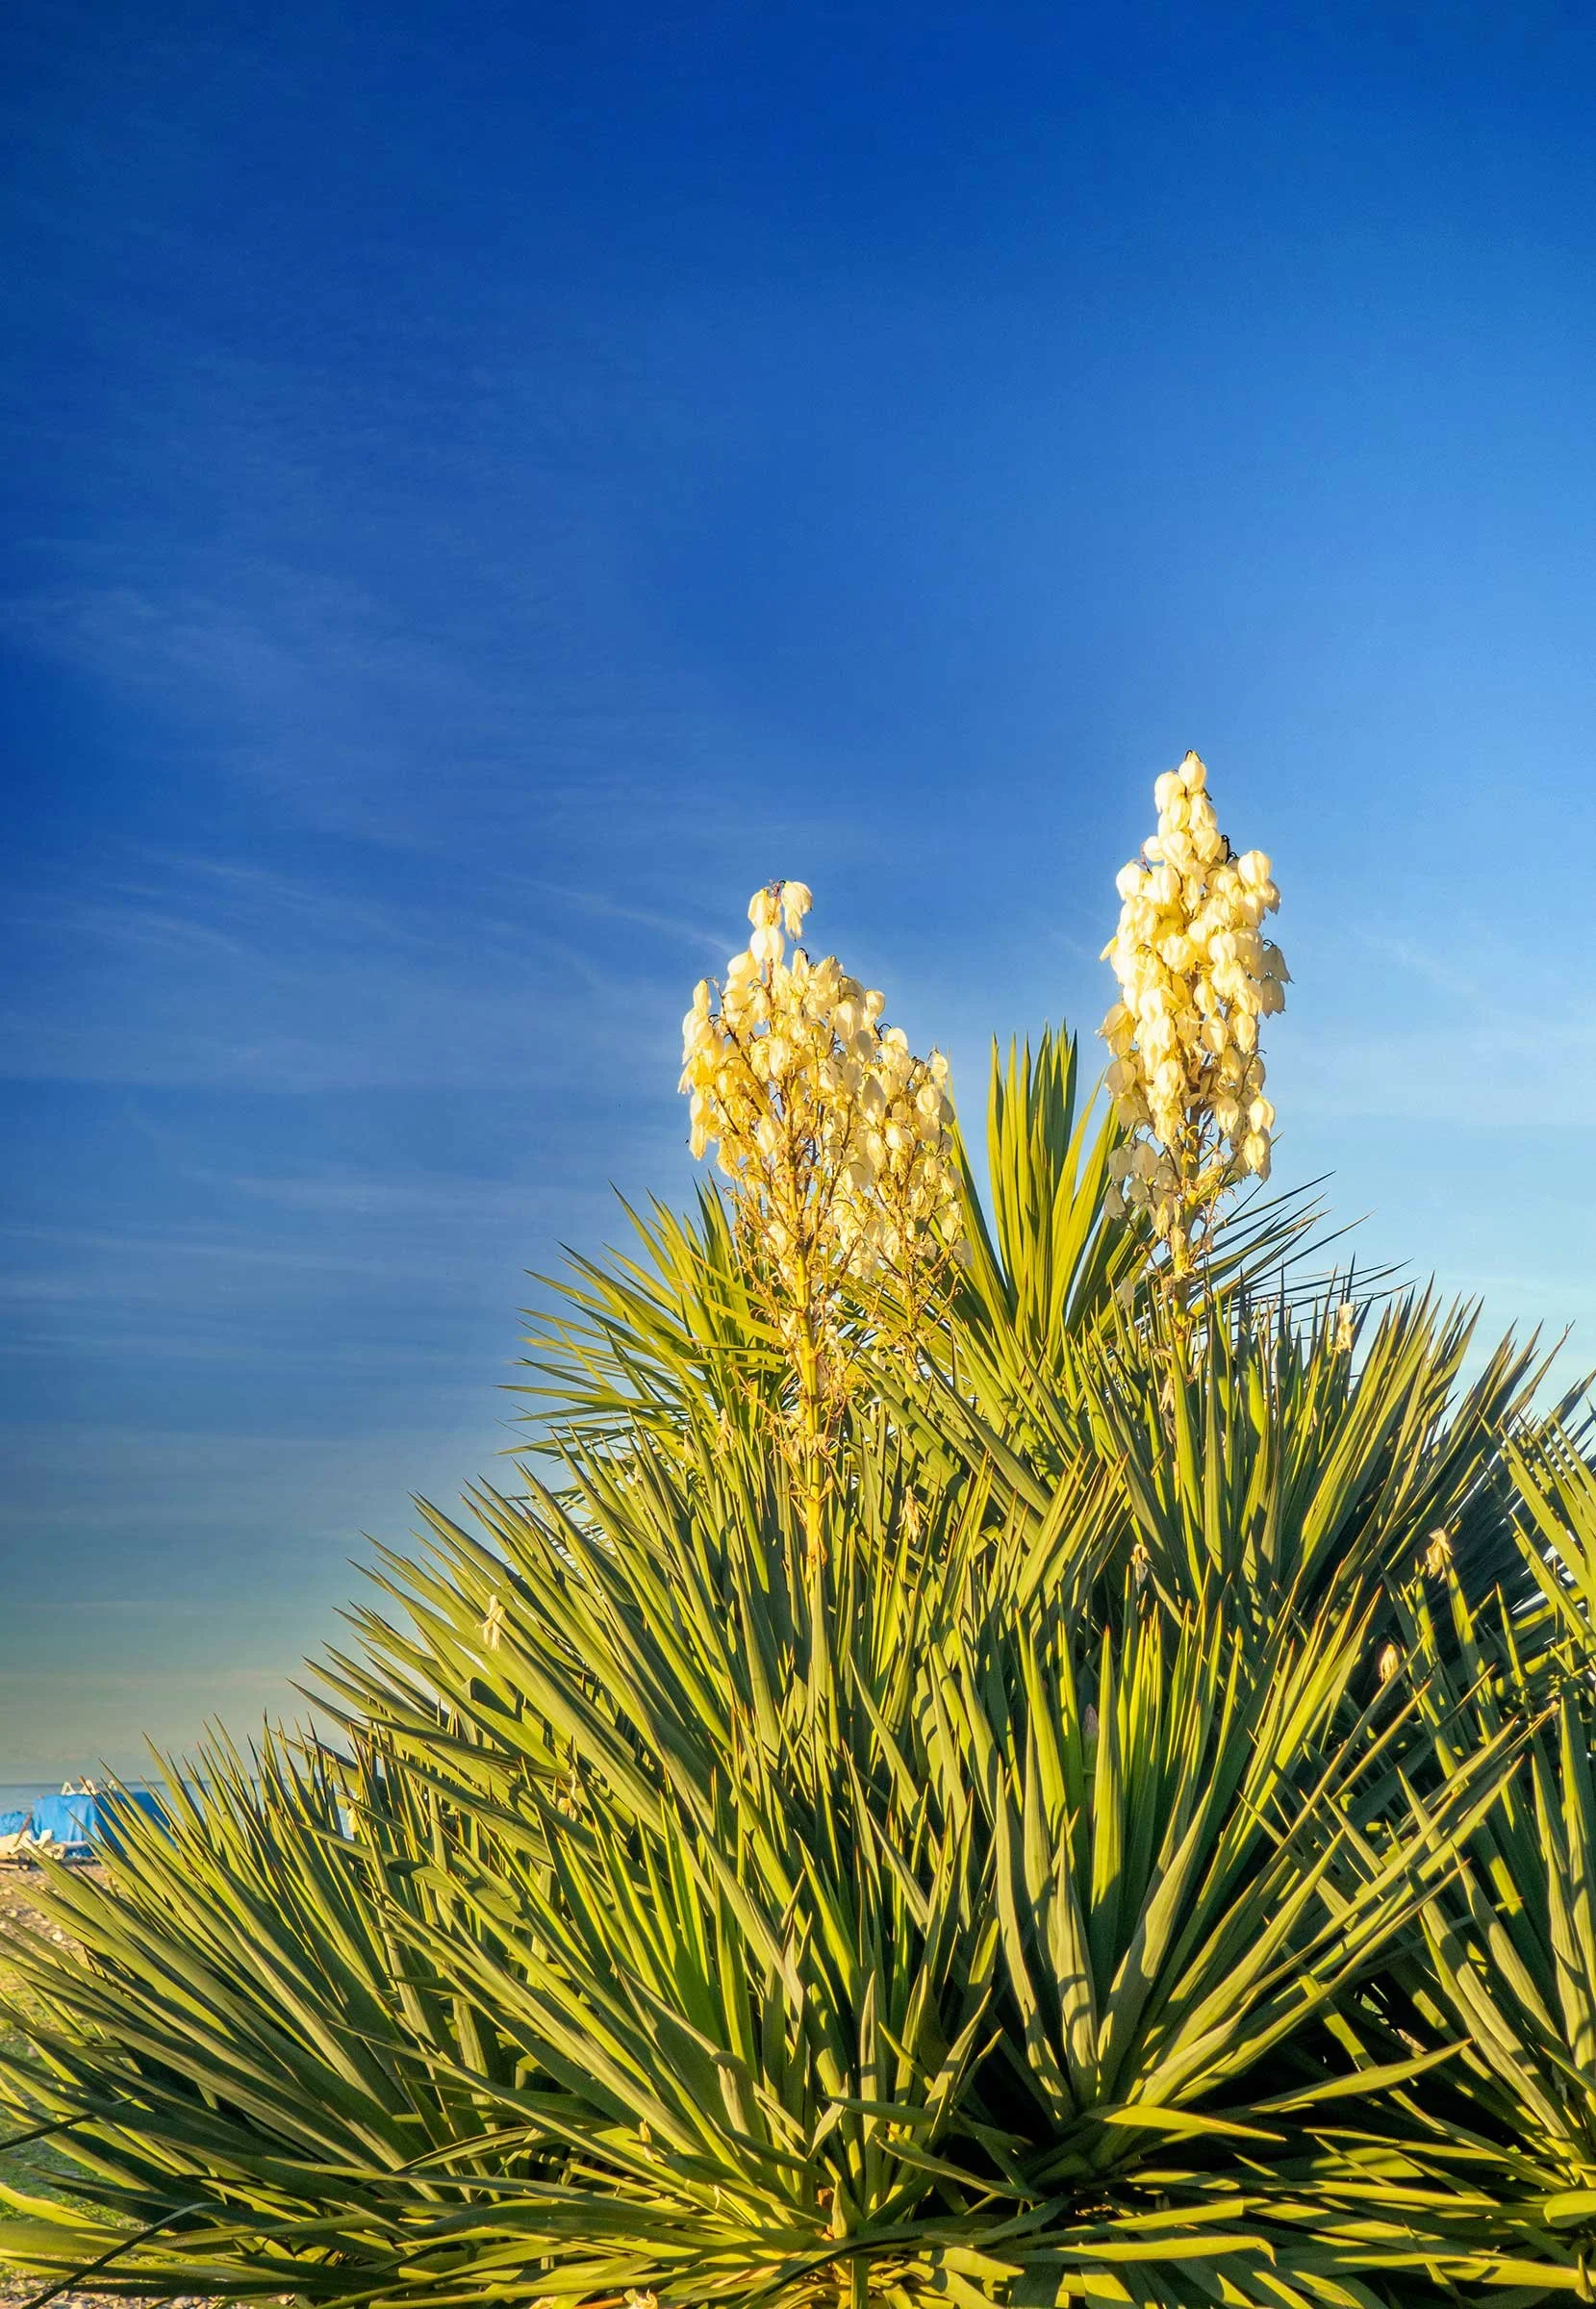
Summer 2026, Wild Things, Recipes Kaitlyn Brunner 6/1/26 Summer 2026, Wild Things, Recipes Kaitlyn Brunner 6/1/26 Yucca Blossoms Read More
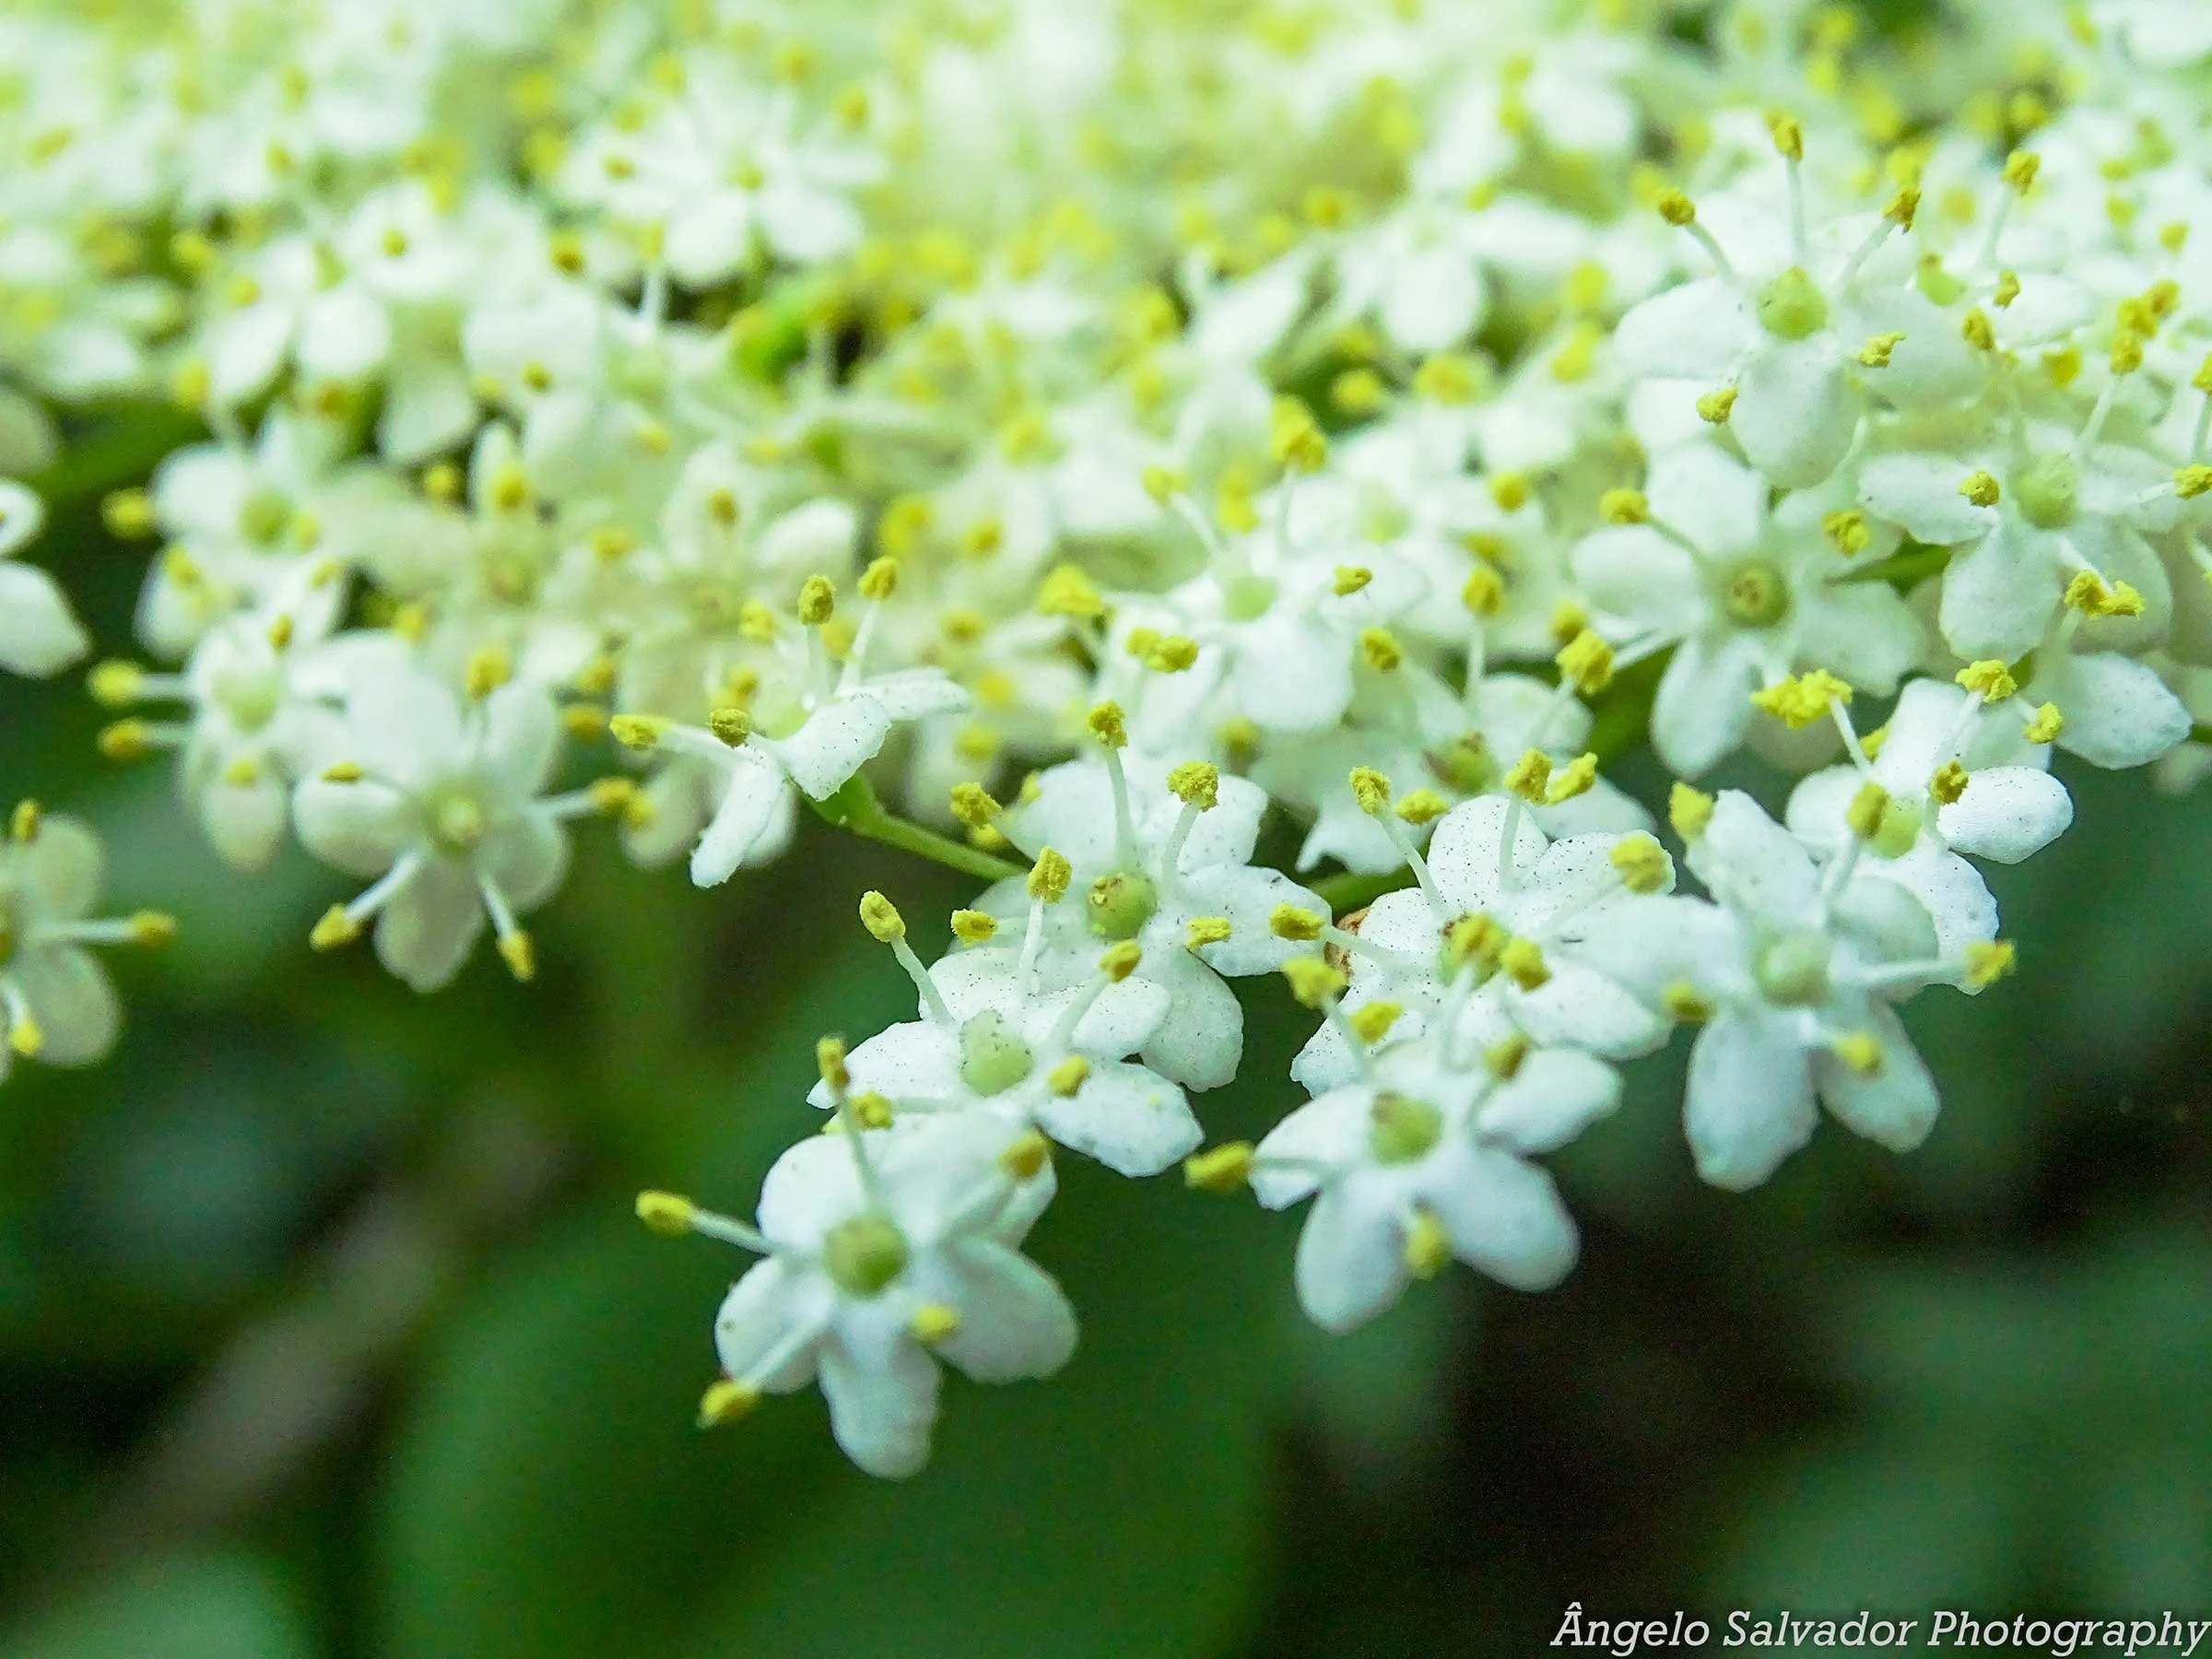
Spring 2026, Wild Things, Recipes Kaitlyn Brunner 3/1/26 Spring 2026, Wild Things, Recipes Kaitlyn Brunner 3/1/26 Elderflower Read More
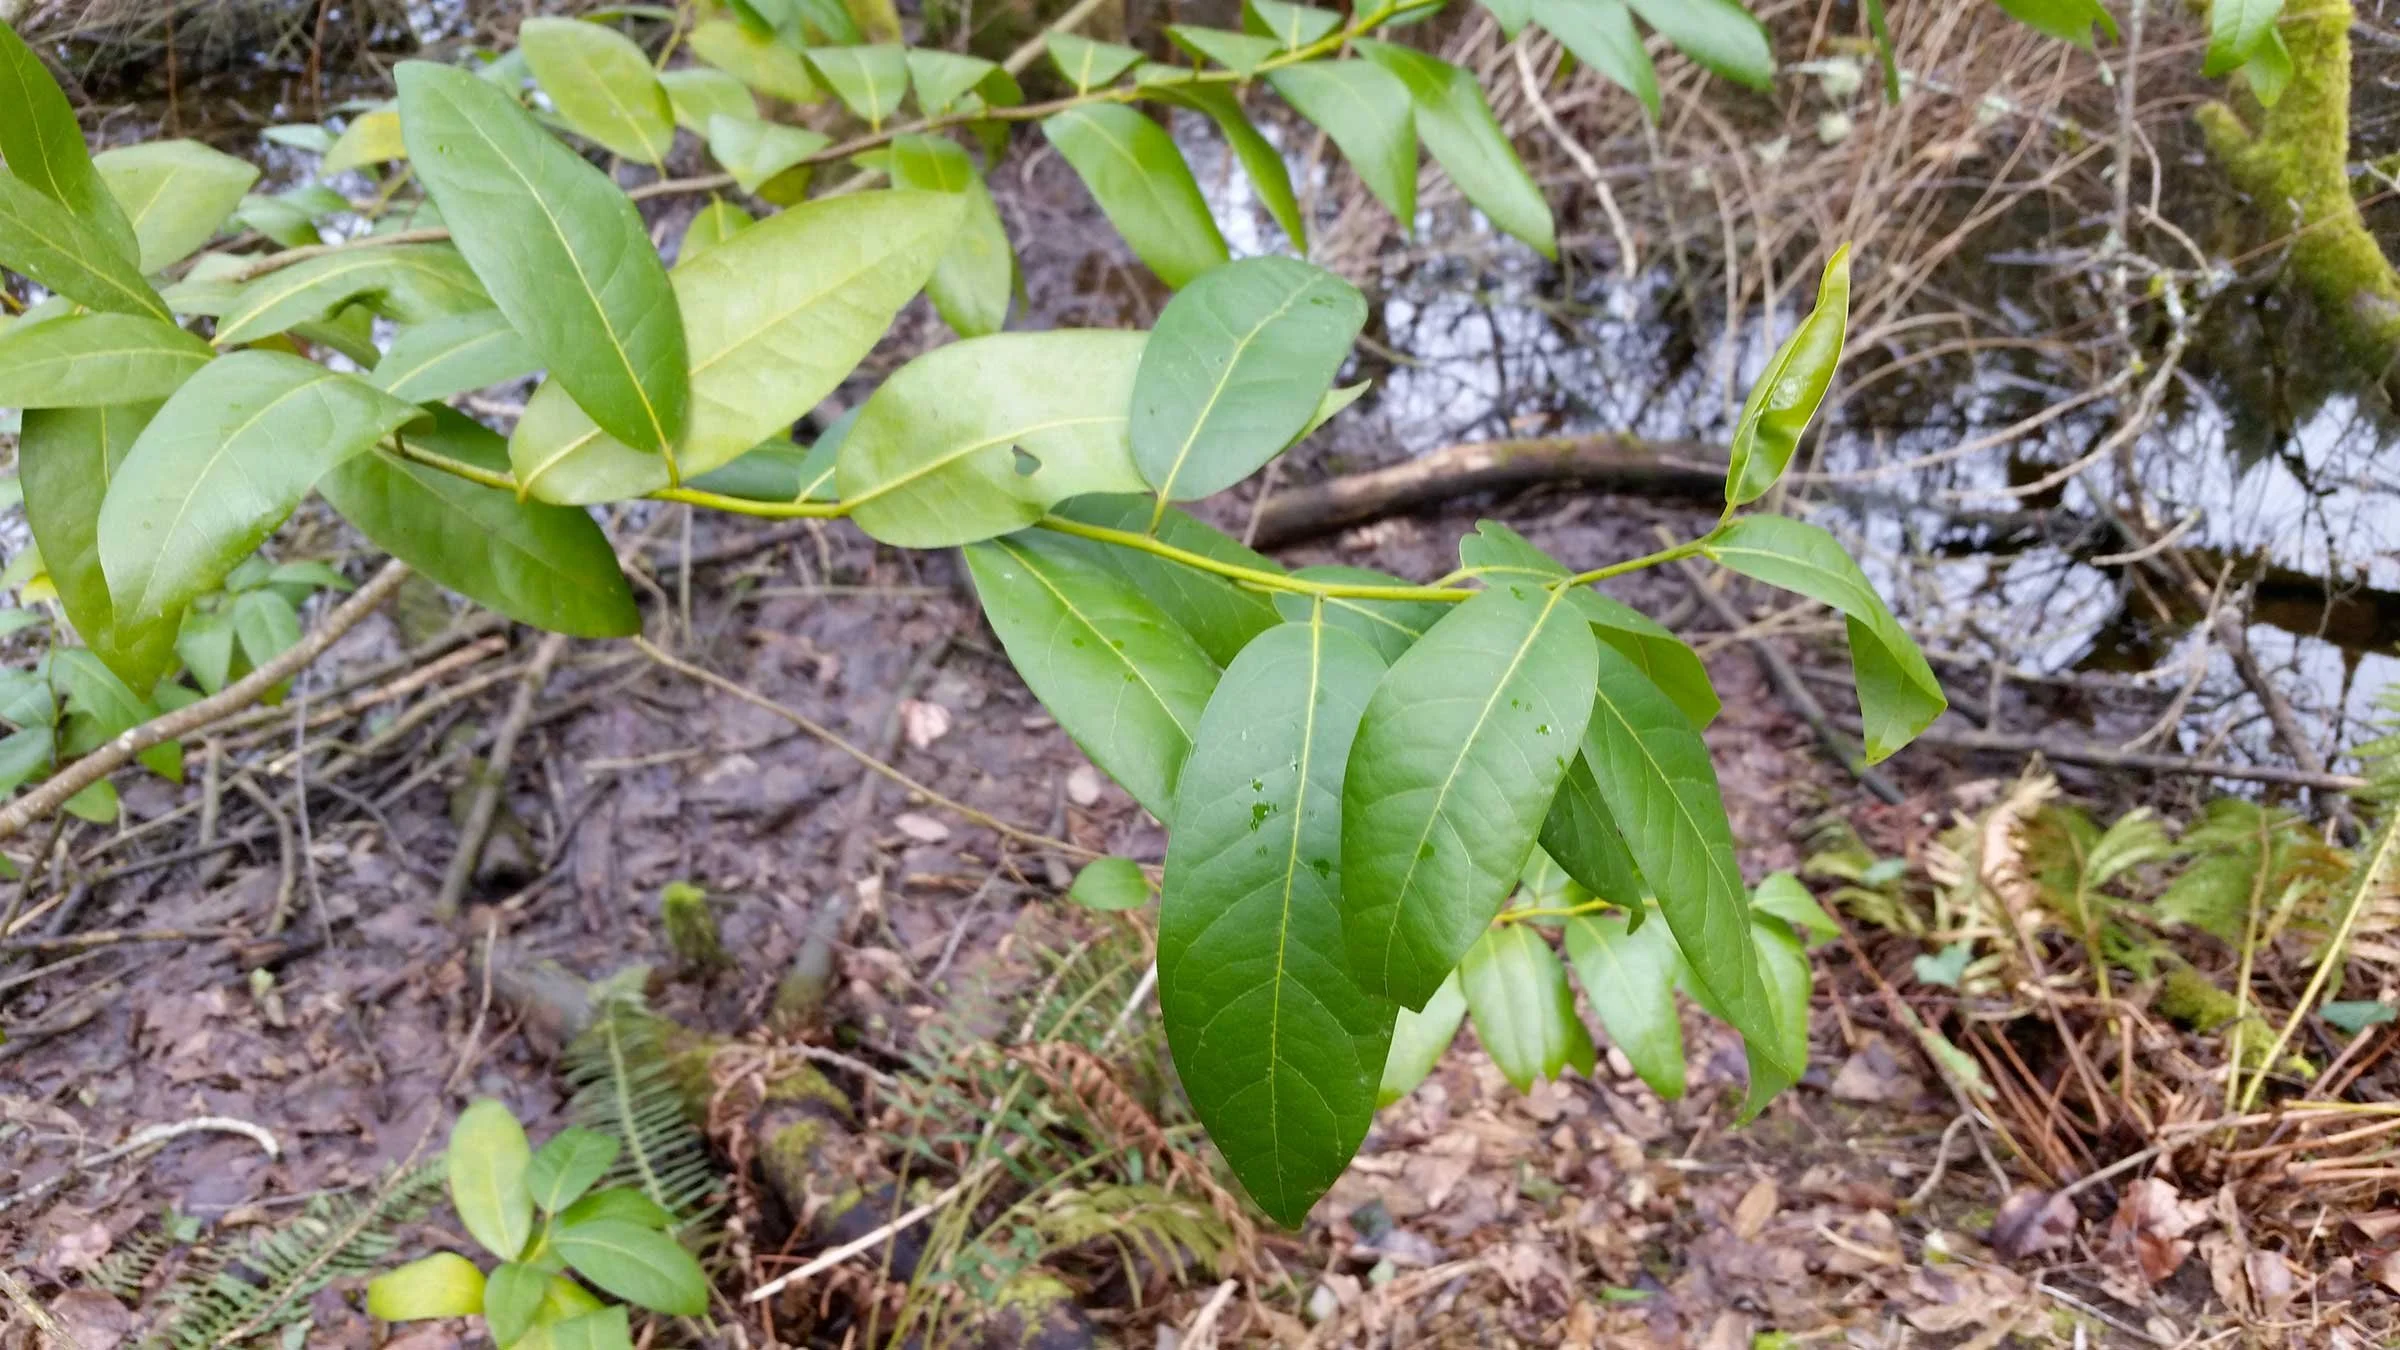
Winter 2025, Wild Things, Recipes Torrey Douglass 12/1/25 Winter 2025, Wild Things, Recipes Torrey Douglass 12/1/25 California Bay Laurel Read More
Fall 2025, Wild Things Caroline Bratt 9/1/25 Fall 2025, Wild Things Caroline Bratt 9/1/25 Roots Herbal Apothecary Read More
Summer 2025, Wild Things Caroline Bratt 6/1/25 Summer 2025, Wild Things Caroline Bratt 6/1/25 Fish, Forage, & Feast Read More
Spring 2025, Wild Things Caroline Bratt 3/1/25 Spring 2025, Wild Things Caroline Bratt 3/1/25 The Flavor of the Forest Read More
Winter 2024, Wild Things, Recipes Caroline Bratt 12/1/24 Winter 2024, Wild Things, Recipes Caroline Bratt 12/1/24 Pretty & Plentiful Read More
Fall 2024, Wild Things Caroline Bratt 9/1/24 Fall 2024, Wild Things Caroline Bratt 9/1/24 The Black Forager Read More
Summer 2024, Wild Things Caroline Bratt 6/1/24 Summer 2024, Wild Things Caroline Bratt 6/1/24 Bright & Zesty Read More
Spring 2024, Wild Things Caroline Bratt 3/1/24 Spring 2024, Wild Things Caroline Bratt 3/1/24 Urchin Ranching in Noyo Harbor Read More
Winter 2023, Wild Things Caroline Bratt 12/1/23 Winter 2023, Wild Things Caroline Bratt 12/1/23 Seasonal & Sweet Read More
Fall 2023, Wild Things Caroline Bratt 9/1/23 Fall 2023, Wild Things Caroline Bratt 9/1/23 Madrone Bark Tea Read More
Summer 2023, Wild Things Caroline Bratt 6/1/23 Summer 2023, Wild Things Caroline Bratt 6/1/23 Black Walnut Bitters Read More
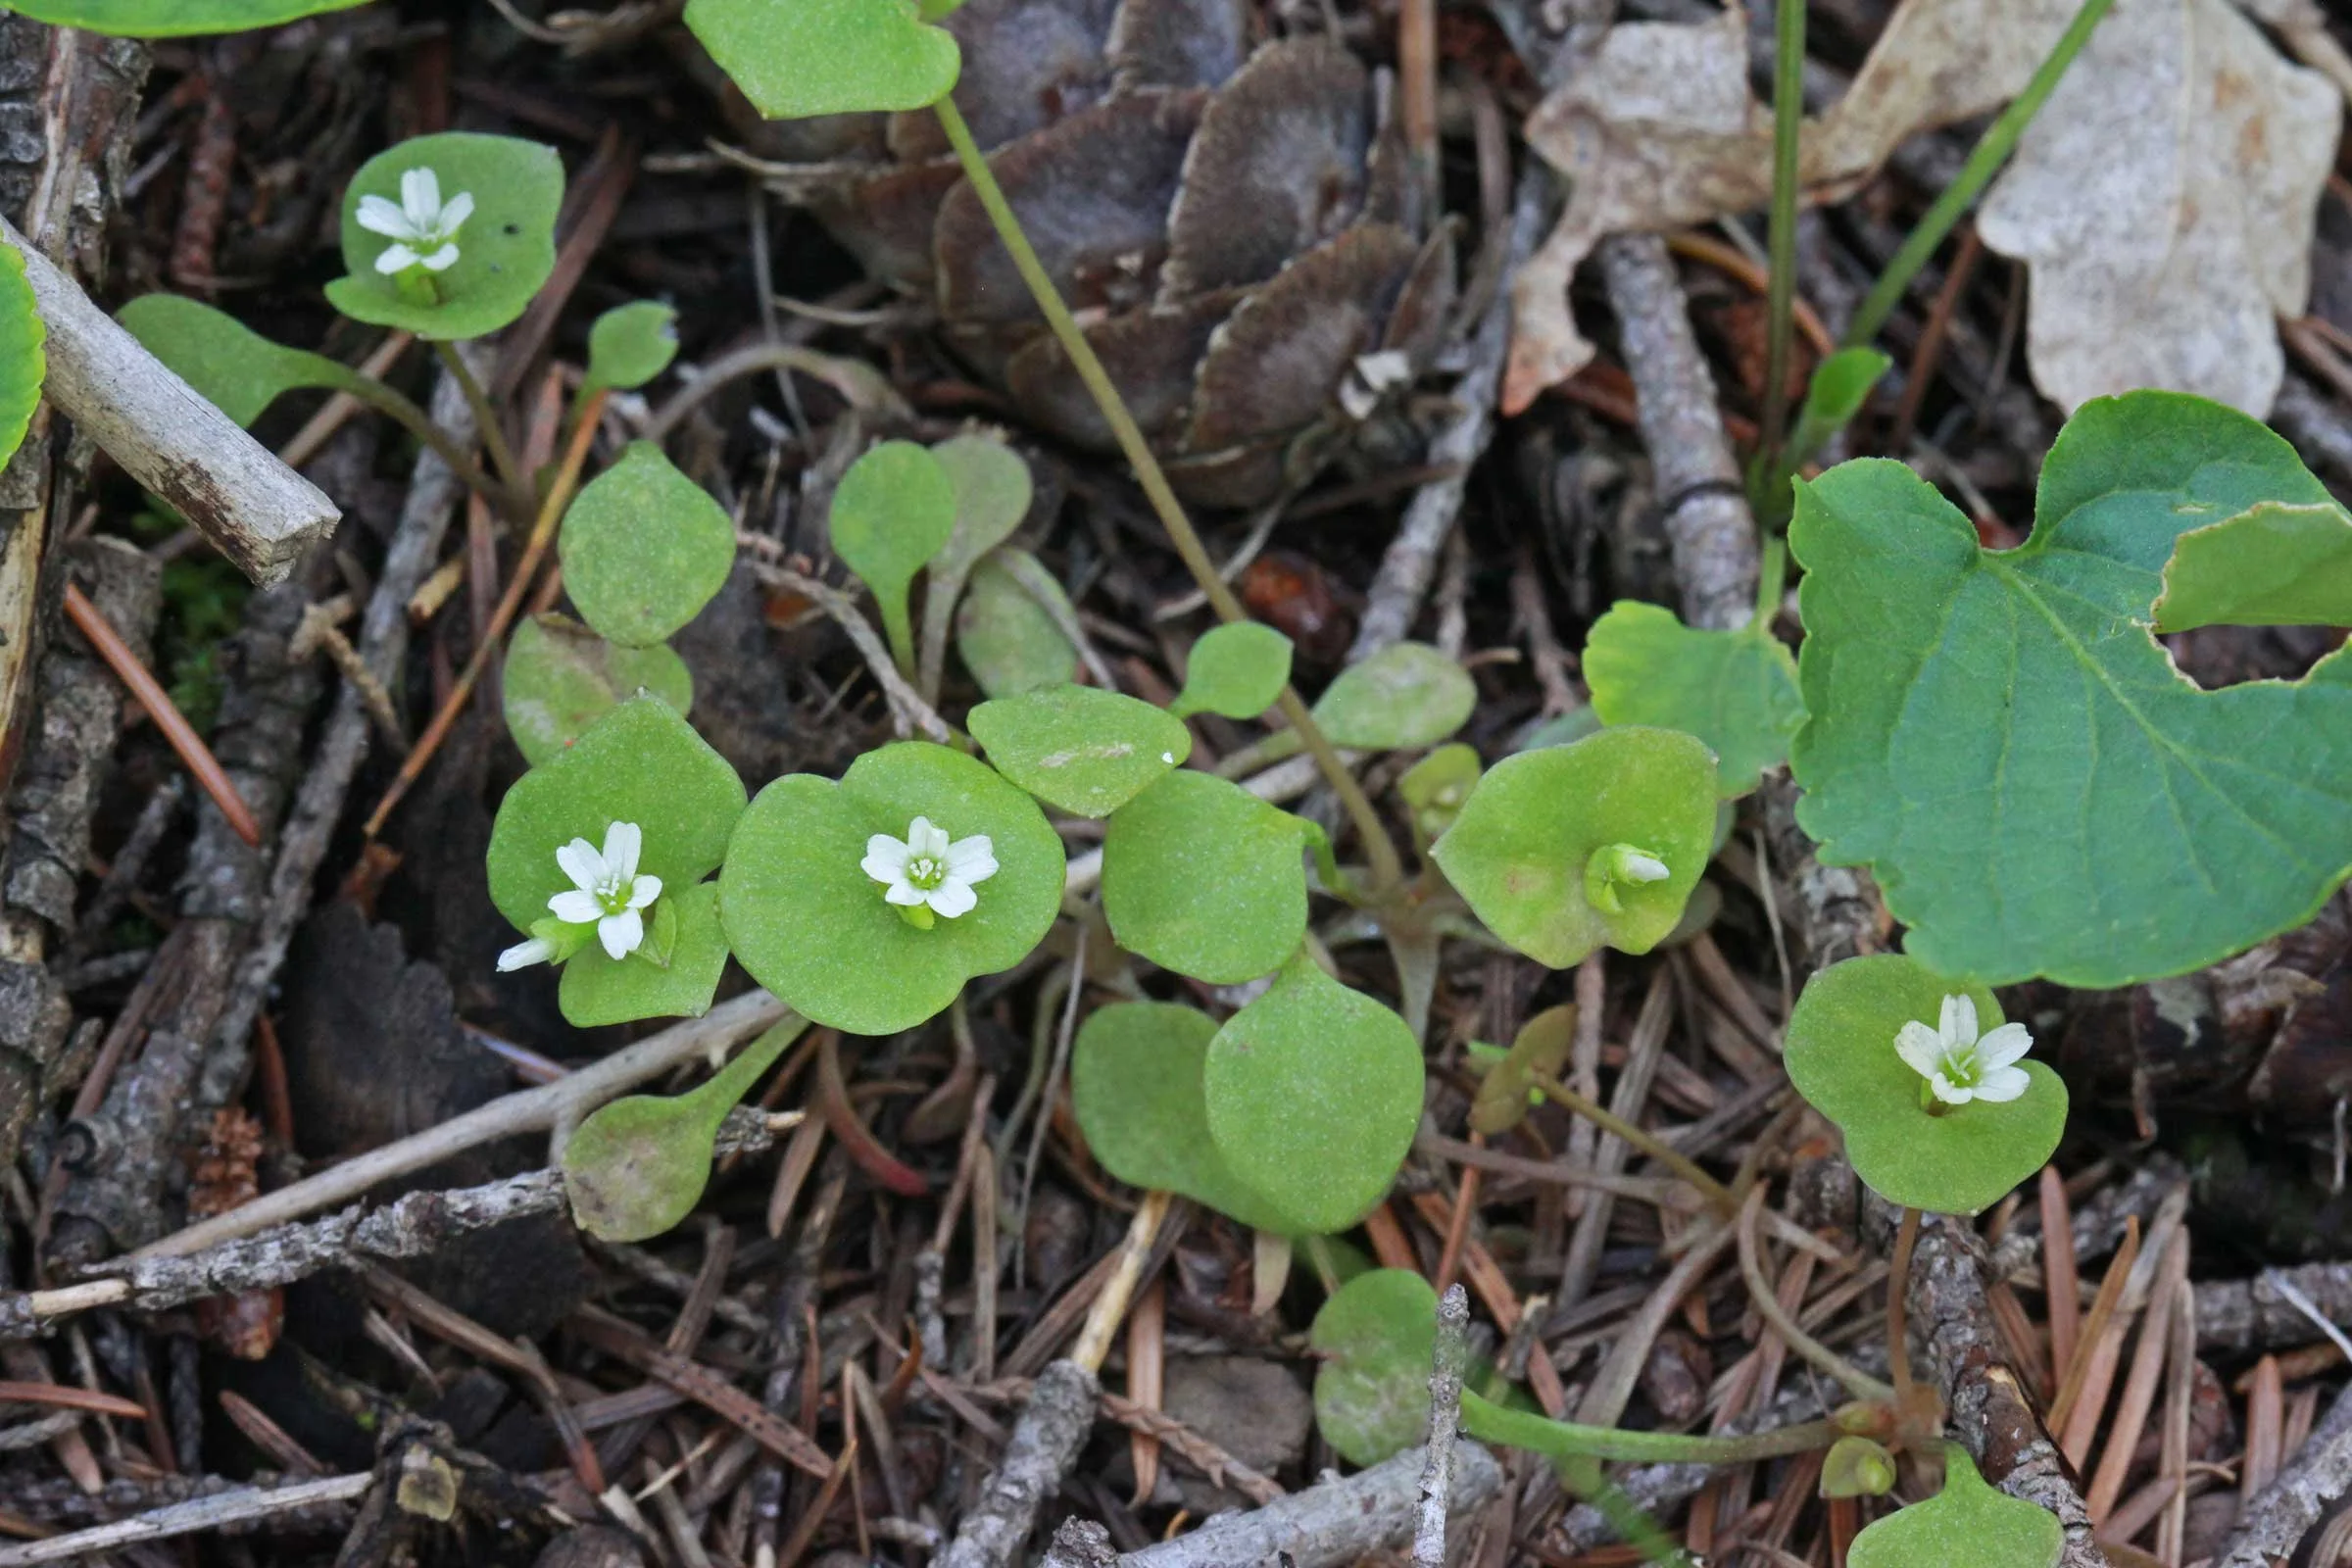
Spring 2023, Wild Things, Recipes Caroline Bratt 3/1/23 Spring 2023, Wild Things, Recipes Caroline Bratt 3/1/23 Miner’s Lettuce Read More
Winter 2022, Wild Things, Recipes Caroline Bratt 12/1/22 Winter 2022, Wild Things, Recipes Caroline Bratt 12/1/22 Flex those Mussels Read More
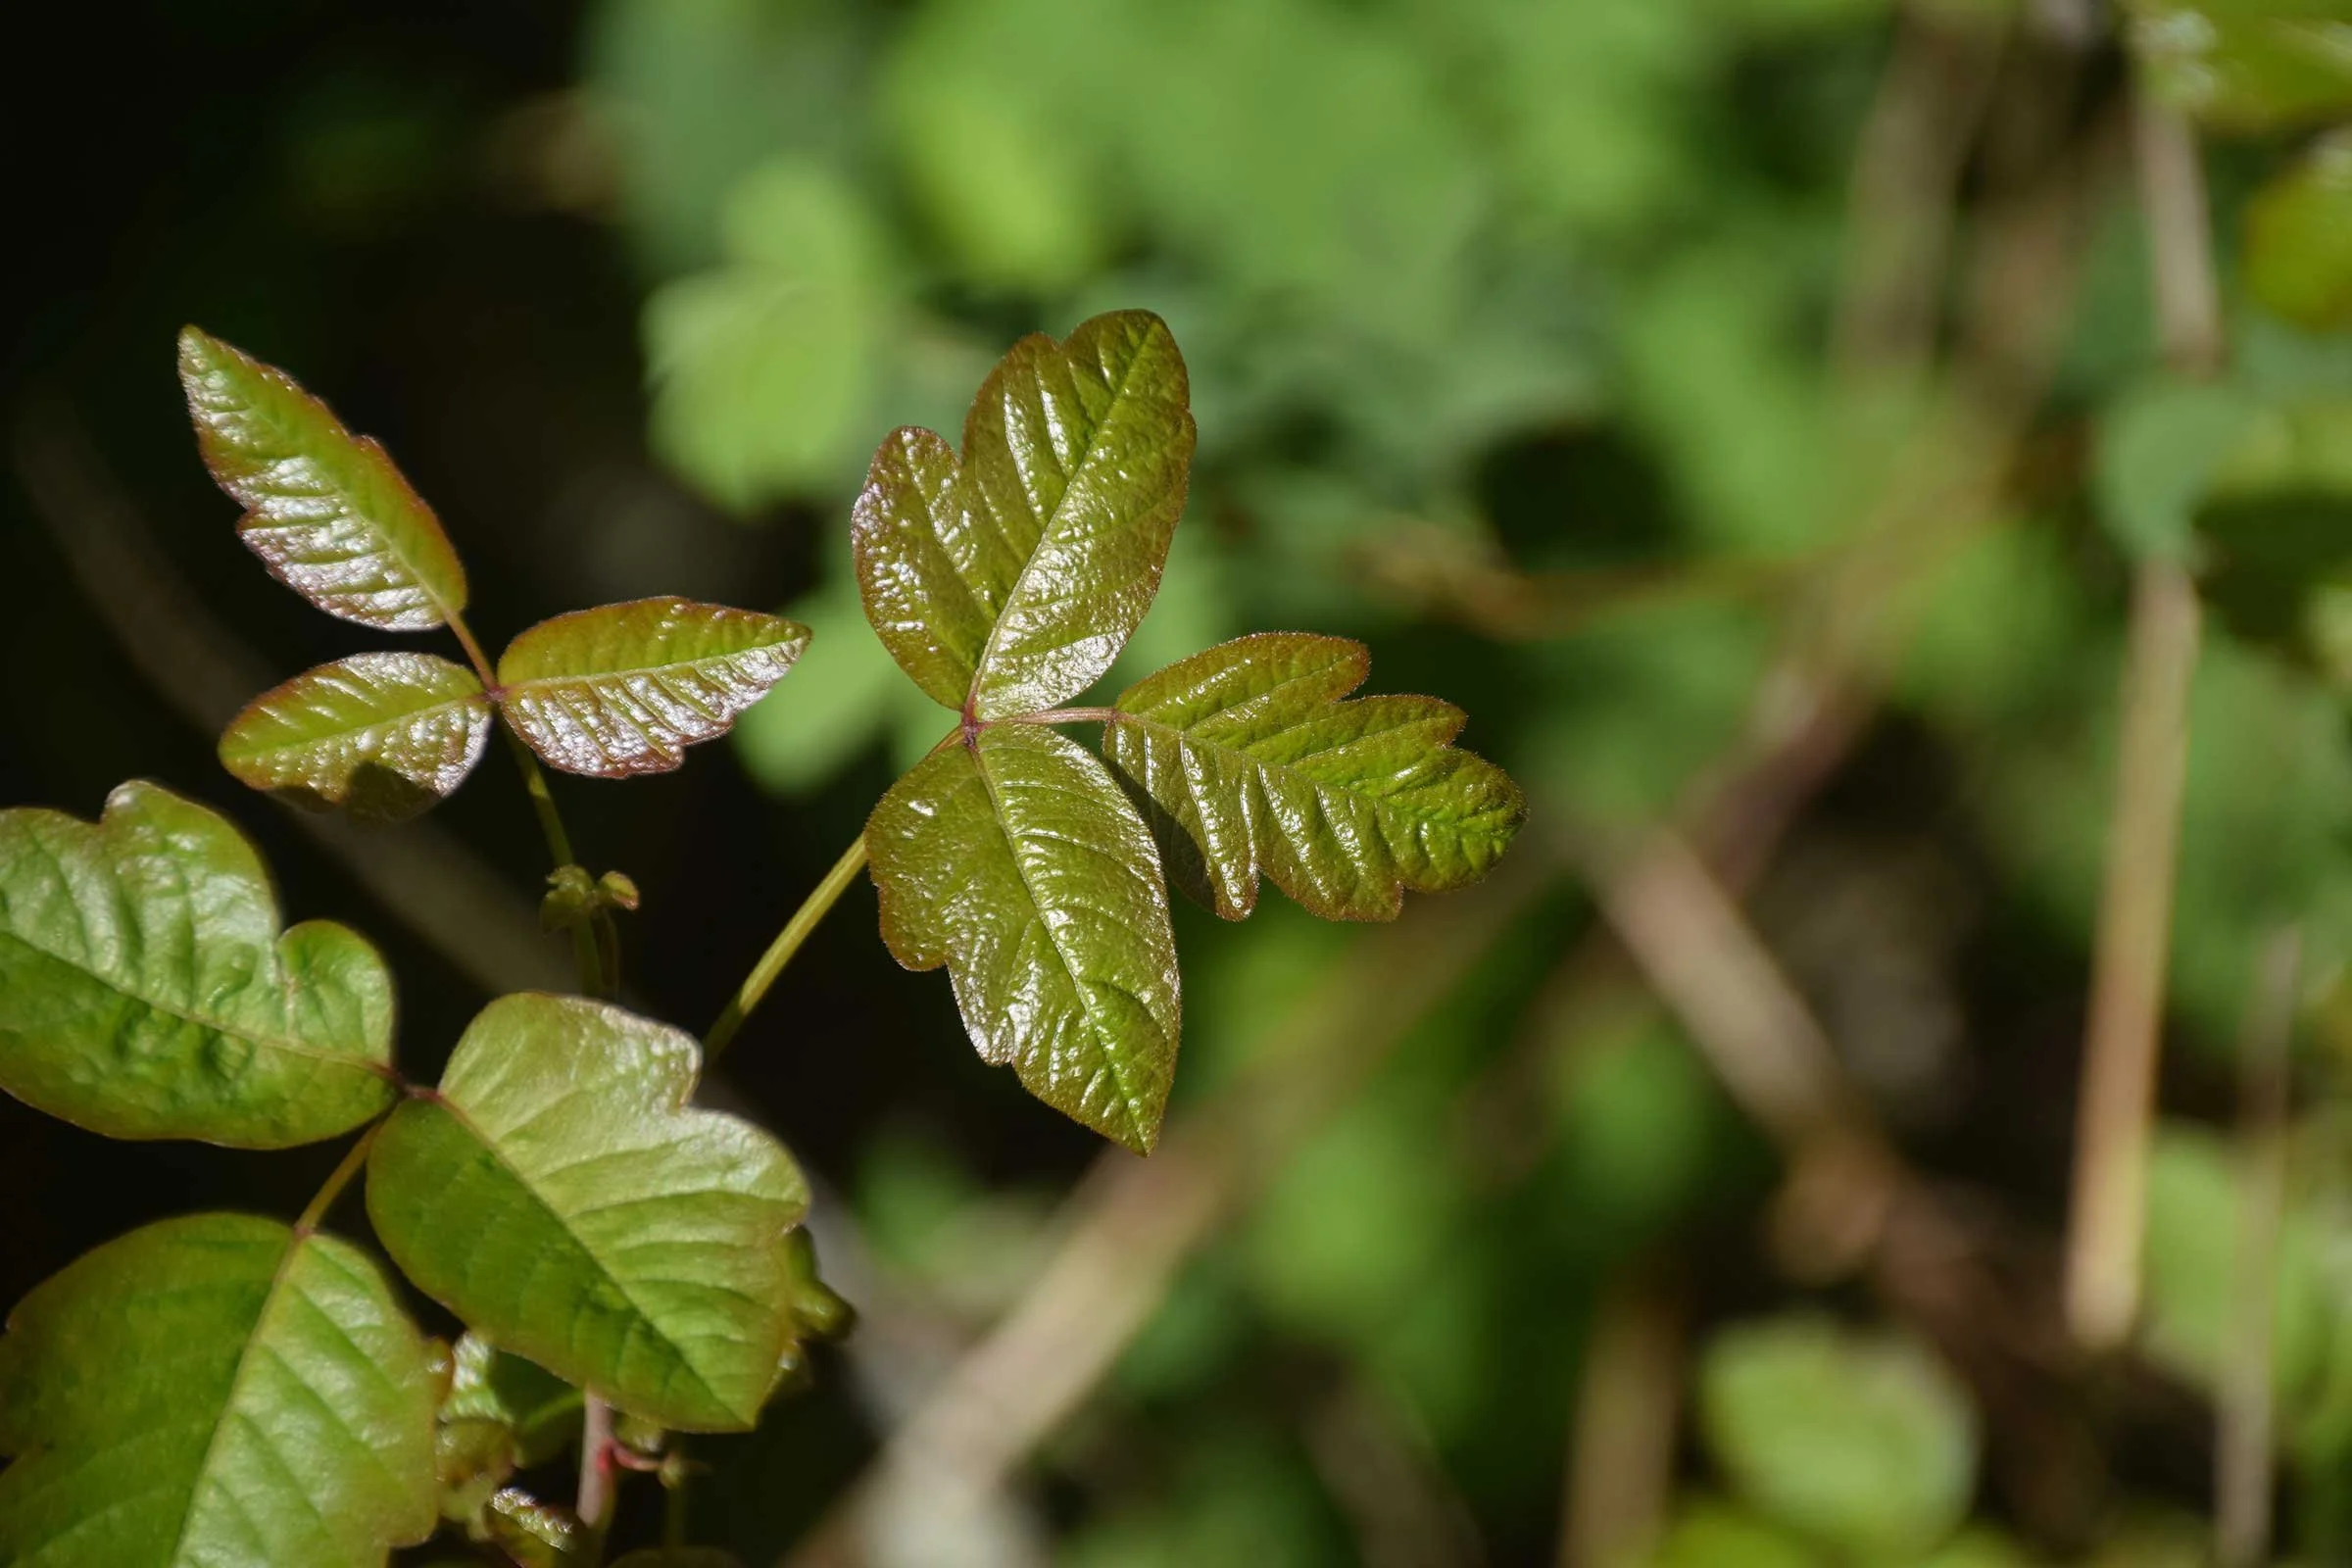
Summer 2022, Wild Things Caroline Bratt 6/1/22 Summer 2022, Wild Things Caroline Bratt 6/1/22 Soothing the Divine Itch Read More
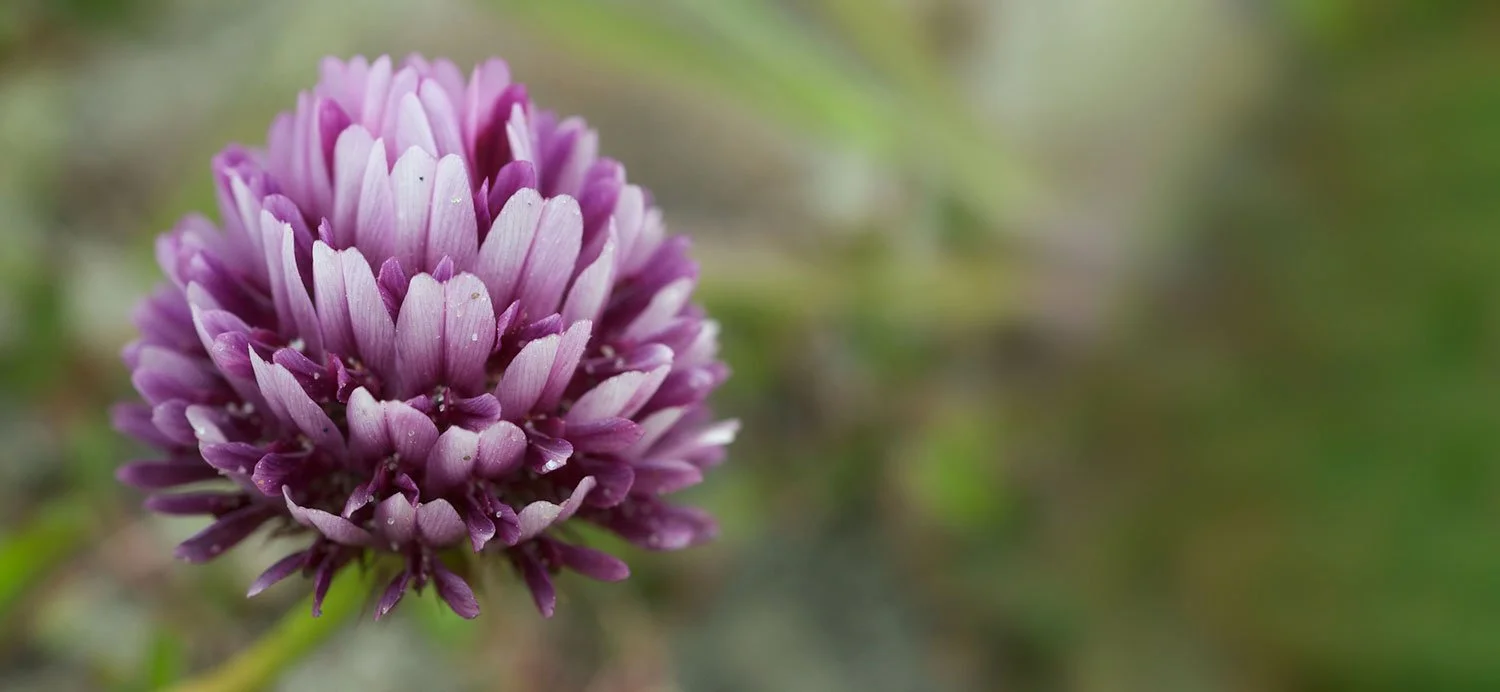
Spring 2022, Recipes, Wild Things Caroline Bratt 3/1/22 Spring 2022, Recipes, Wild Things Caroline Bratt 3/1/22 Springbank Clover Read More
Spring 2022, Wild Things Caroline Bratt 3/1/22 Spring 2022, Wild Things Caroline Bratt 3/1/22 Lazy Spring Drives Read More
Winter 2021, Wild Things, Recipes Caroline Bratt 12/1/21 Winter 2021, Wild Things, Recipes Caroline Bratt 12/1/21 Sourberry Read More
Fall 2021, Wild Things, Recipes Caroline Bratt 9/1/21 Fall 2021, Wild Things, Recipes Caroline Bratt 9/1/21 Venison Jerky Read More
Summer 2021, Wild Things, Recipes Caroline Bratt 6/1/21 Summer 2021, Wild Things, Recipes Caroline Bratt 6/1/21 Fresh-Caught Rockfish Read More
Spring 2021, Wild Things, Recipes Caroline Bratt 3/1/21 Spring 2021, Wild Things, Recipes Caroline Bratt 3/1/21 Cattail Pollen Read More
Winter 2020, Wild Things, Recipes Caroline Bratt 12/1/20 Winter 2020, Wild Things, Recipes Caroline Bratt 12/1/20 Toyon Read More
Fall 2020, Wild Things Caroline Bratt 9/1/20 Fall 2020, Wild Things Caroline Bratt 9/1/20 Wild Turkeys Read More