Winter 2024, Center Spread, DIY Caroline Bratt 12/1/24 Winter 2024, Center Spread, DIY Caroline Bratt 12/1/24 Staff Picks Local Gift Guide Read More Summer 2023, Feature, DIY Caroline Bratt 6/1/23 Summer 2023, Feature, DIY Caroline Bratt 6/1/23 Gardening with Children Read More Winter 2021, DIY Caroline Bratt 12/1/21 Winter 2021, DIY Caroline Bratt 12/1/21 Rivers in the Air Read More Spring 2021, Feature, DIY Caroline Bratt 3/1/21 Spring 2021, Feature, DIY Caroline Bratt 3/1/21 How to Garden for Bees Read More Summer 2020, Feature, DIY Caroline Bratt 6/1/20 Summer 2020, Feature, DIY Caroline Bratt 6/1/20 Fort Bragg Pursues Food Security with Victory Gardens Read More DIY, Fall 2019, Feature Caroline Bratt 8/31/19 DIY, Fall 2019, Feature Caroline Bratt 8/31/19 Color, Scent, & Taste Read More Summer 2018, DIY, Feature Caroline Bratt 5/31/18 Summer 2018, DIY, Feature Caroline Bratt 5/31/18 How to Grow Happy Roses Read More Local Leaders, Winter 2017, DIY Caroline Bratt 11/30/17 Local Leaders, Winter 2017, DIY Caroline Bratt 11/30/17 Sidebar: Grafting Trees: Key Terms and Instructions Read More Winter 2017, DIY, Feature Caroline Bratt 11/30/17 Winter 2017, DIY, Feature Caroline Bratt 11/30/17 5 Steps to Becoming a Better Mushroom Hunter Read More Summer 2017, DIY, Feature Caroline Bratt 5/31/17 Summer 2017, DIY, Feature Caroline Bratt 5/31/17 Grow Your Own Tea Garden Read More Spring 2017, DIY, Feature Caroline Bratt 3/1/17 Spring 2017, DIY, Feature Caroline Bratt 3/1/17 Spring DIY: Catching a Swarm Read More Fall 2016, DIY, Recipes, Feature Caroline Bratt 9/1/16 Fall 2016, DIY, Recipes, Feature Caroline Bratt 9/1/16 DIY: Olives Read More Summer 2016, DIY, Feature Caroline Bratt 7/10/16 Summer 2016, DIY, Feature Caroline Bratt 7/10/16 DIY Chicken Read More
Winter 2024, Center Spread, DIY Caroline Bratt 12/1/24 Winter 2024, Center Spread, DIY Caroline Bratt 12/1/24 Staff Picks Local Gift Guide Read More
Summer 2023, Feature, DIY Caroline Bratt 6/1/23 Summer 2023, Feature, DIY Caroline Bratt 6/1/23 Gardening with Children Read More
Winter 2021, DIY Caroline Bratt 12/1/21 Winter 2021, DIY Caroline Bratt 12/1/21 Rivers in the Air Read More
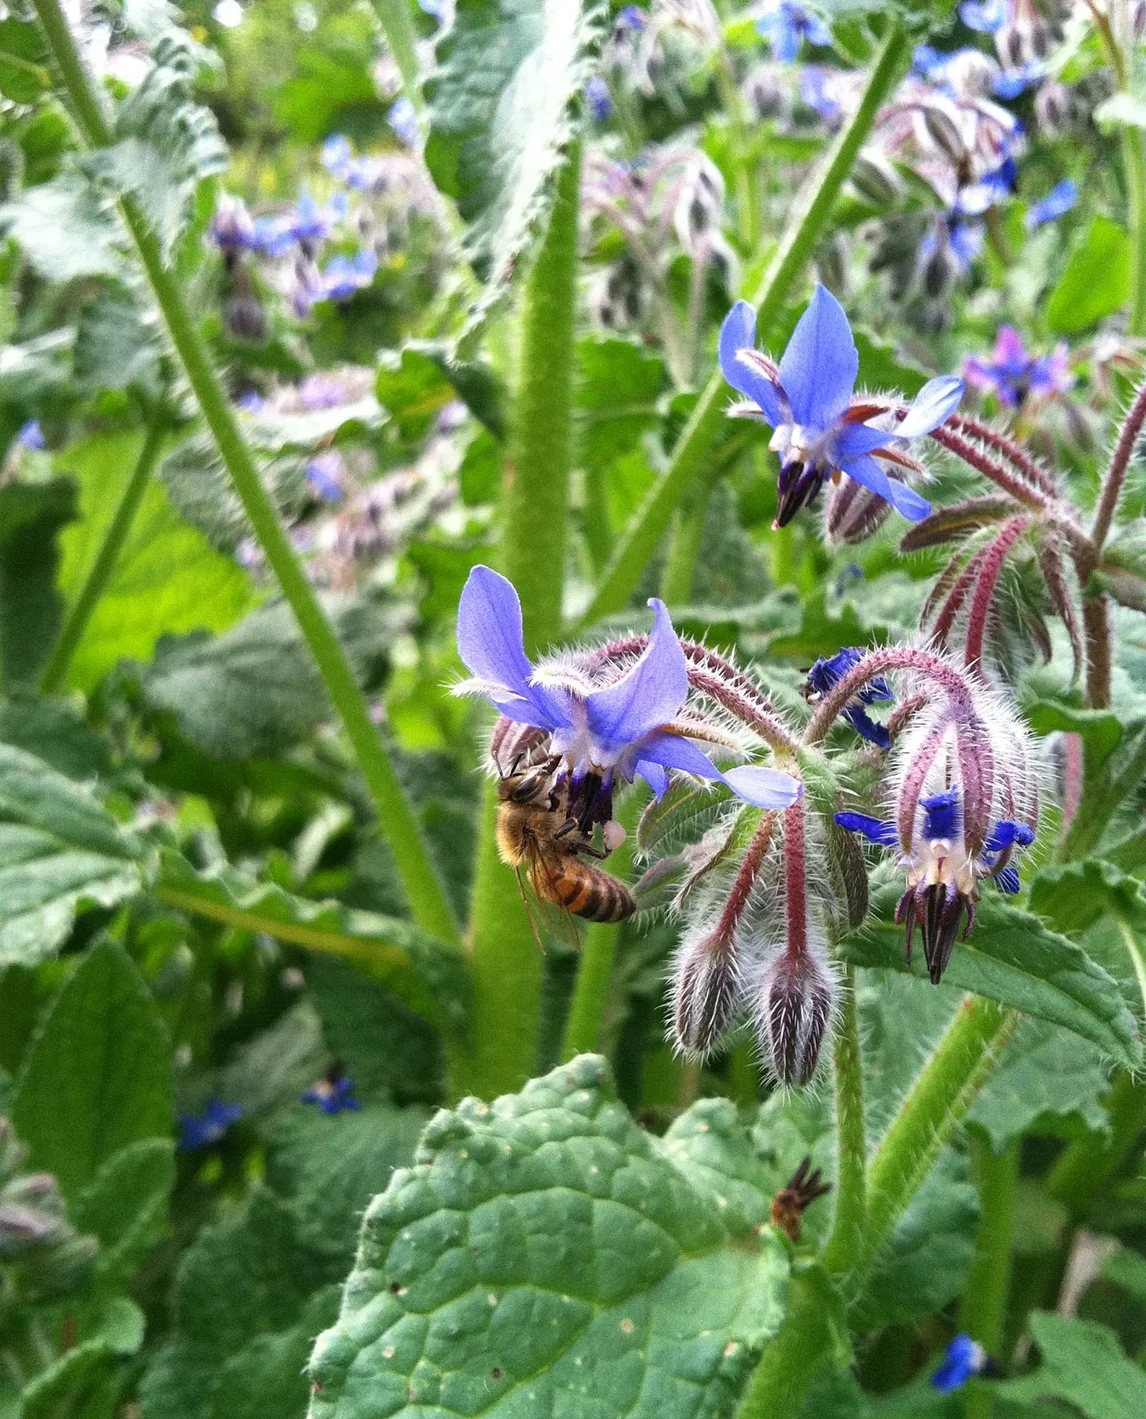
Spring 2021, Feature, DIY Caroline Bratt 3/1/21 Spring 2021, Feature, DIY Caroline Bratt 3/1/21 How to Garden for Bees Read More
Summer 2020, Feature, DIY Caroline Bratt 6/1/20 Summer 2020, Feature, DIY Caroline Bratt 6/1/20 Fort Bragg Pursues Food Security with Victory Gardens Read More
DIY, Fall 2019, Feature Caroline Bratt 8/31/19 DIY, Fall 2019, Feature Caroline Bratt 8/31/19 Color, Scent, & Taste Read More
Summer 2018, DIY, Feature Caroline Bratt 5/31/18 Summer 2018, DIY, Feature Caroline Bratt 5/31/18 How to Grow Happy Roses Read More
Local Leaders, Winter 2017, DIY Caroline Bratt 11/30/17 Local Leaders, Winter 2017, DIY Caroline Bratt 11/30/17 Sidebar: Grafting Trees: Key Terms and Instructions Read More
Winter 2017, DIY, Feature Caroline Bratt 11/30/17 Winter 2017, DIY, Feature Caroline Bratt 11/30/17 5 Steps to Becoming a Better Mushroom Hunter Read More
Summer 2017, DIY, Feature Caroline Bratt 5/31/17 Summer 2017, DIY, Feature Caroline Bratt 5/31/17 Grow Your Own Tea Garden Read More
Spring 2017, DIY, Feature Caroline Bratt 3/1/17 Spring 2017, DIY, Feature Caroline Bratt 3/1/17 Spring DIY: Catching a Swarm Read More
Fall 2016, DIY, Recipes, Feature Caroline Bratt 9/1/16 Fall 2016, DIY, Recipes, Feature Caroline Bratt 9/1/16 DIY: Olives Read More
Summer 2016, DIY, Feature Caroline Bratt 7/10/16 Summer 2016, DIY, Feature Caroline Bratt 7/10/16 DIY Chicken Read More