Fall 2019, Wild Things, Recipes Caroline Bratt 8/31/19 Fall 2019, Wild Things, Recipes Caroline Bratt 8/31/19 Blackberries: Worth the Thorns Read More Summer 2019, Wild Things, Recipes Caroline Bratt 6/1/19 Summer 2019, Wild Things, Recipes Caroline Bratt 6/1/19 Purslane Read More Spring 2019, Wild Things, Recipes Caroline Bratt 2/28/19 Spring 2019, Wild Things, Recipes Caroline Bratt 2/28/19 Nettles! Read More Winter 2018, Wild Things, Recipes Caroline Bratt 12/1/18 Winter 2018, Wild Things, Recipes Caroline Bratt 12/1/18 Crab! Read More Fall 2018, Wild Things, Recipes Caroline Bratt 9/1/18 Fall 2018, Wild Things, Recipes Caroline Bratt 9/1/18 The Abundant Acorn Read More Summer 2018, Wild Things, Recipes Caroline Bratt 5/31/18 Summer 2018, Wild Things, Recipes Caroline Bratt 5/31/18 Nocino: A Sip from Mendocino’s Past Read More Spring 2018, Wild Things Caroline Bratt 2/28/18 Spring 2018, Wild Things Caroline Bratt 2/28/18 The Nourishing Wild Read More Winter 2017, Wild Things Caroline Bratt 11/30/17 Winter 2017, Wild Things Caroline Bratt 11/30/17 Catching a Wild Pig Read More Wild Things, Fall 2017 Caroline Bratt 9/1/17 Wild Things, Fall 2017 Caroline Bratt 9/1/17 Huckleberries Read More Summer 2017, Wild Things, Recipes Caroline Bratt 5/31/17 Summer 2017, Wild Things, Recipes Caroline Bratt 5/31/17 Seaweed: The Ocean’s Gift Read More Spring 2017, Wild Things, Recipes Caroline Bratt 3/1/17 Spring 2017, Wild Things, Recipes Caroline Bratt 3/1/17 Douglas Fir Tip Sorbet Read More Winter 2016, Wild Things Caroline Bratt 12/1/16 Winter 2016, Wild Things Caroline Bratt 12/1/16 Entomophagy (Insect Eating): Poised for its “sushi moment” Read More Fall 2016, Wild Things, Recipes Caroline Bratt 9/1/16 Fall 2016, Wild Things, Recipes Caroline Bratt 9/1/16 California Bay Laurel & Bay Nut Bon-Bons Read More Summer 2016, Wild Things, Recipes Caroline Bratt 7/10/16 Summer 2016, Wild Things, Recipes Caroline Bratt 7/10/16 Urban forage hiding in plain sight Read More Newer Posts
Fall 2019, Wild Things, Recipes Caroline Bratt 8/31/19 Fall 2019, Wild Things, Recipes Caroline Bratt 8/31/19 Blackberries: Worth the Thorns Read More
Summer 2019, Wild Things, Recipes Caroline Bratt 6/1/19 Summer 2019, Wild Things, Recipes Caroline Bratt 6/1/19 Purslane Read More
Spring 2019, Wild Things, Recipes Caroline Bratt 2/28/19 Spring 2019, Wild Things, Recipes Caroline Bratt 2/28/19 Nettles! Read More
Winter 2018, Wild Things, Recipes Caroline Bratt 12/1/18 Winter 2018, Wild Things, Recipes Caroline Bratt 12/1/18 Crab! Read More
Fall 2018, Wild Things, Recipes Caroline Bratt 9/1/18 Fall 2018, Wild Things, Recipes Caroline Bratt 9/1/18 The Abundant Acorn Read More
Summer 2018, Wild Things, Recipes Caroline Bratt 5/31/18 Summer 2018, Wild Things, Recipes Caroline Bratt 5/31/18 Nocino: A Sip from Mendocino’s Past Read More
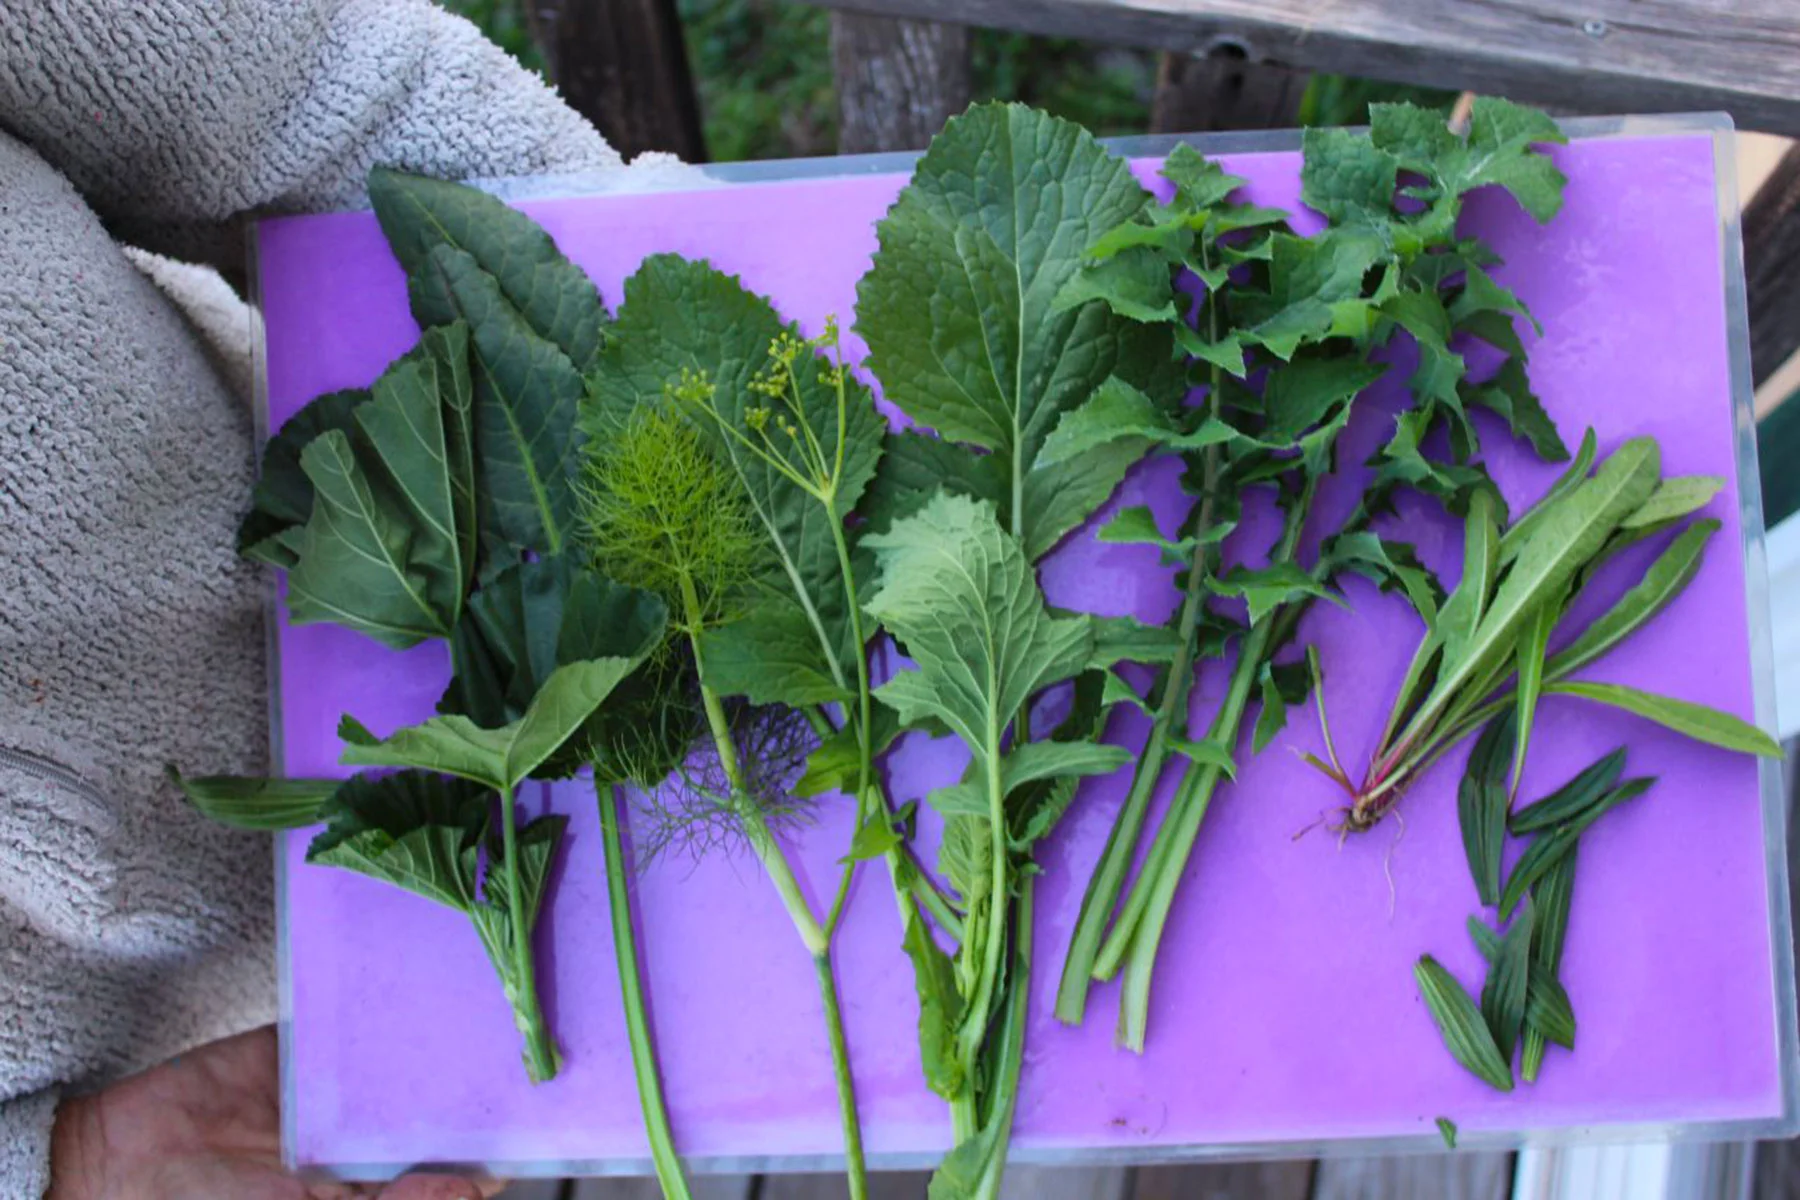
Spring 2018, Wild Things Caroline Bratt 2/28/18 Spring 2018, Wild Things Caroline Bratt 2/28/18 The Nourishing Wild Read More
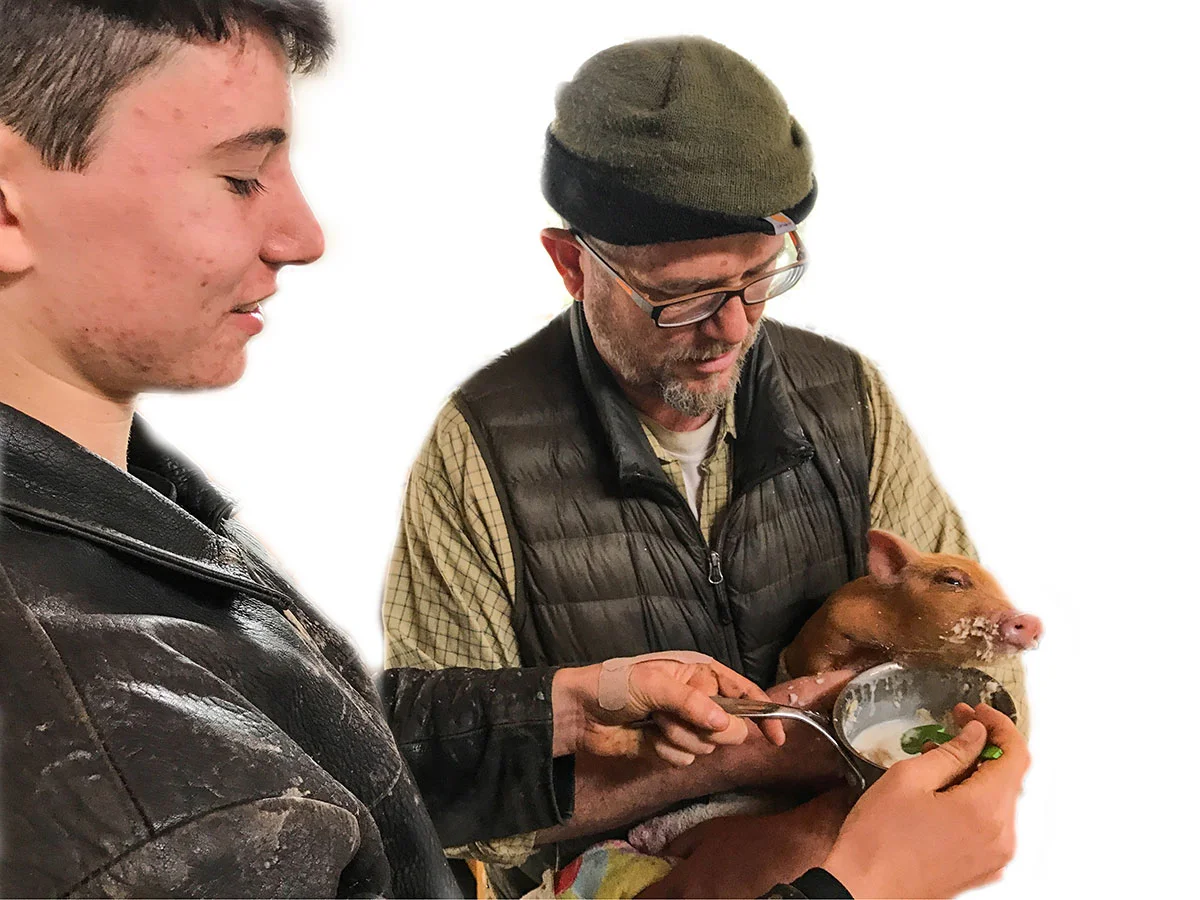
Winter 2017, Wild Things Caroline Bratt 11/30/17 Winter 2017, Wild Things Caroline Bratt 11/30/17 Catching a Wild Pig Read More
Wild Things, Fall 2017 Caroline Bratt 9/1/17 Wild Things, Fall 2017 Caroline Bratt 9/1/17 Huckleberries Read More
Summer 2017, Wild Things, Recipes Caroline Bratt 5/31/17 Summer 2017, Wild Things, Recipes Caroline Bratt 5/31/17 Seaweed: The Ocean’s Gift Read More
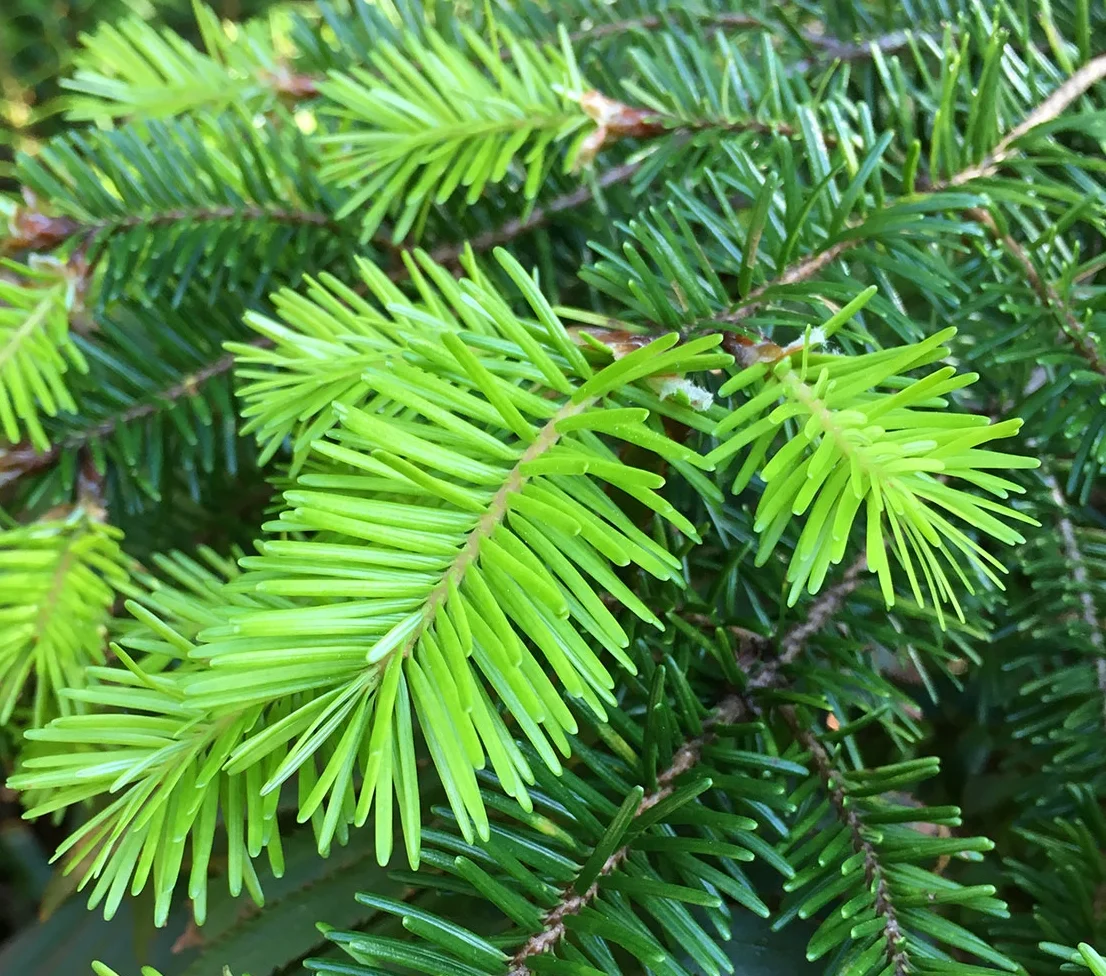
Spring 2017, Wild Things, Recipes Caroline Bratt 3/1/17 Spring 2017, Wild Things, Recipes Caroline Bratt 3/1/17 Douglas Fir Tip Sorbet Read More
Winter 2016, Wild Things Caroline Bratt 12/1/16 Winter 2016, Wild Things Caroline Bratt 12/1/16 Entomophagy (Insect Eating): Poised for its “sushi moment” Read More
Fall 2016, Wild Things, Recipes Caroline Bratt 9/1/16 Fall 2016, Wild Things, Recipes Caroline Bratt 9/1/16 California Bay Laurel & Bay Nut Bon-Bons Read More
Summer 2016, Wild Things, Recipes Caroline Bratt 7/10/16 Summer 2016, Wild Things, Recipes Caroline Bratt 7/10/16 Urban forage hiding in plain sight Read More